Yellowstone and Grand Tetons-Part 1

I’ve had several friends within the last couple months inquire about our South Dakota/Wyoming/Yellowstone/Grand Teton trip. This makes my little heart happy, like really happy! I want people to ask for advice, ideas, and all things that come with any of our trips, that’s part of the reason I started a blog……….. TO SHARE THE LOVE PEOPLE!
I AM A PLANNER, let me repeat… I AM A PLANNER! You HAVE TO PLAN a trip like this well in advance. In my humble opinion, it’s extremely important in order to get the most out of Yellowstone and the Tetons. If you’re not a planner, that’s OK, reach out to people like me that have already done it, who can help you. Please don’t be intimidated to go some place amazing just because you’ve never planned a trip like this before. I’m going to break our trip into two blog posts. First post will be how I planned it, where I got my resources and all things on our trip all the way from home to our campsite in Yellowstone. The second part will be Yellowstone and the Grand Tetons and all the adventures we went on within the parks.
Here are some fun facts about our trip:
Time Frame: 12 days
Mode of Transportation: GMC Sierra (4x4)
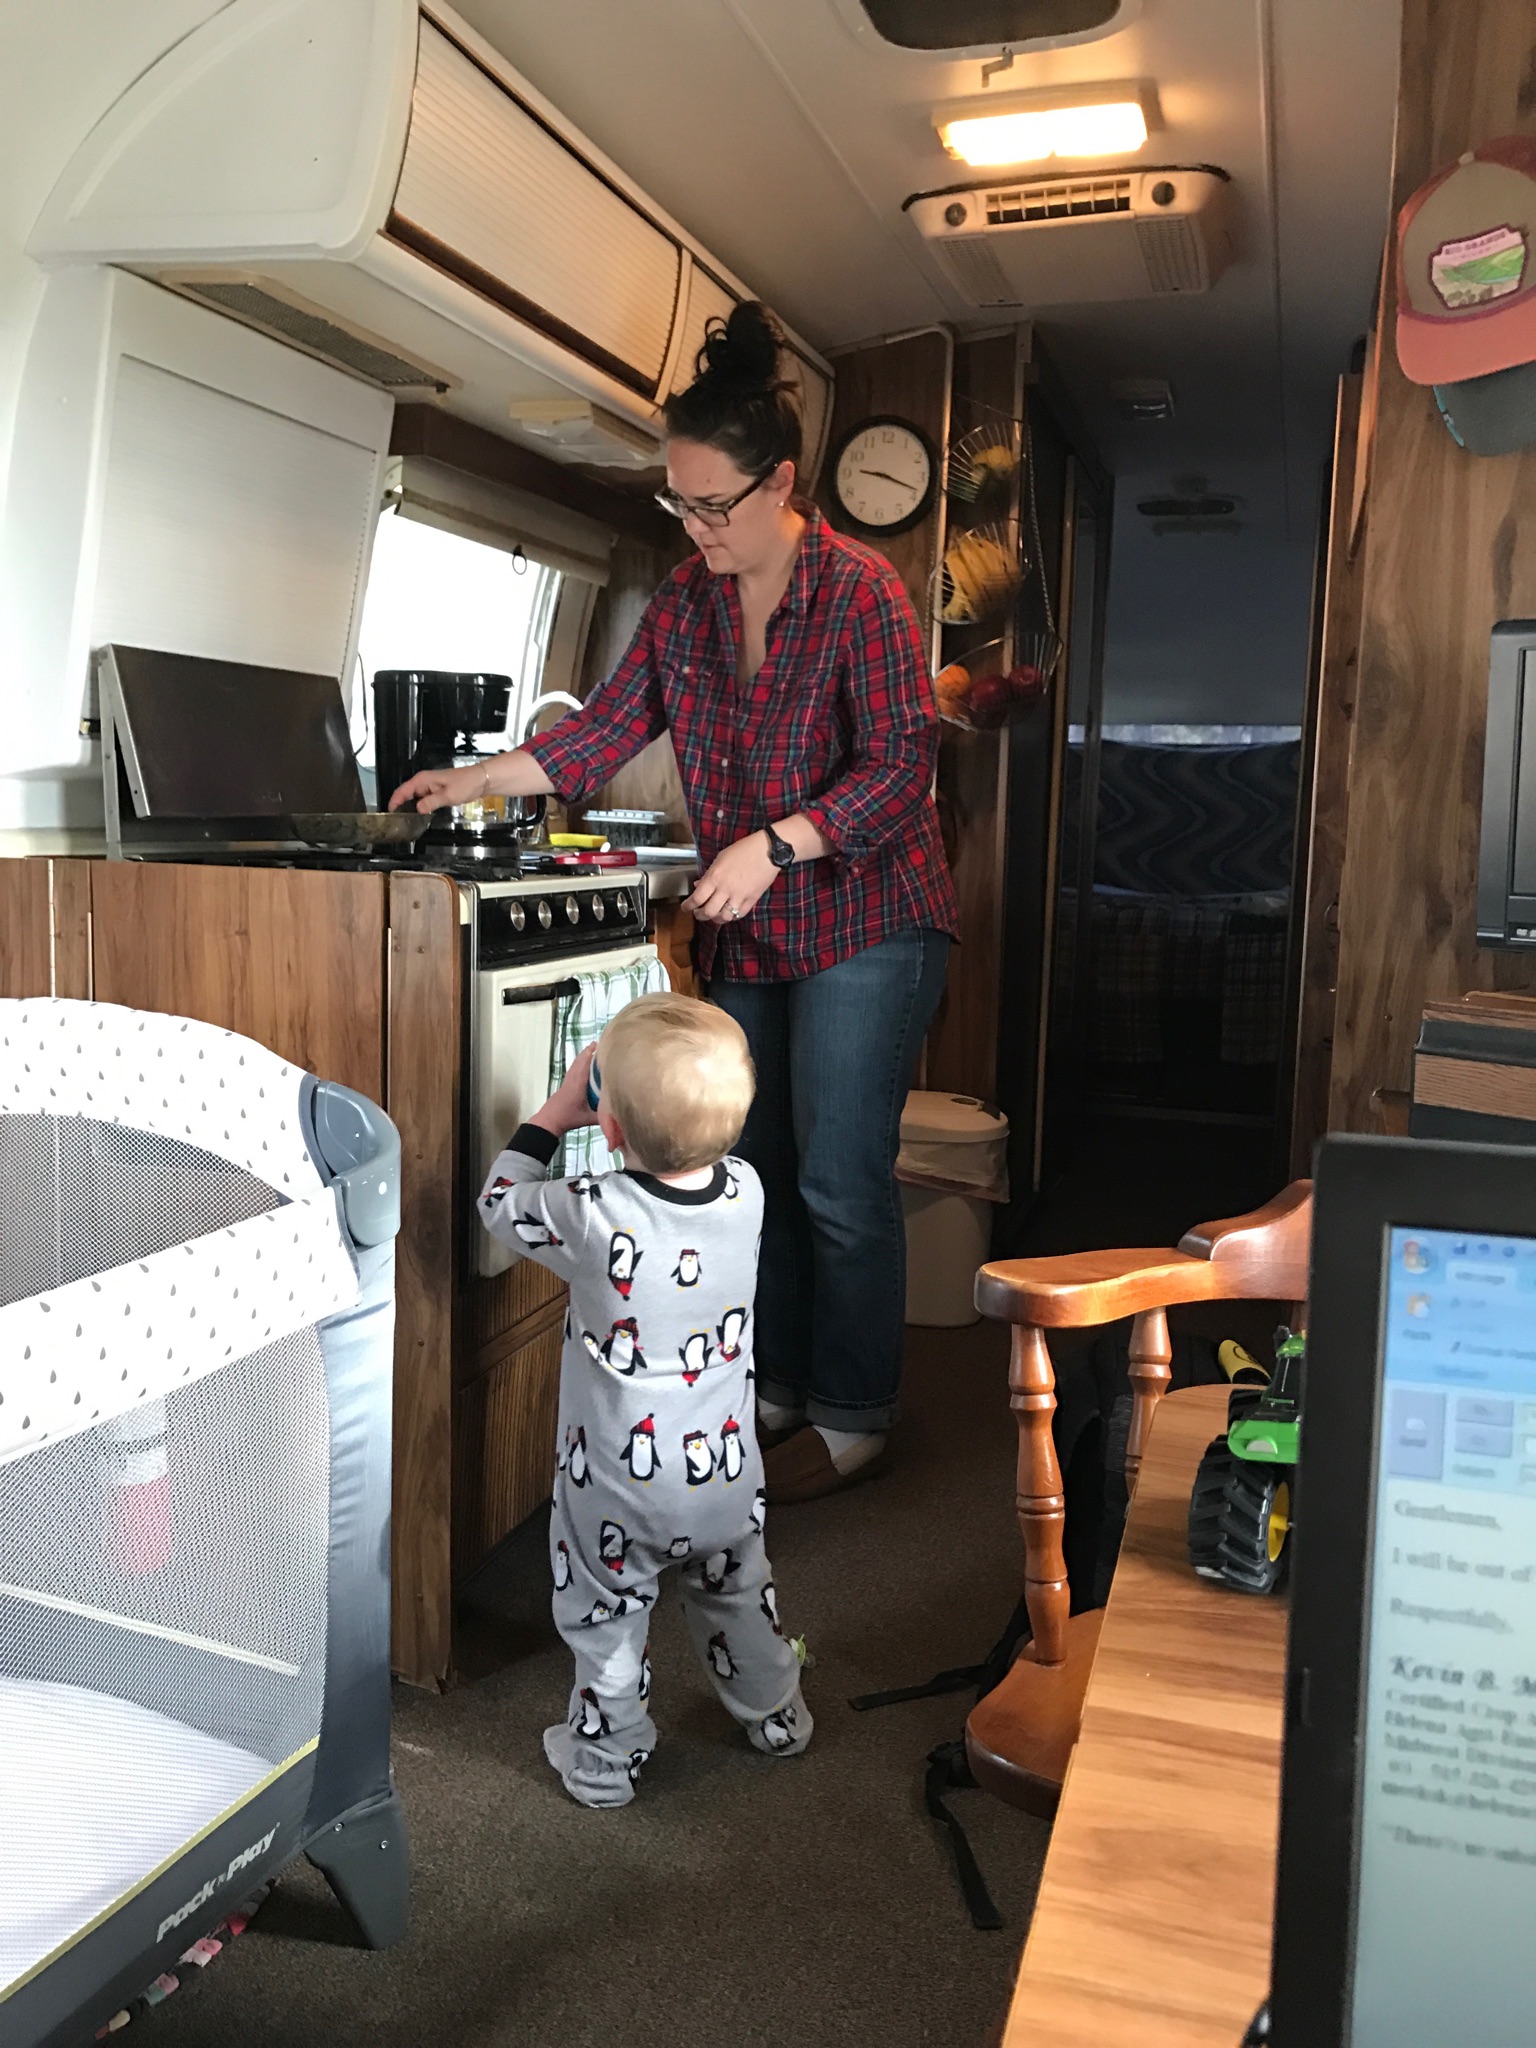
Sleeping Arrangements: “Loretta June the Airstream” staying at campsites along the way
Food: What “The Lucky Lady” aka “Momma” packed in the ice chest/fridge (we go picnic style in this outfit folks)
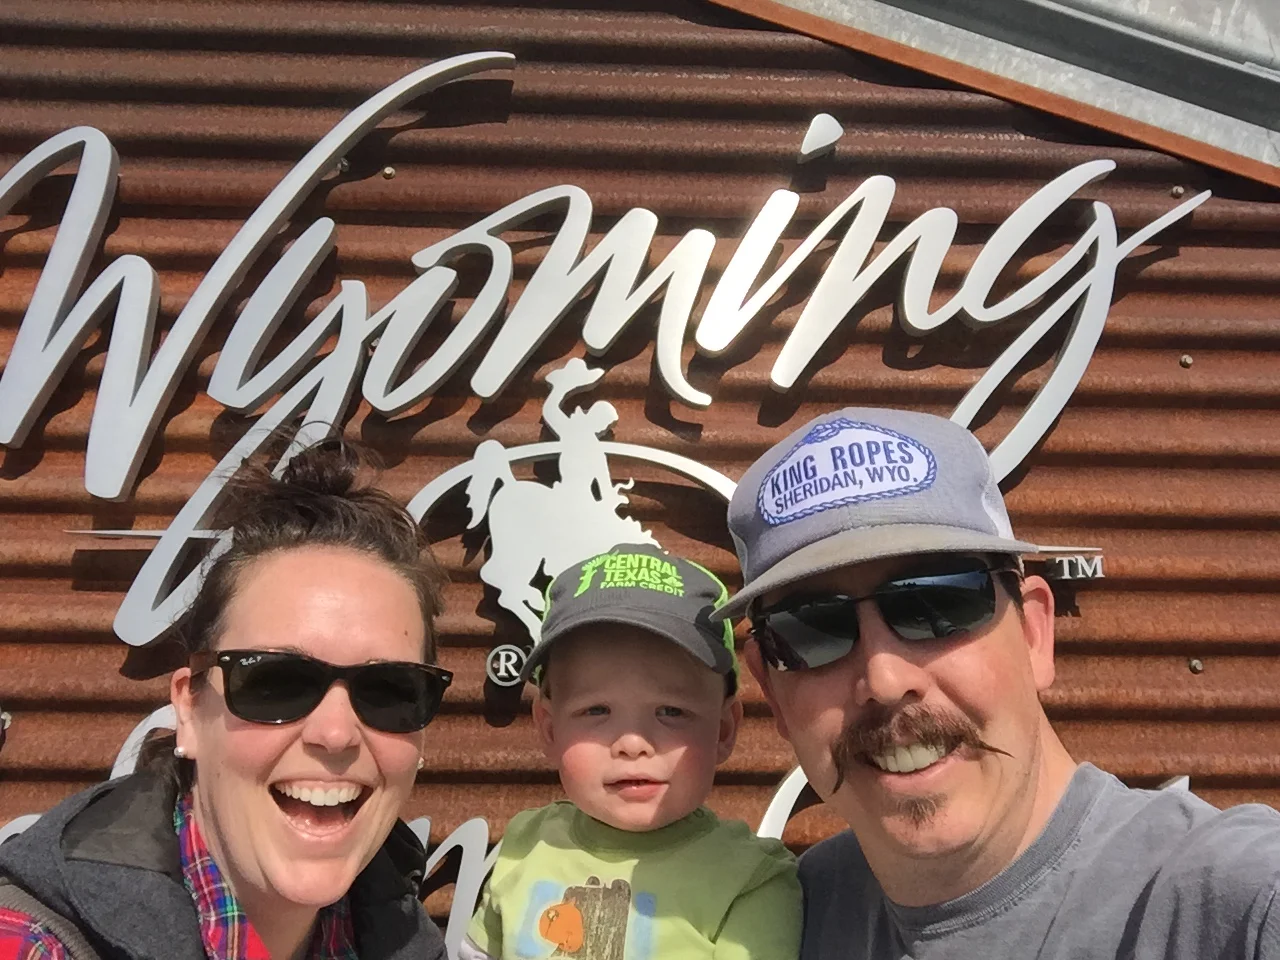
Persons involved: Doc Whiskers, Lucky Lady, CW, and Gus-Gus (no reason not to take your pooch along, am I right?)
Navigational Equipment: A FRIGGIN MAP!
STEP 1: Get your maps, newsletters, visitor guides and books
Since I was young, my parents and grandparents ALWAYS had me reading maps and the AAA travel book. You’ll be shocked to know that my youthful looks are not because I grew up in the cell phone or GPS era, haha. Kids… I’m legit not kidding when I say… I learned NSEW (that’s North, South, East and West directions) from looking at where the sun was in the sky. As a kid I was responsible for highlighting our route on my very own map (got a new one for each trip). This really, really, really taught me how to read road signs, figure mileage and direction while also READING A MAP. I remember it really making me feel like I knew where we were going and where we had been. It was such a fun responsibility!
Now as an adult, the first step in planning for me is a trip to collect a new United States Map, state maps for every state we’ll be traveling through, and park maps if they’re available. I would say 75% or more of the traveling we do has us in “no cell phone service or GPS available” areas. Please don’t let that scare you!!!!! Without those luxuries you realize how aware you become of reading road signs, asking for directions when you need them (cough, cough) and yes, looking for the sun to know which direction you’re heading. Please, please, please don’t be intimidated by no cell phone service! Remember most of us ONLY had maps when we were growing up anyway.
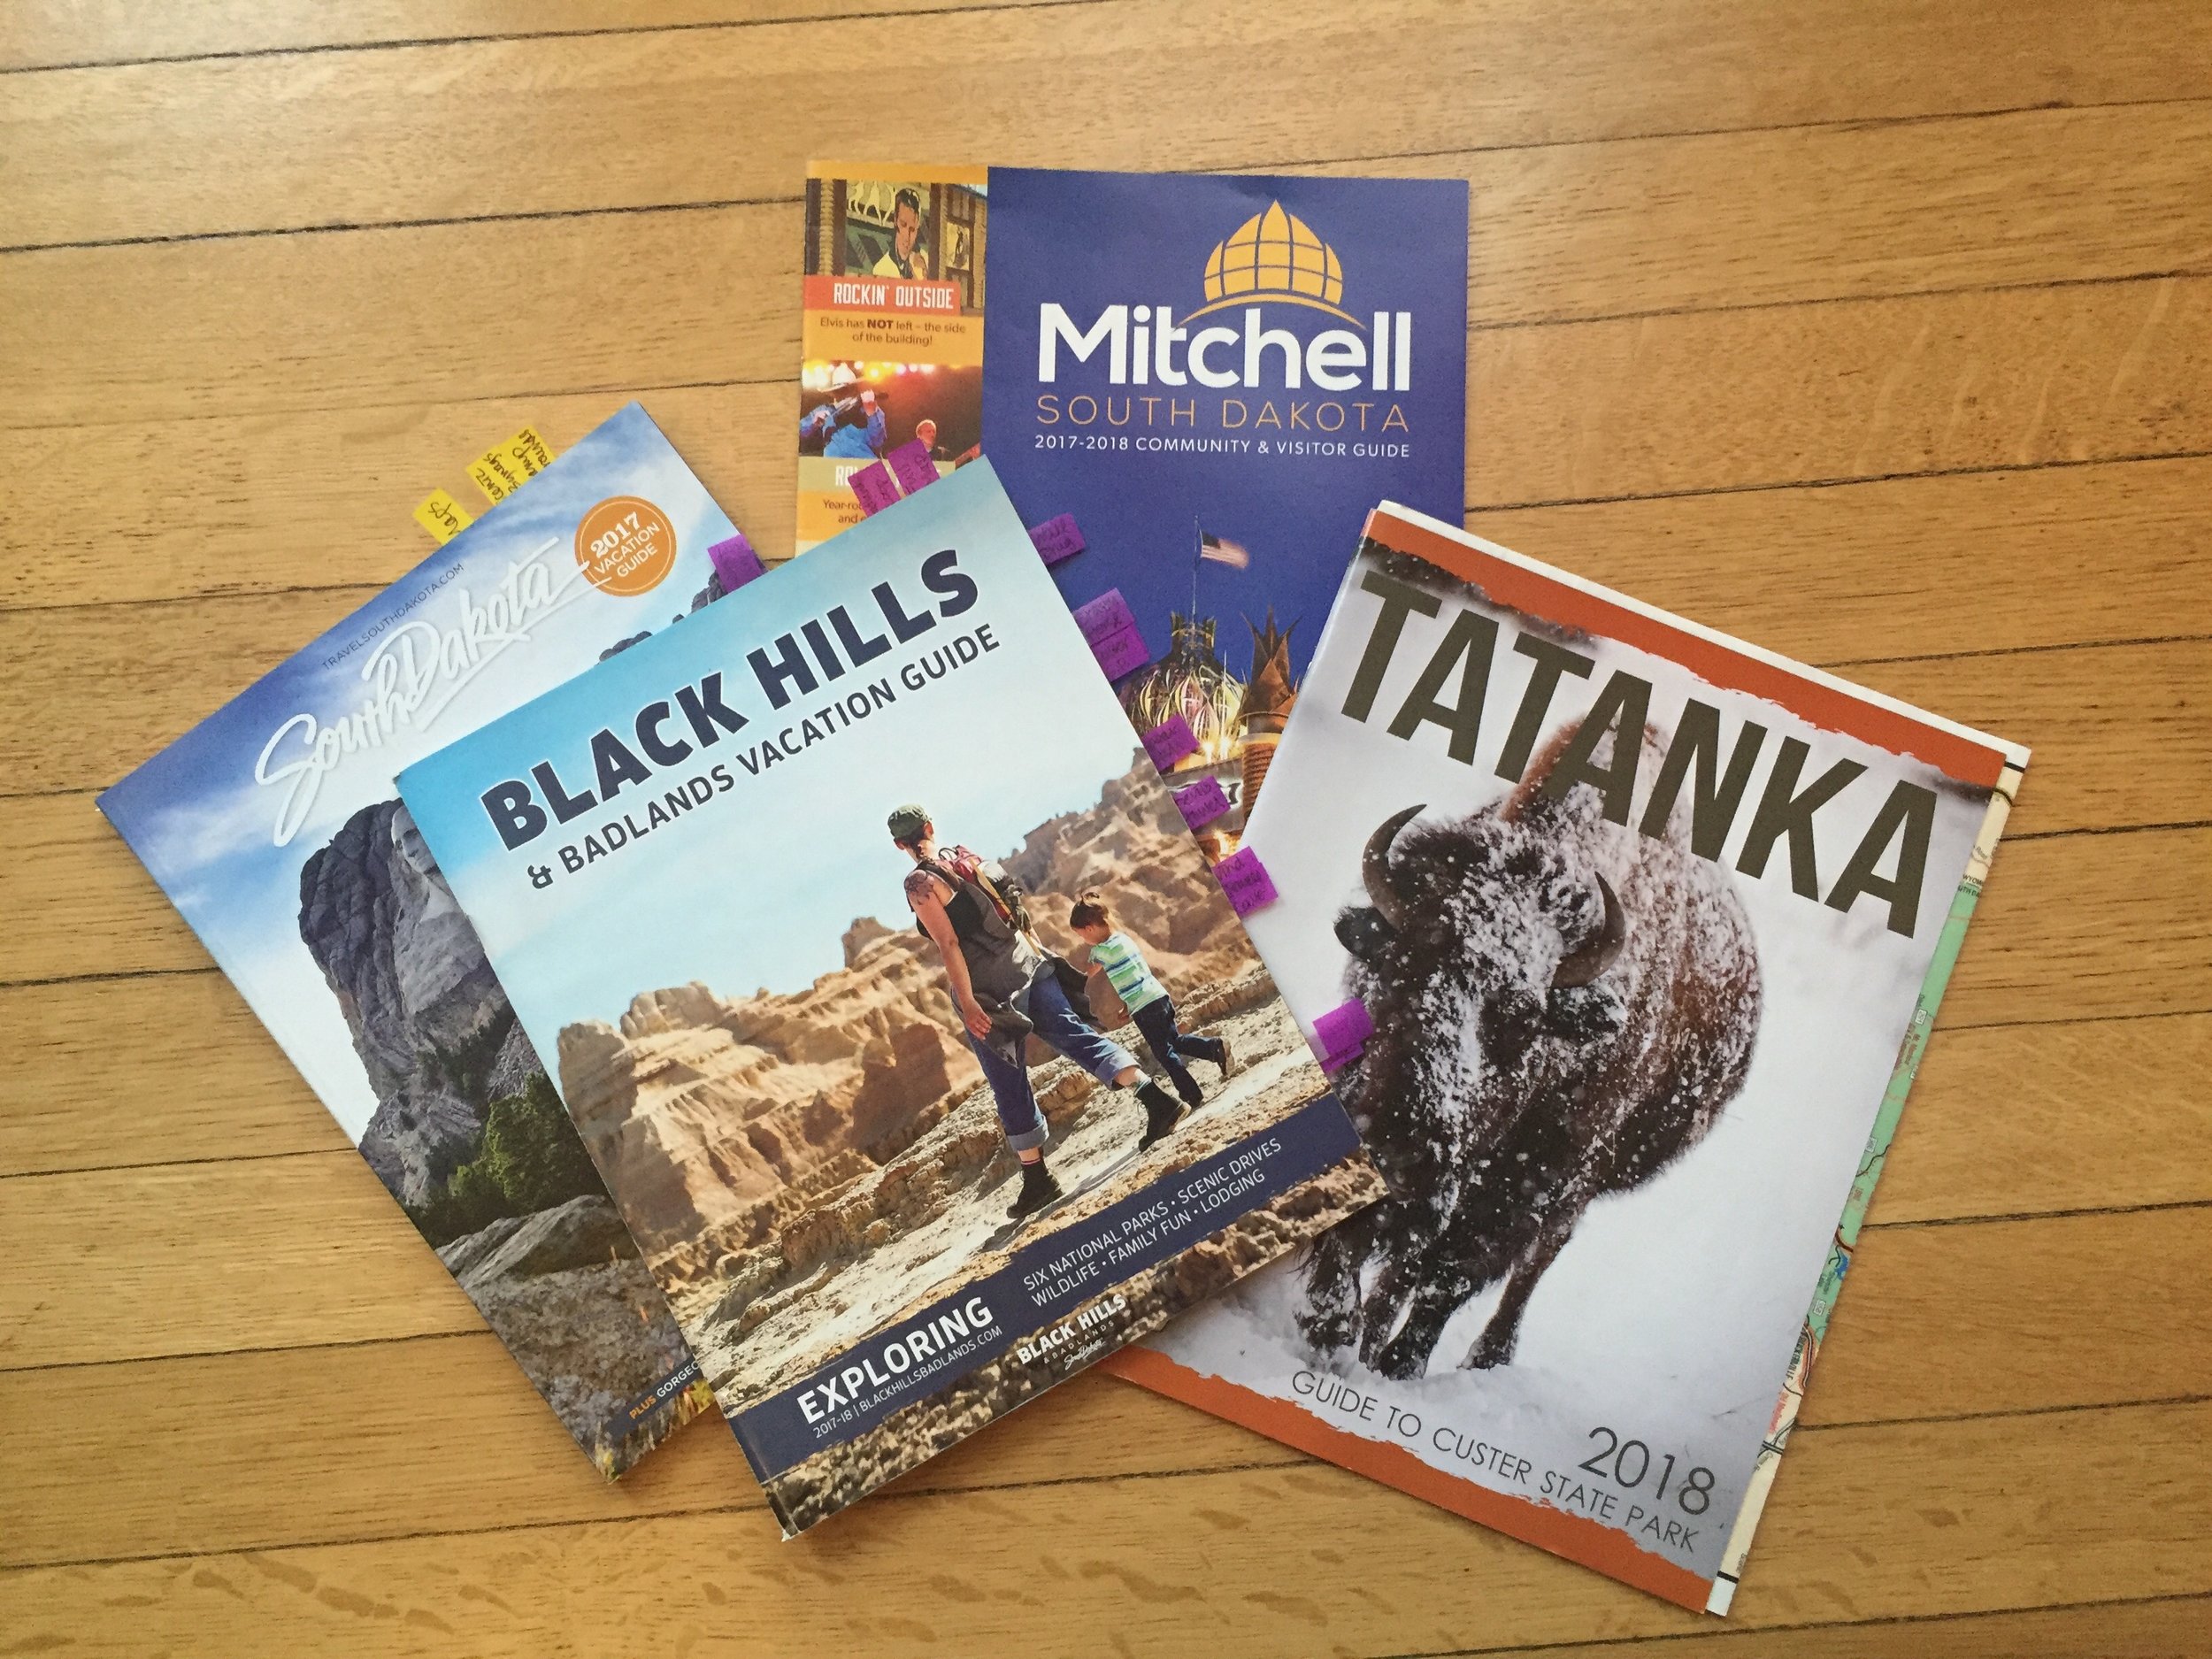
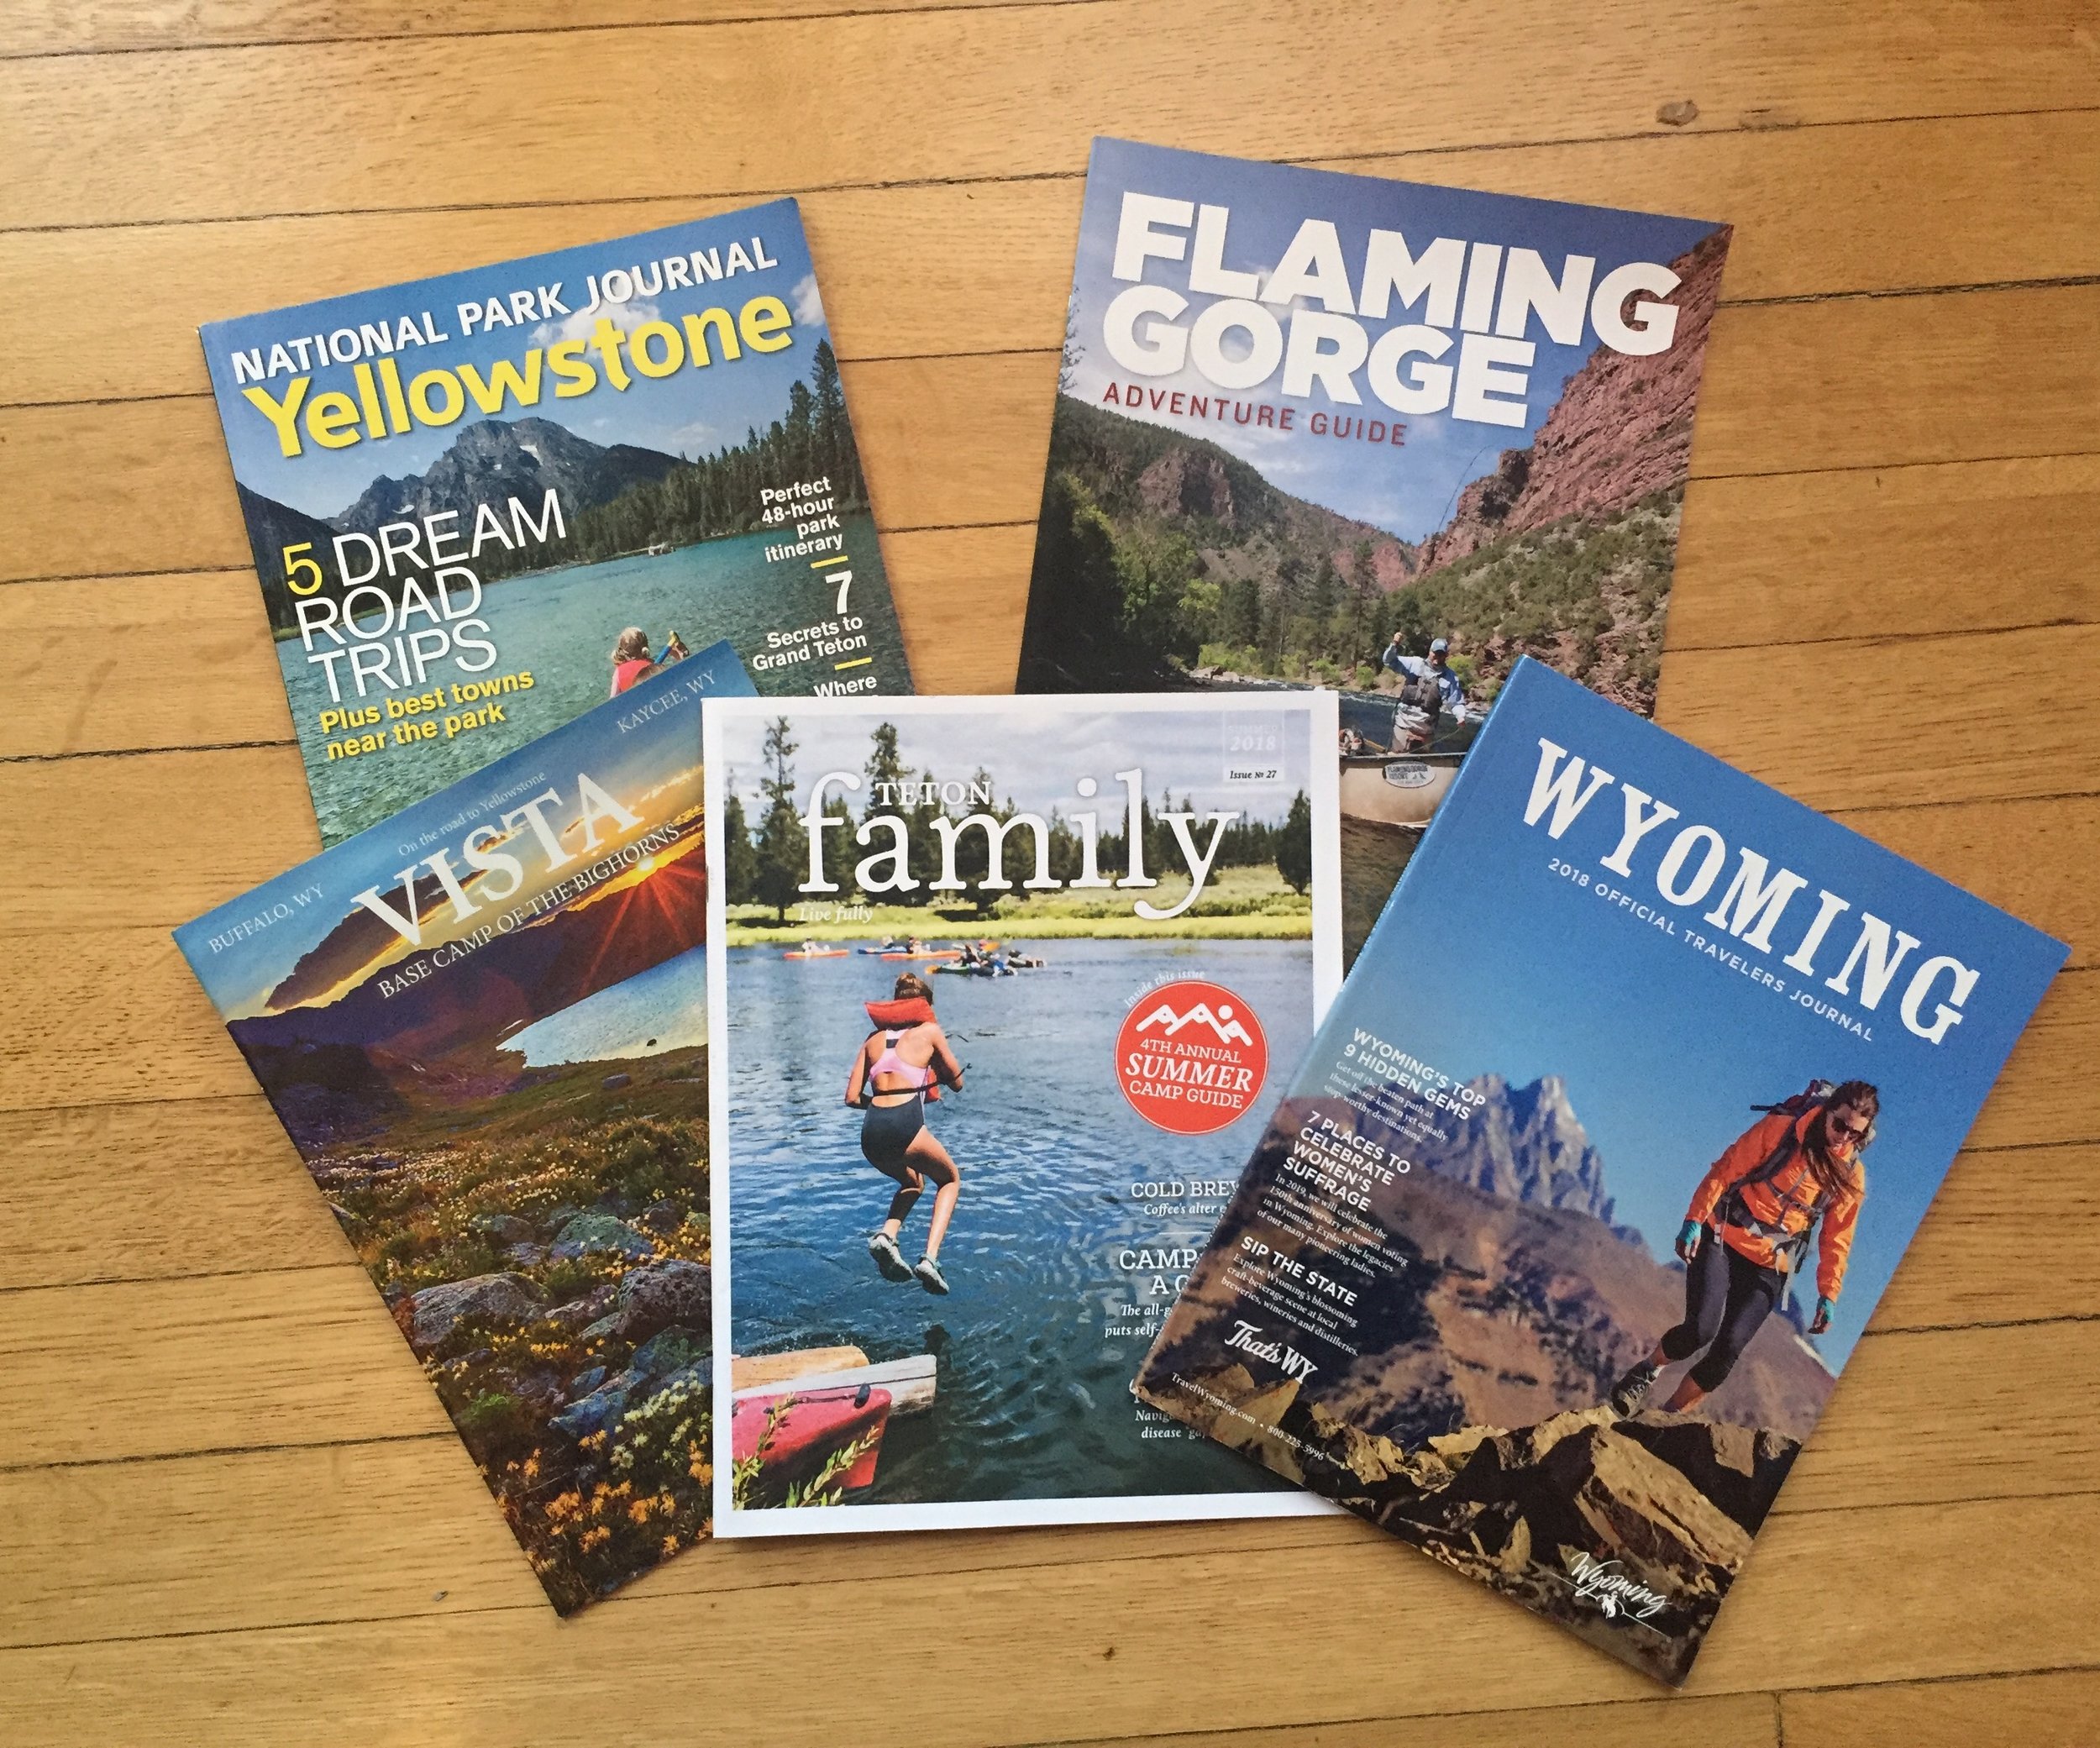
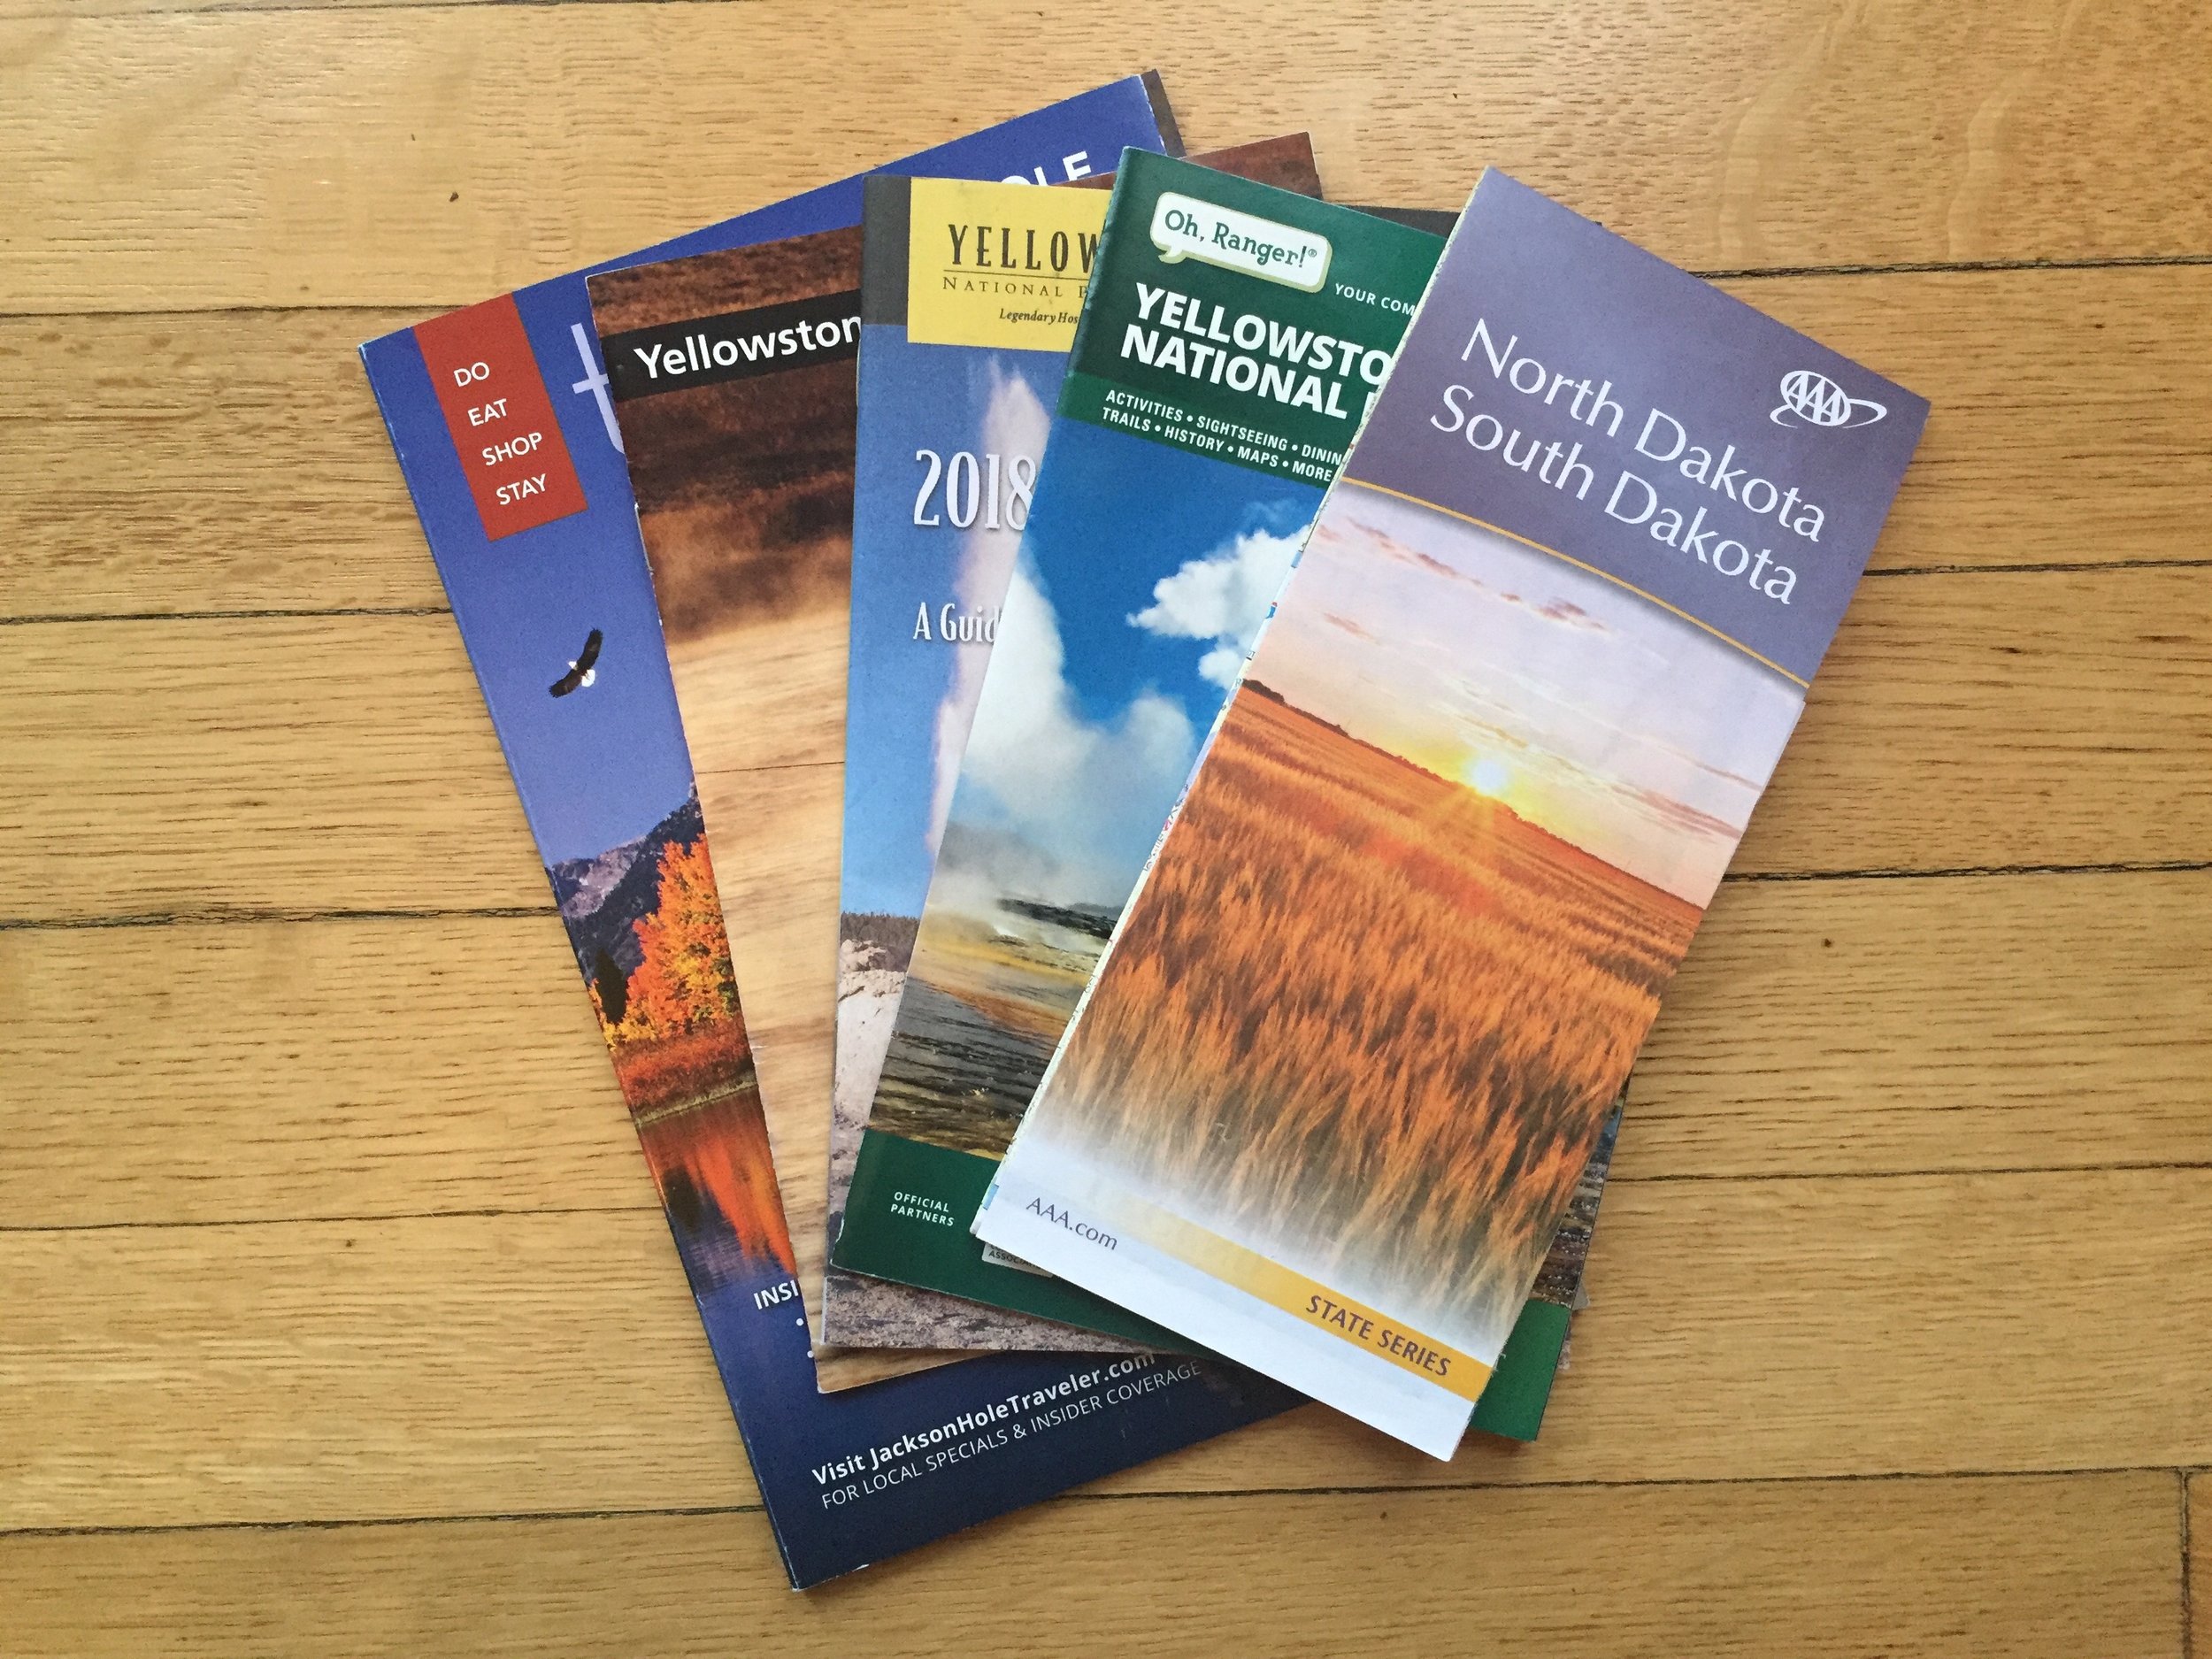
This is not a paid promotion, but… we are AAA members. One of the many, many perks is they have free maps and travel books when you become a member! Like I can walk into the office here in town, and say I need whatever map for my next trip. It’s glorious! They are crisp, never opened and ready for me! I personally like to write on my maps and sticky note them up, before we ever leave to go anywhere. Look below at what my maps end up looking like. Warning if you’re a purist you’ll feel sick! Another resource I also love is going to each state visitor’s website. Did you know that you can sign up for FREE visitor guide emails, newsletters and most of them have FREE travel books they will send you…. all for FREE??? Ummm YES PLEASE! (You can see part of my collection up above.)
Collection Resources (and their links): Local AAA office or AAA , Travel South Dakota , Travel Wyoming , Yellowstone National Park , Grand Teton National Park , Badlands National Park , (I do have more website resources, if you want more info just email me!)
STEP 2: Decide what you want to see…… and mark it!
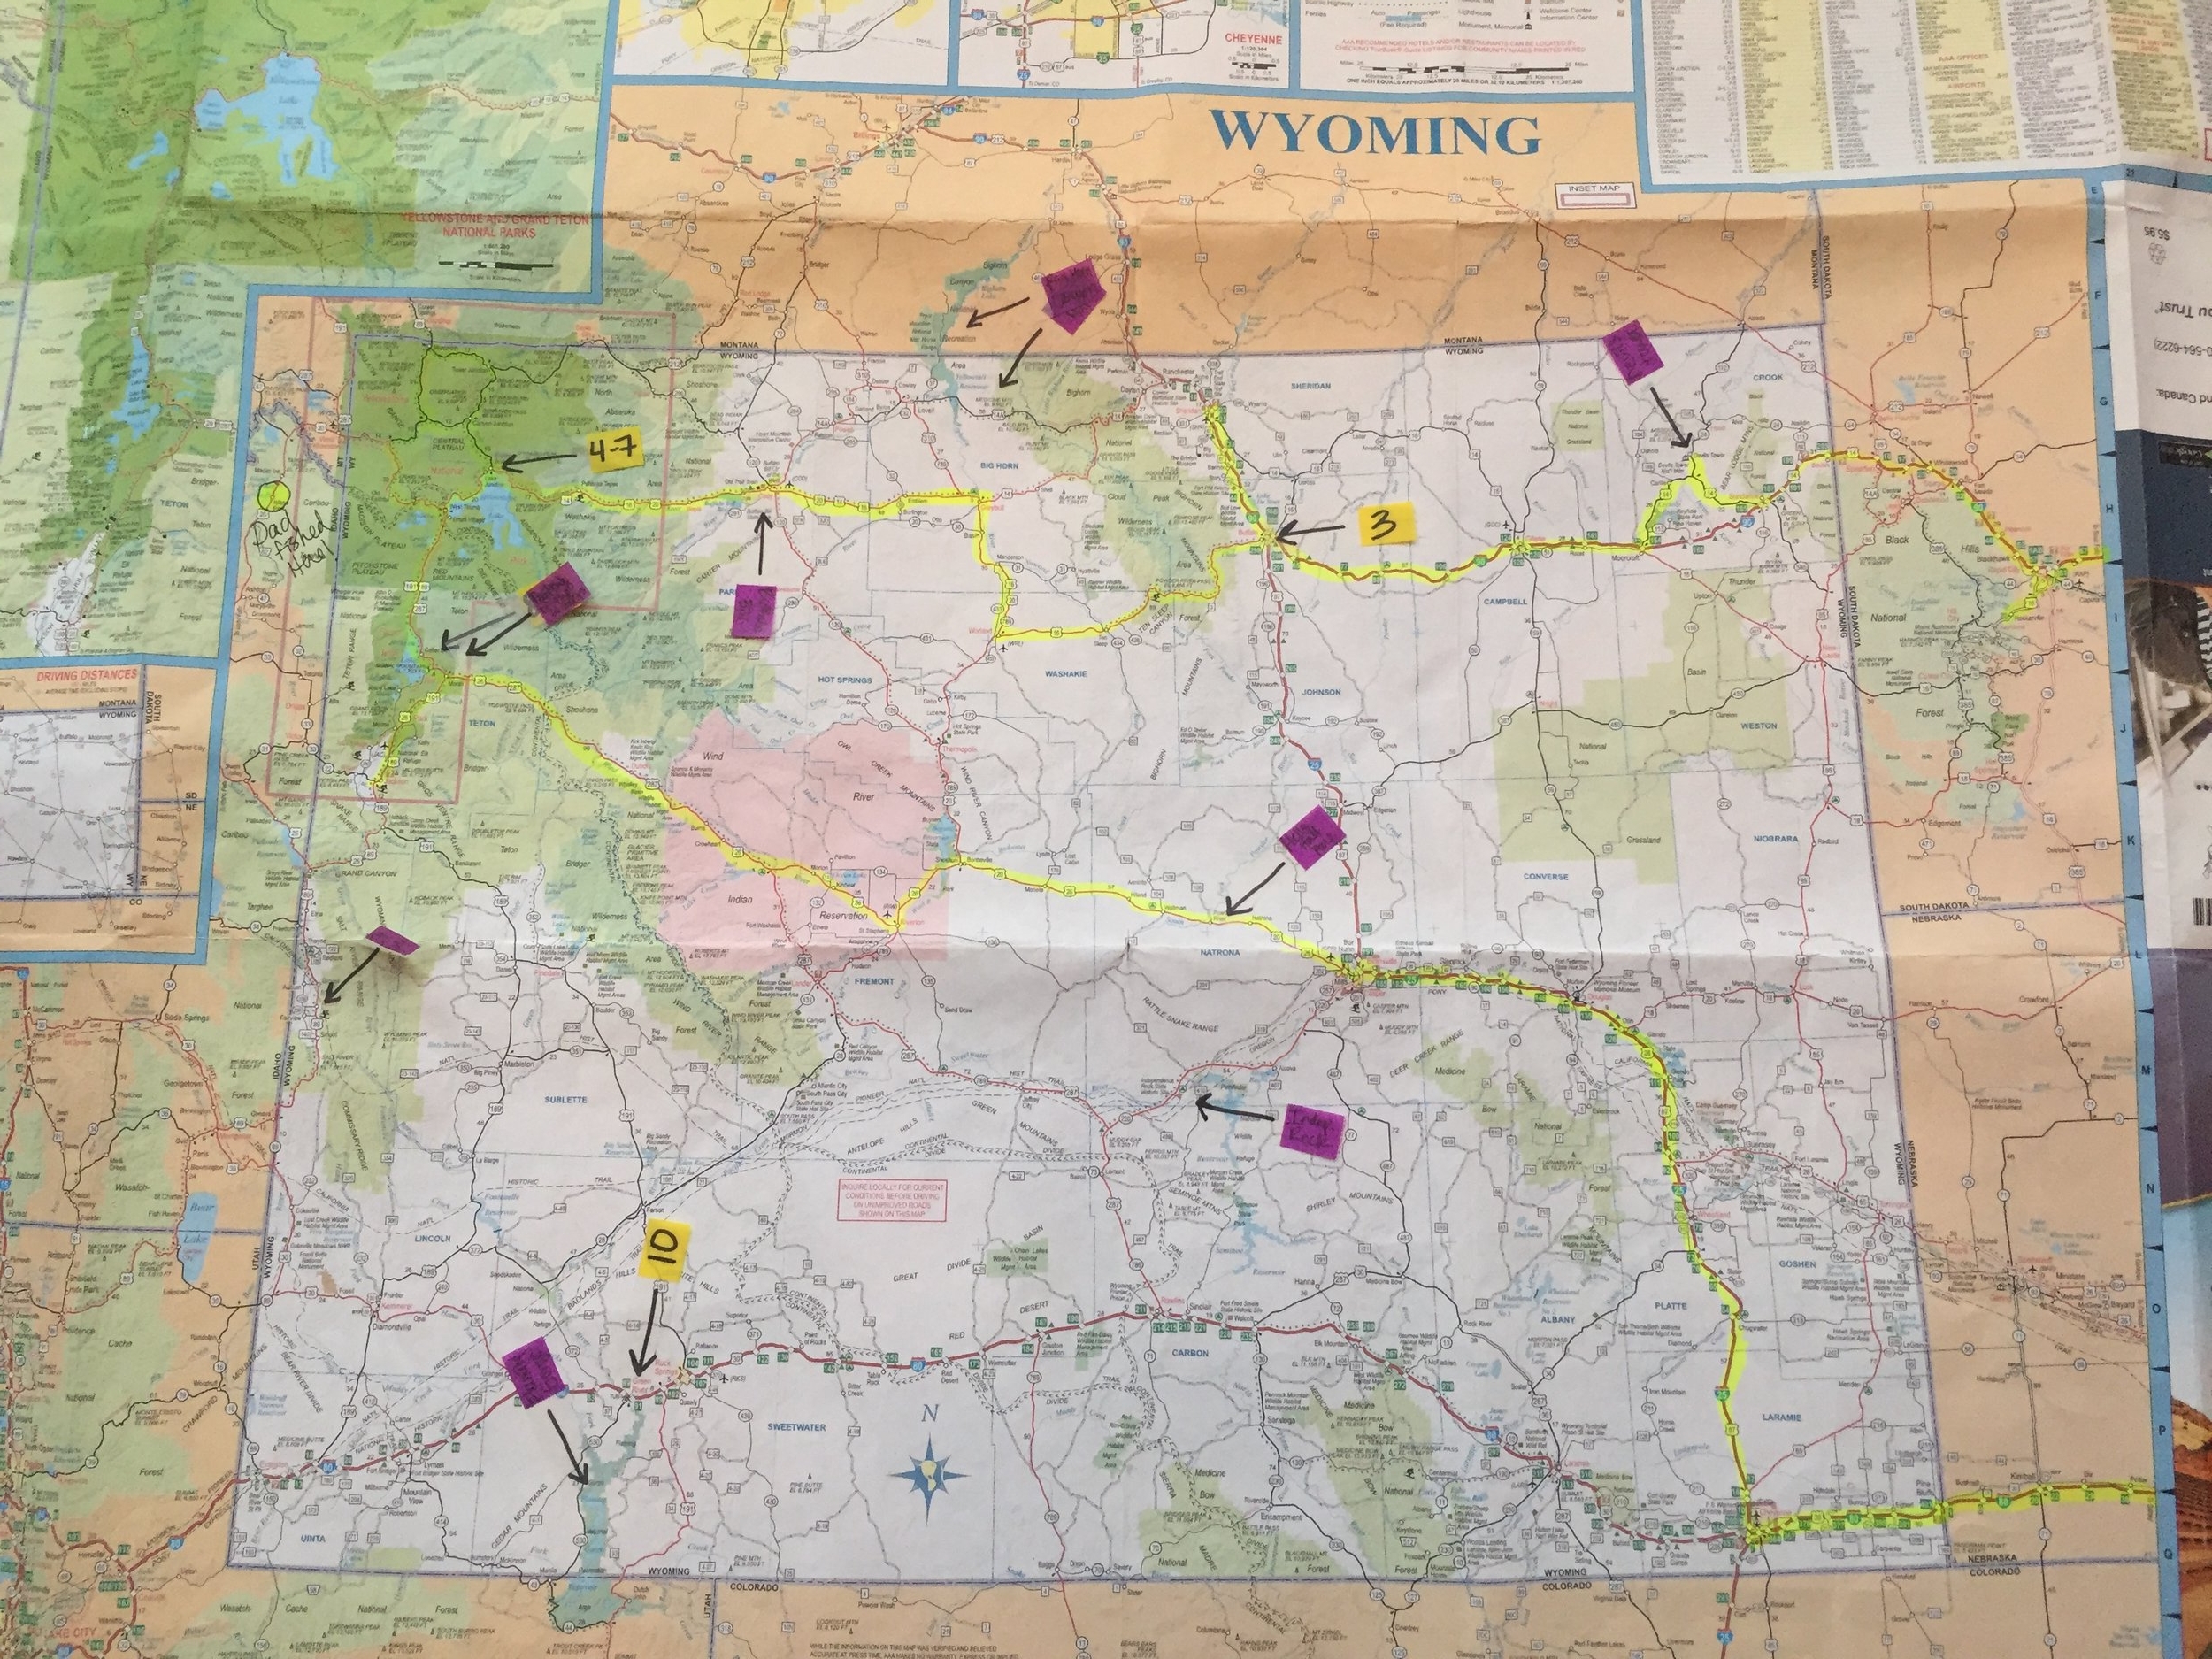
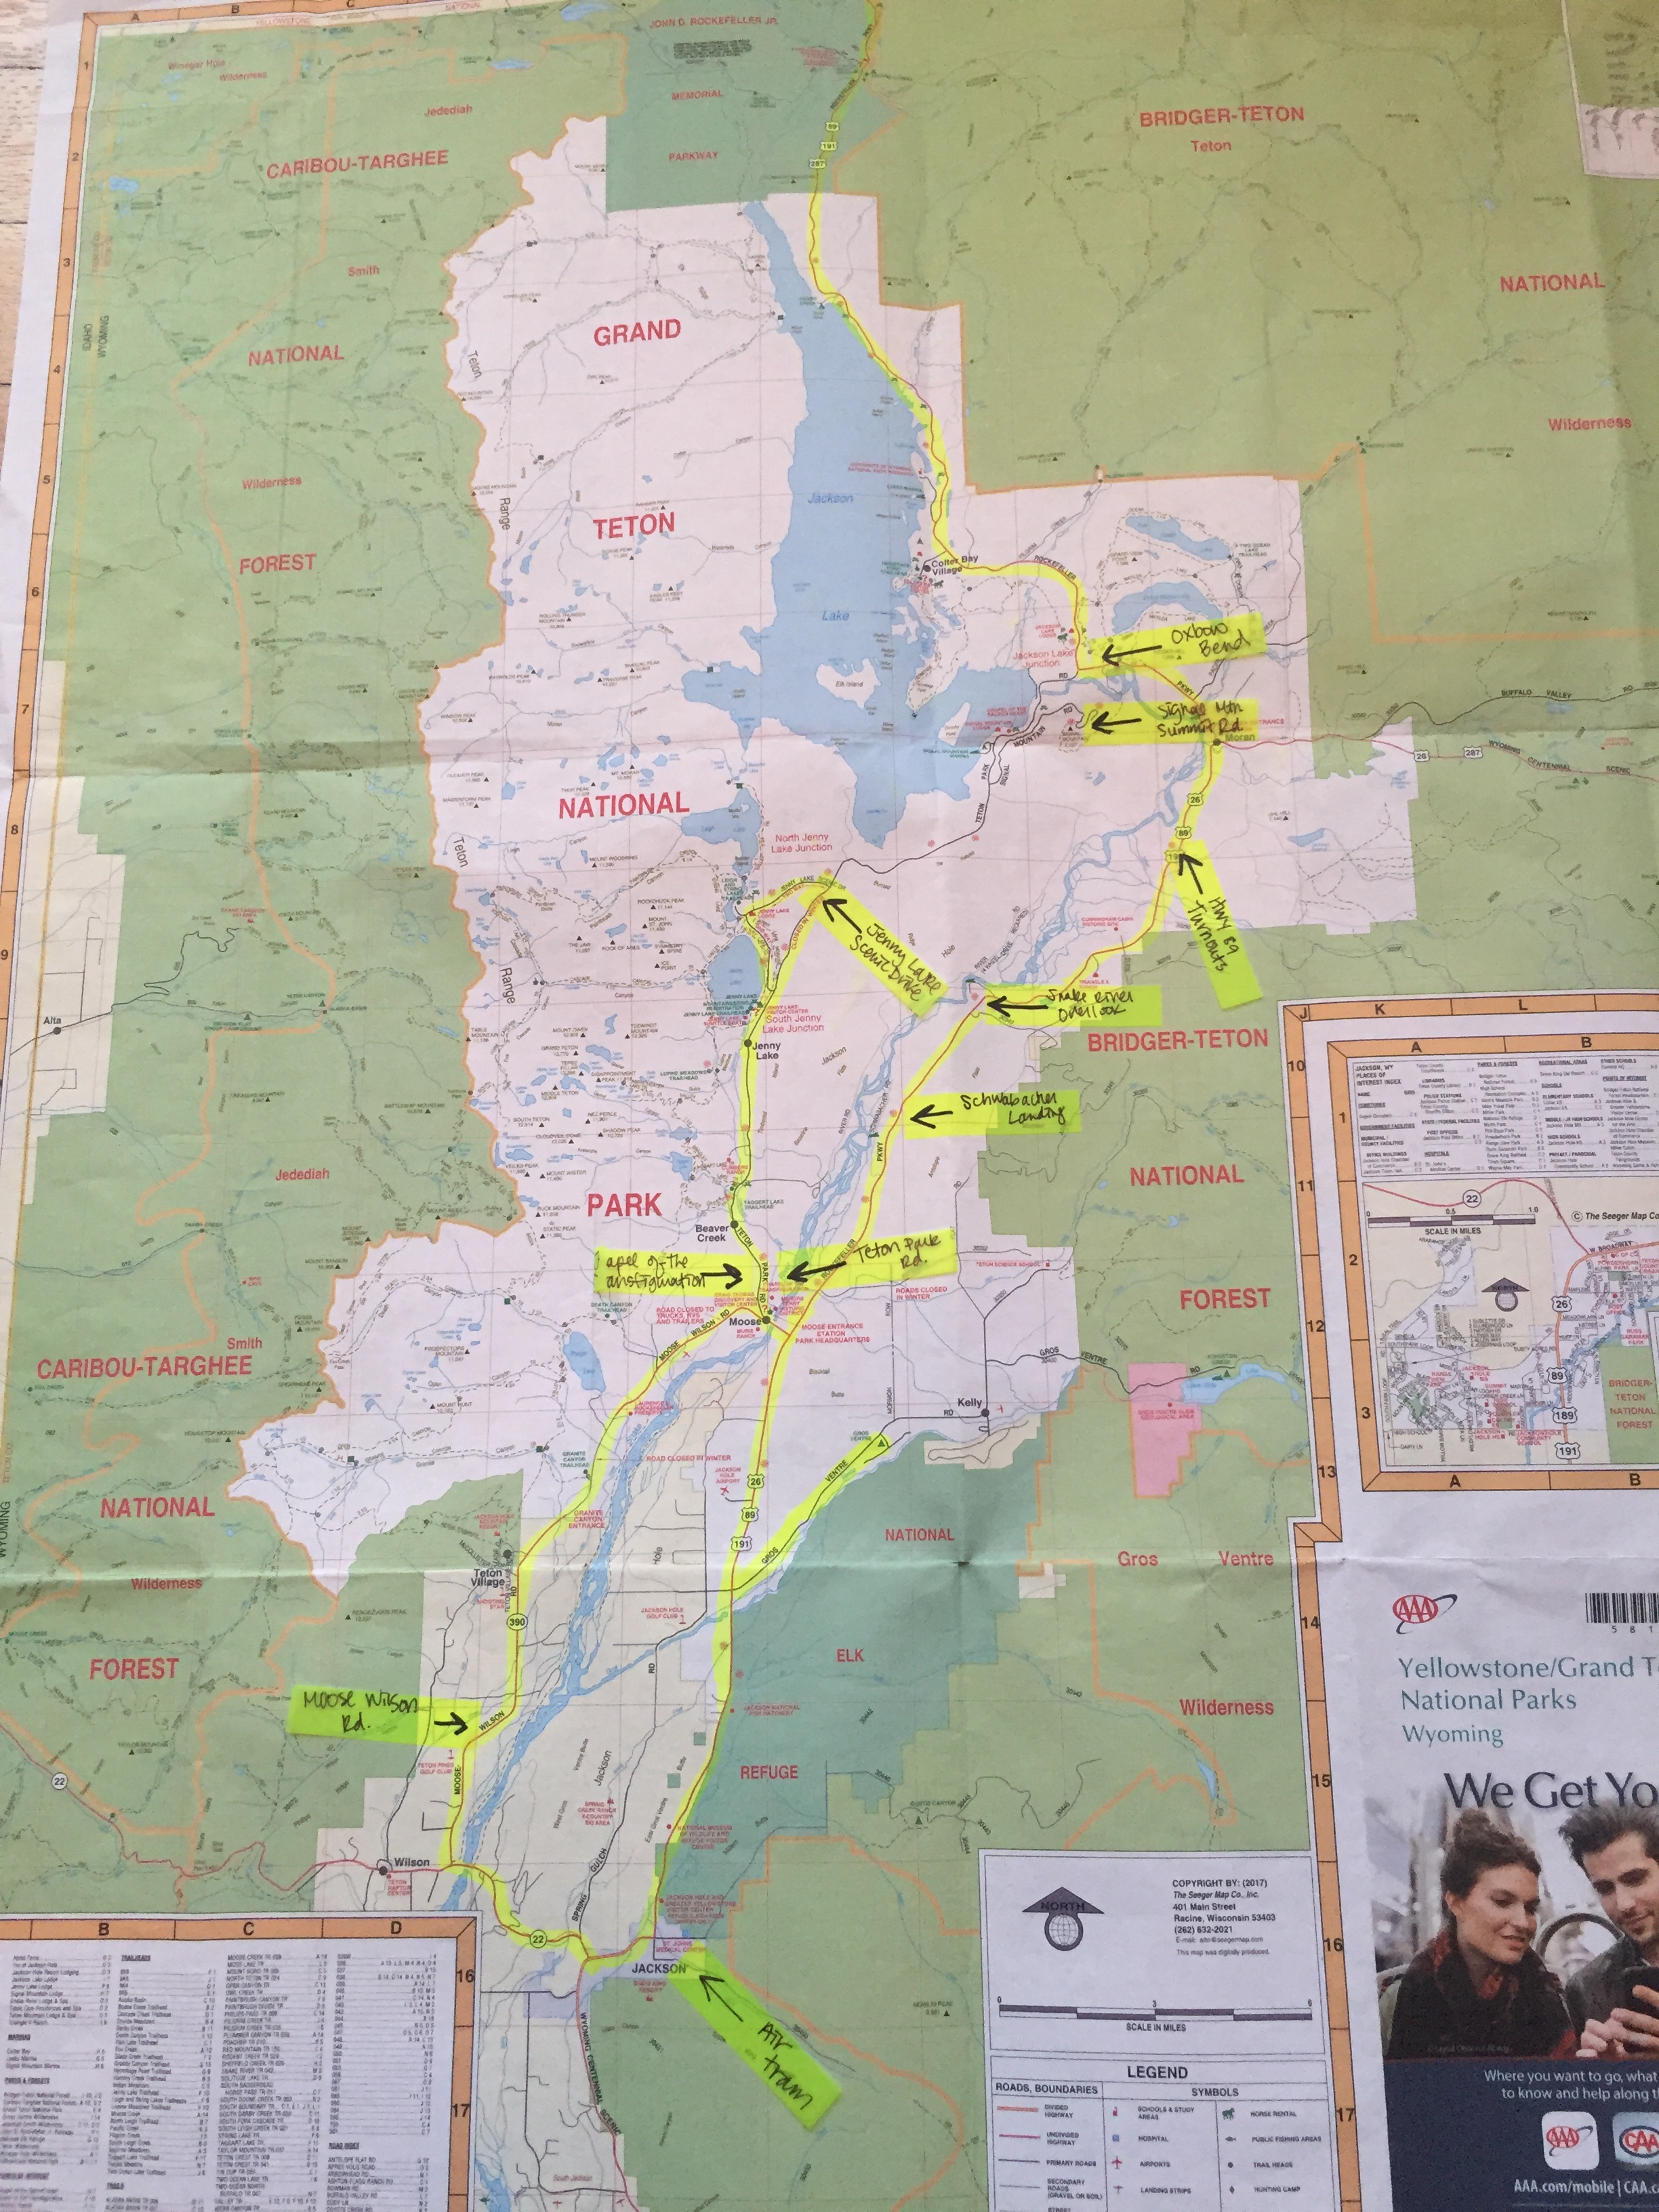
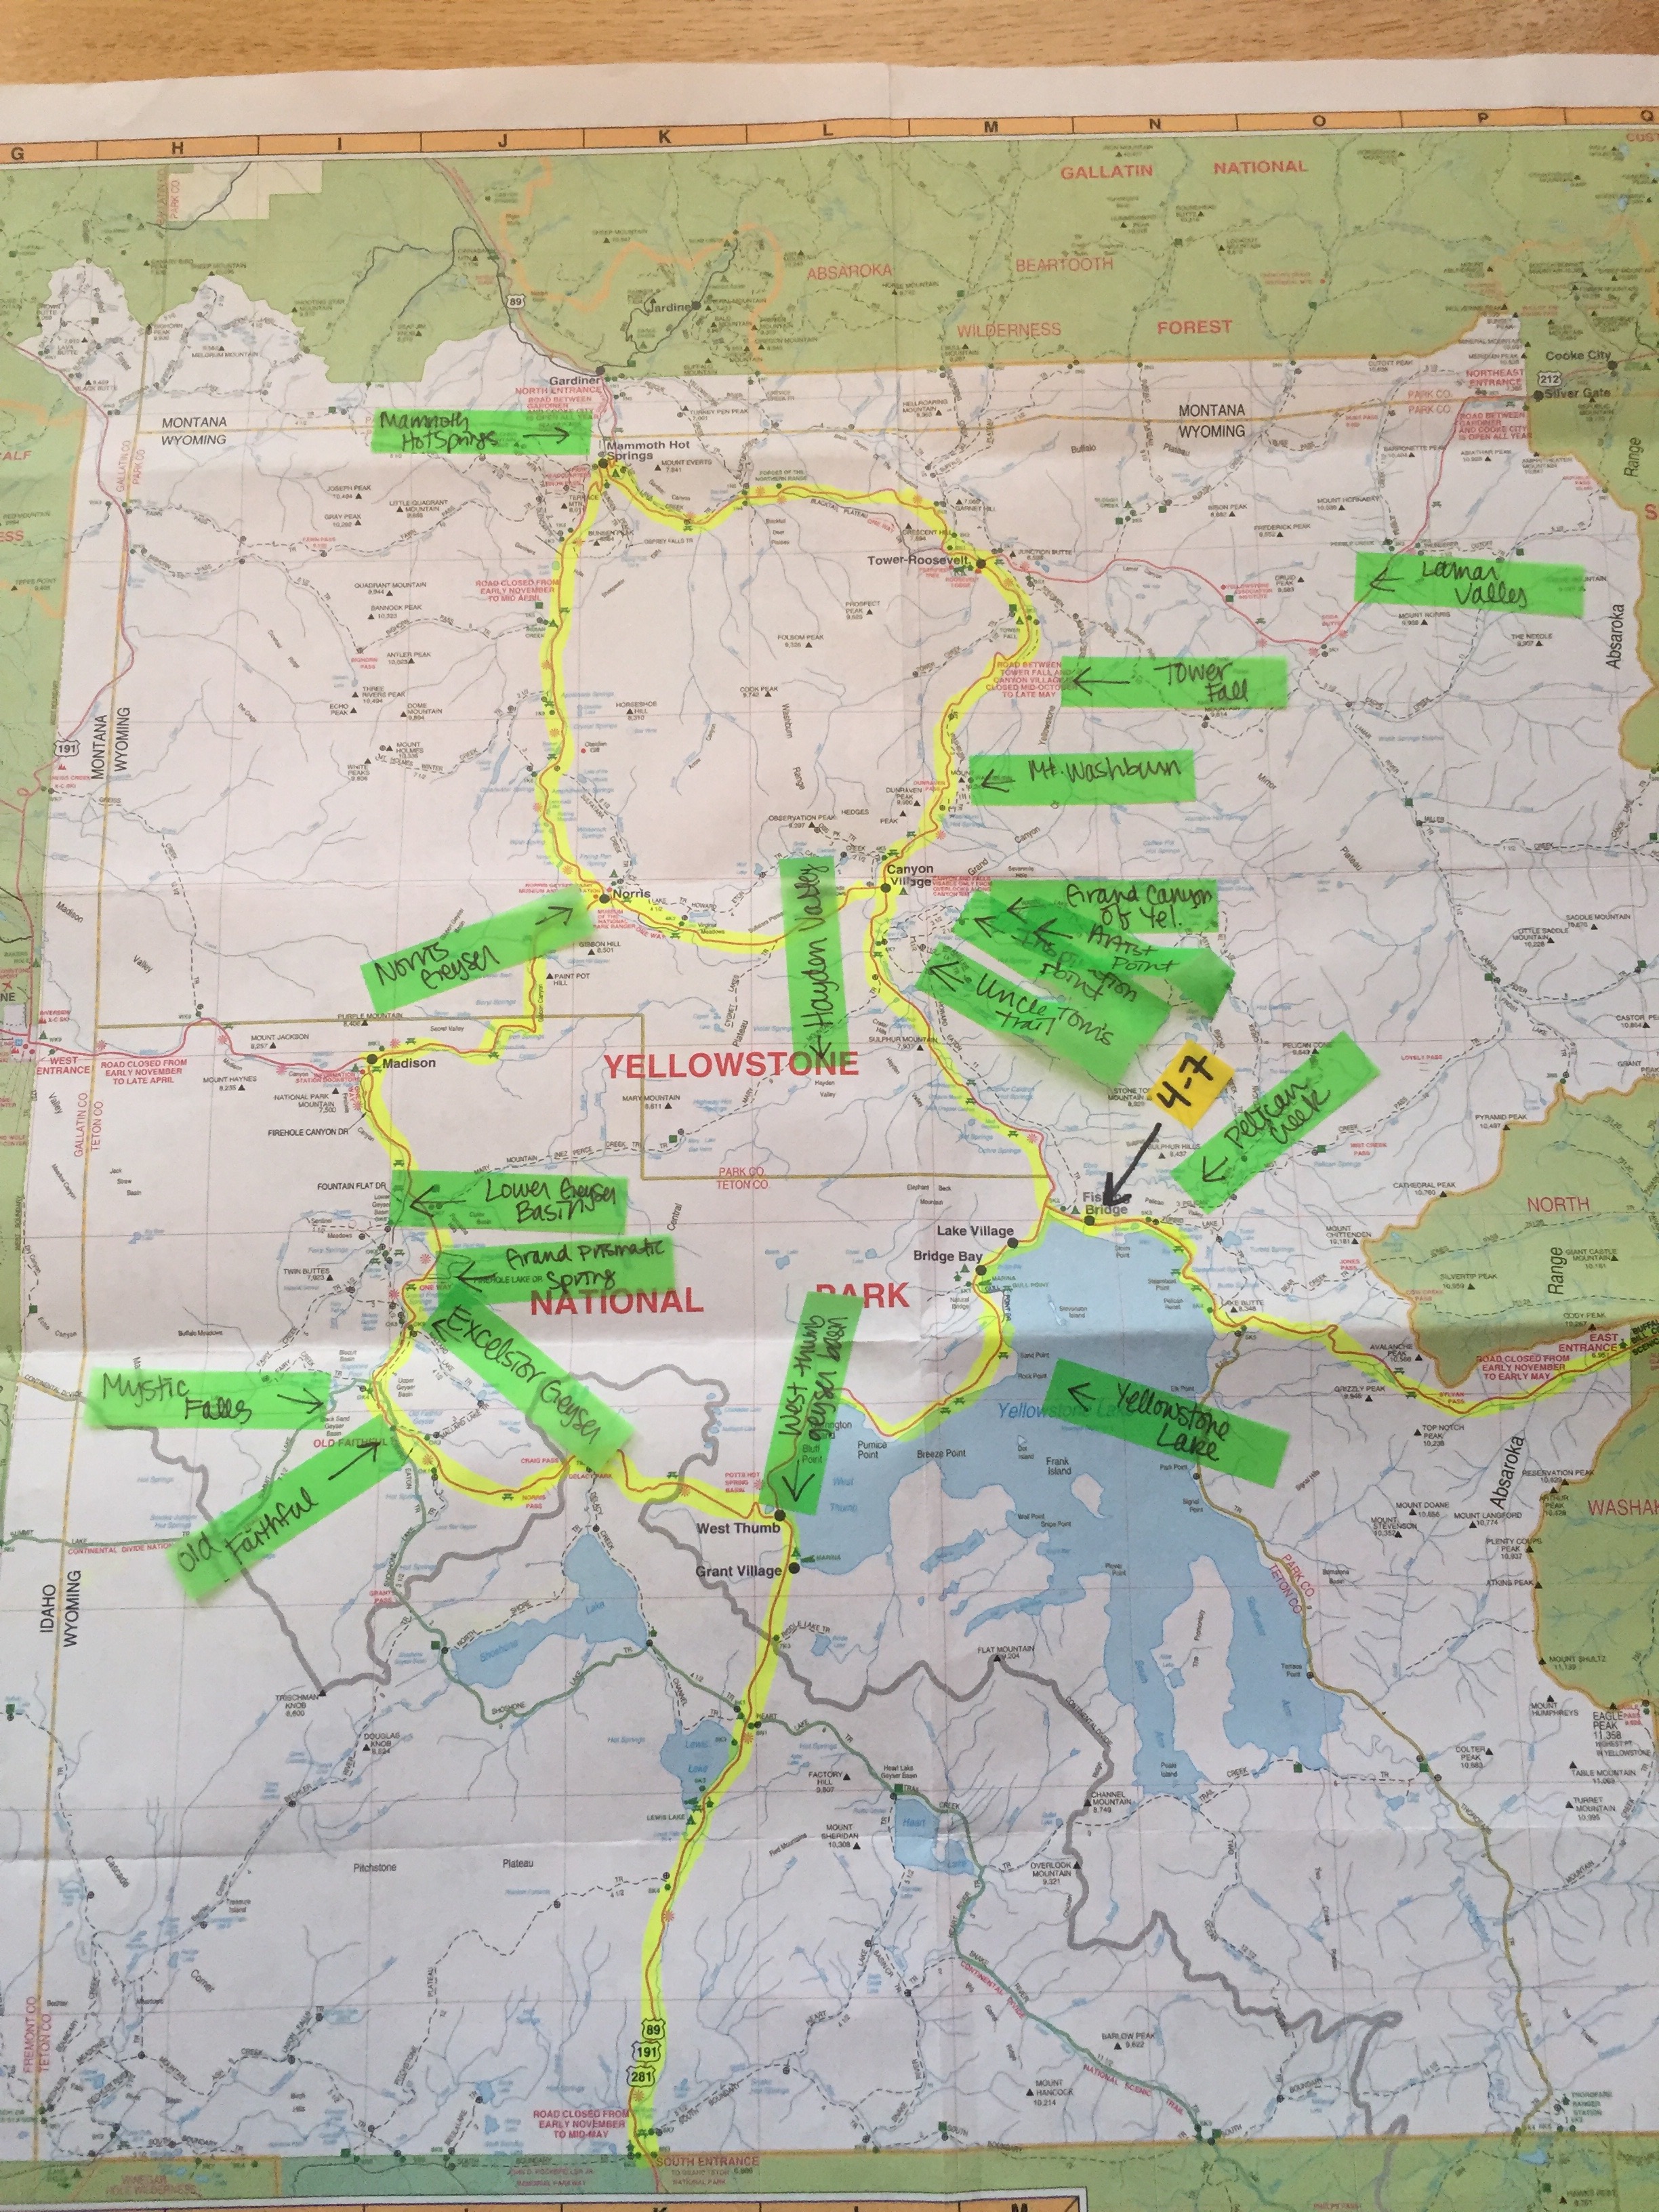
One thing you’ll notice about visiting Yellowstone or the Grand Tetons is EVERYONE is an expert and has an opinion! I’m a social media, internet, blog junkie and even for me… the information out there is OVERWHELMING. I read a lot of material on others who had, traveled, visited, camped like we did, had almost the same time frame we did and compiled a list of top things to do in South Dakota, Wyoming and the parks we wanted to see along the way. I made a sticky note spot on the map for each of the locations (it was about top 20 for the whole trip). This is helpful when you’re planning your driving route. For this trip we didn’t have any necessary stops we had to make, so we were really flexible. Also, there was a location or two in my mind that I wanted to see, that once mapped out with everything else, was too far out of the way and just not gonna happen.
STEP 3: Navigate your driving route and decide where you’ll be spending the night!

Once my map is all marked up with things to see, Doc Whiskers comes in and we navigate a route. He’s the realistic one (he pulls the trailer 90% of the time) so he always reminds me realistically how far we can go in a day. See I have this problem that I want to see EVERYTHING, and well that’s NOT REALISTIC!
One thing I’m pretty adamant about, is where we will be staying each night! A 32 ft. travel trailer isn’t always the easiest thing to maneuver and well a 2 year old needs to run around before bedtime. If you know how many days you’ll be traveling, a general idea of what destinations you want to see, and where you will be staying each night… well you’re pretty much ready!
One resource we used A TON on planning our nightly layovers was the Campendium app. It’s AMAZING!!!!! You can plug in your destination, check out and see what campsites are available in the area, and then we could either call or go to each campsites website and reserve a spot. Since we knew the weather could be an issue, yes… even in May, we knew we wanted full hookup sites if possible and if not, then for sure electric.
Resources: Campendium app, and we utilized calling Park Ranger stations for information on weather and any road closures
Here it is folks… here’s the first leg of the trip!
Day 1: Iowa to Mitchell, SD
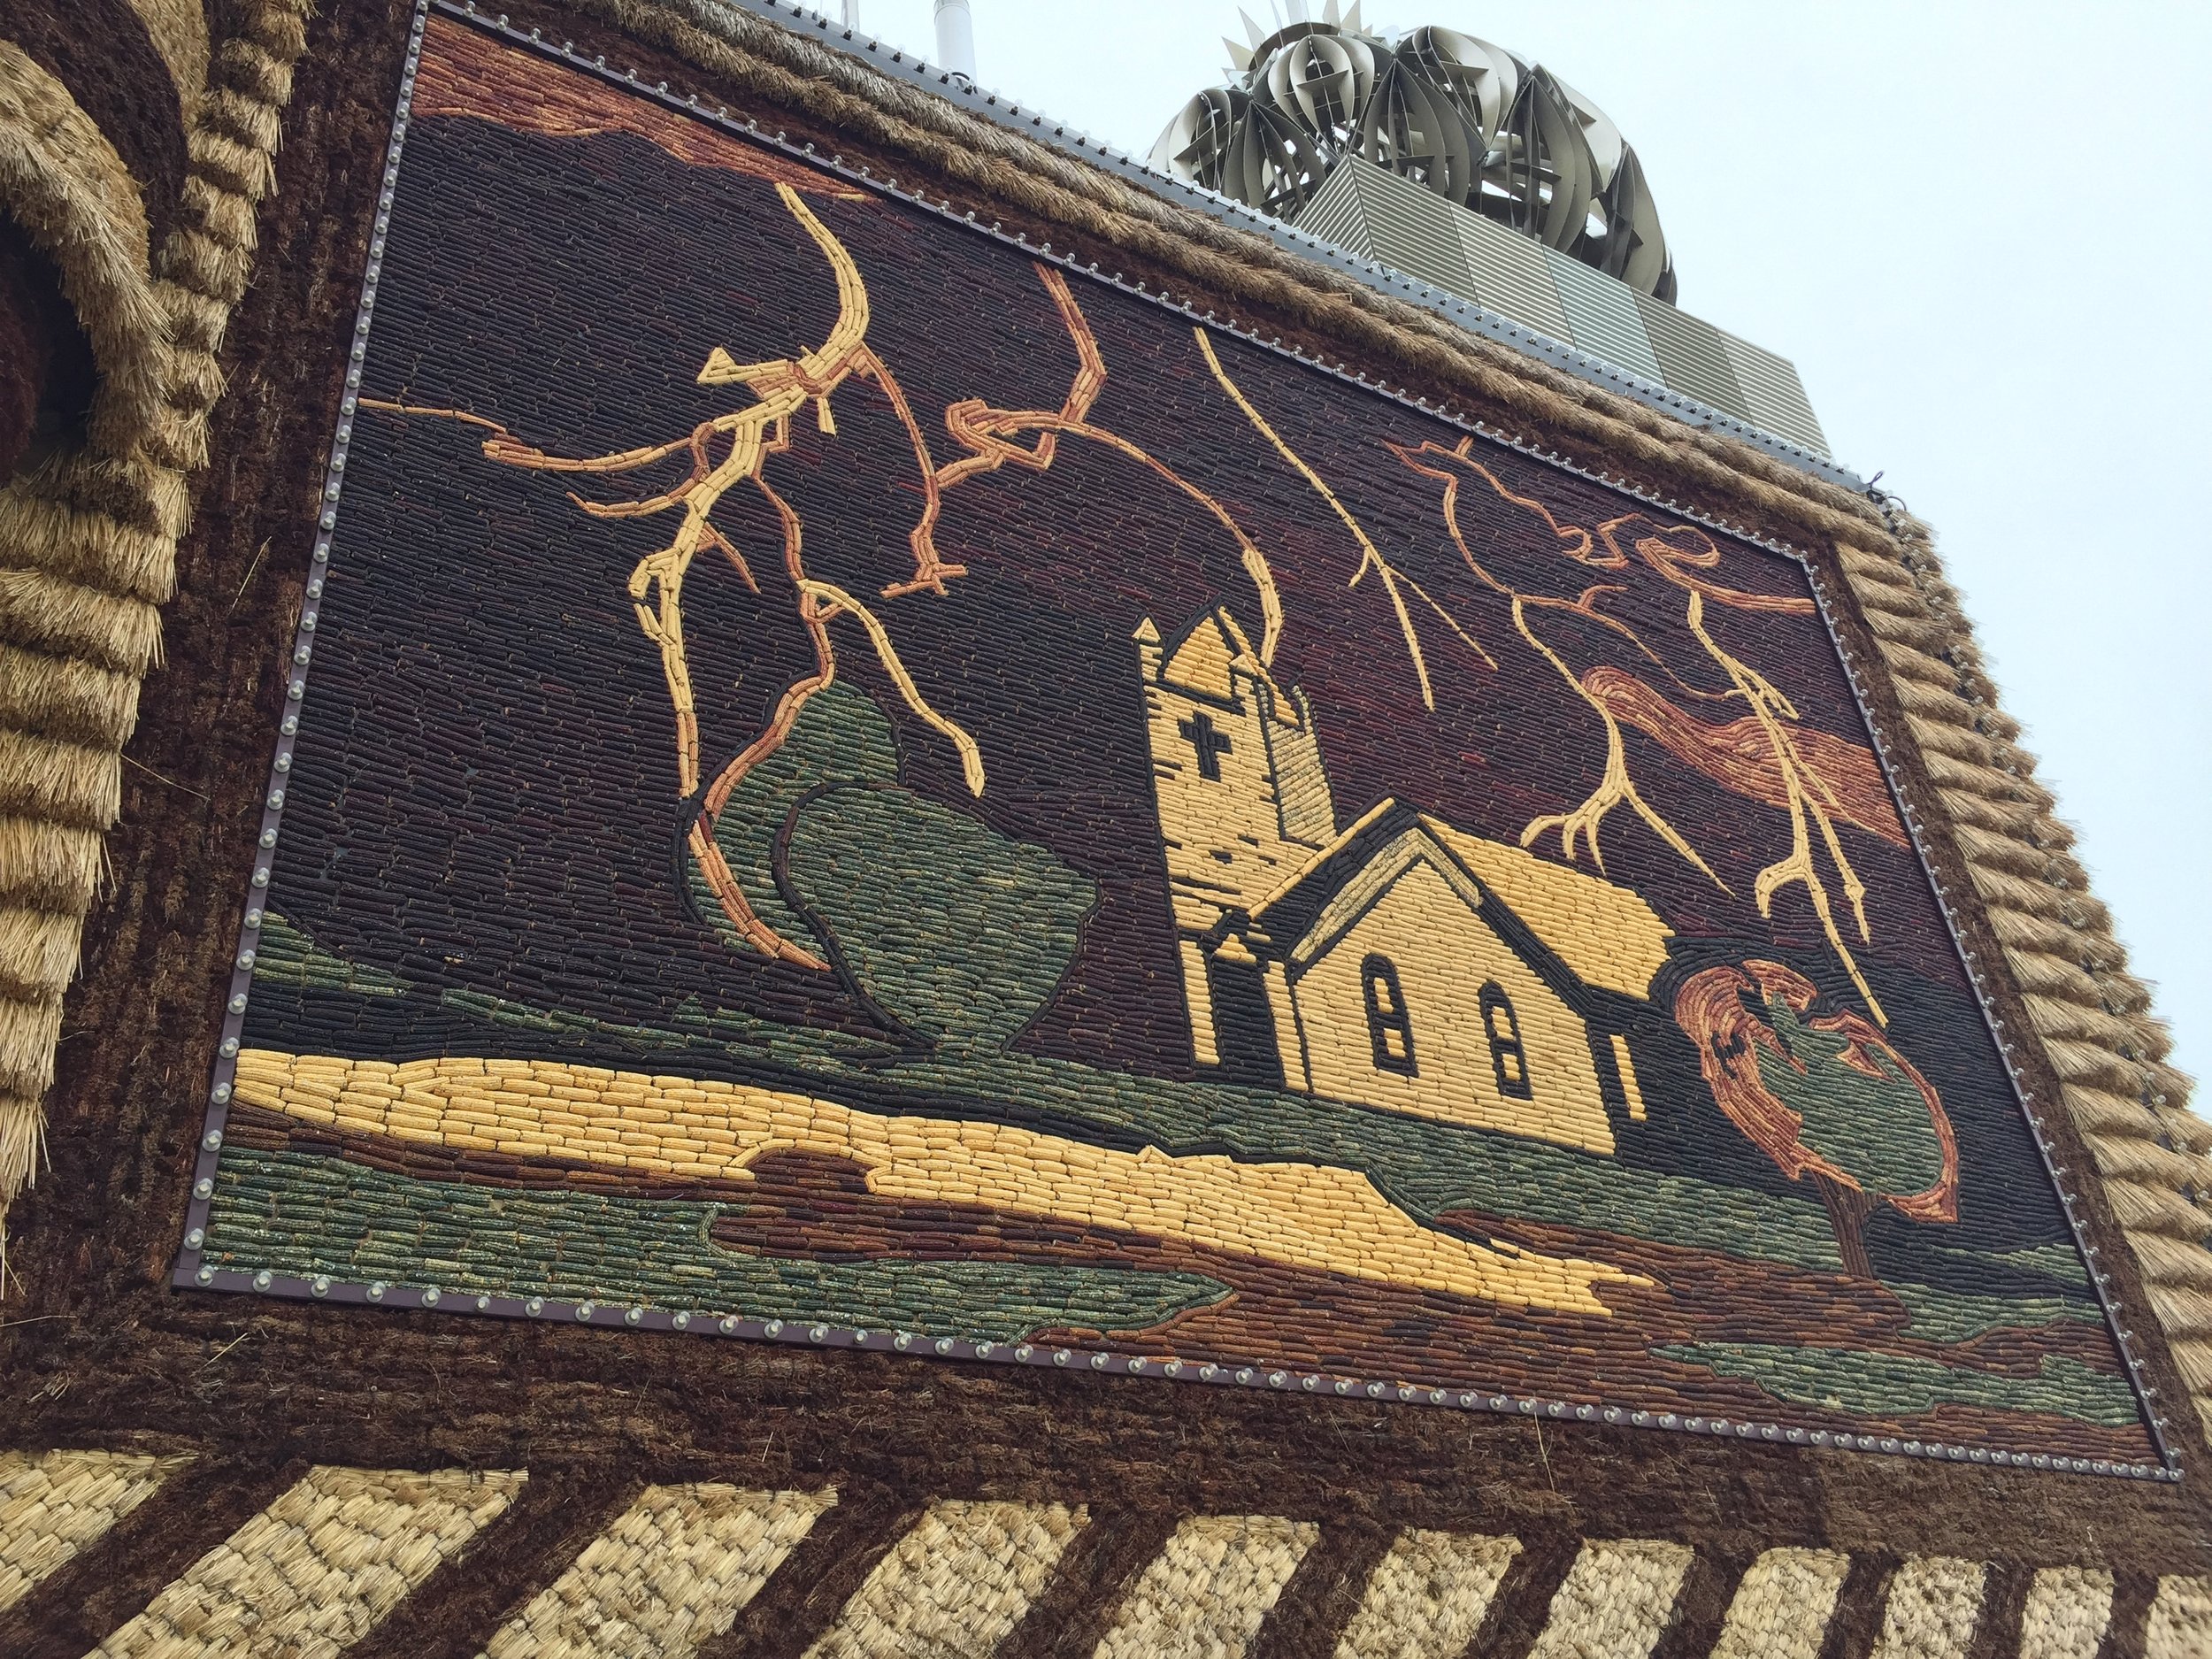
Saw along the way: The Corn Palace, Menard’s Home Improvement Store (insert eye roll) because something broke on the trailer (yes on our first day).
Camped: Cabella’s parking lot (did you know places like this offer free overnight camping in a side parking lot, and is a great option if you don’t need full hook-ups for your camper)
Day 2: Mitchell, SD to Keystone, SD
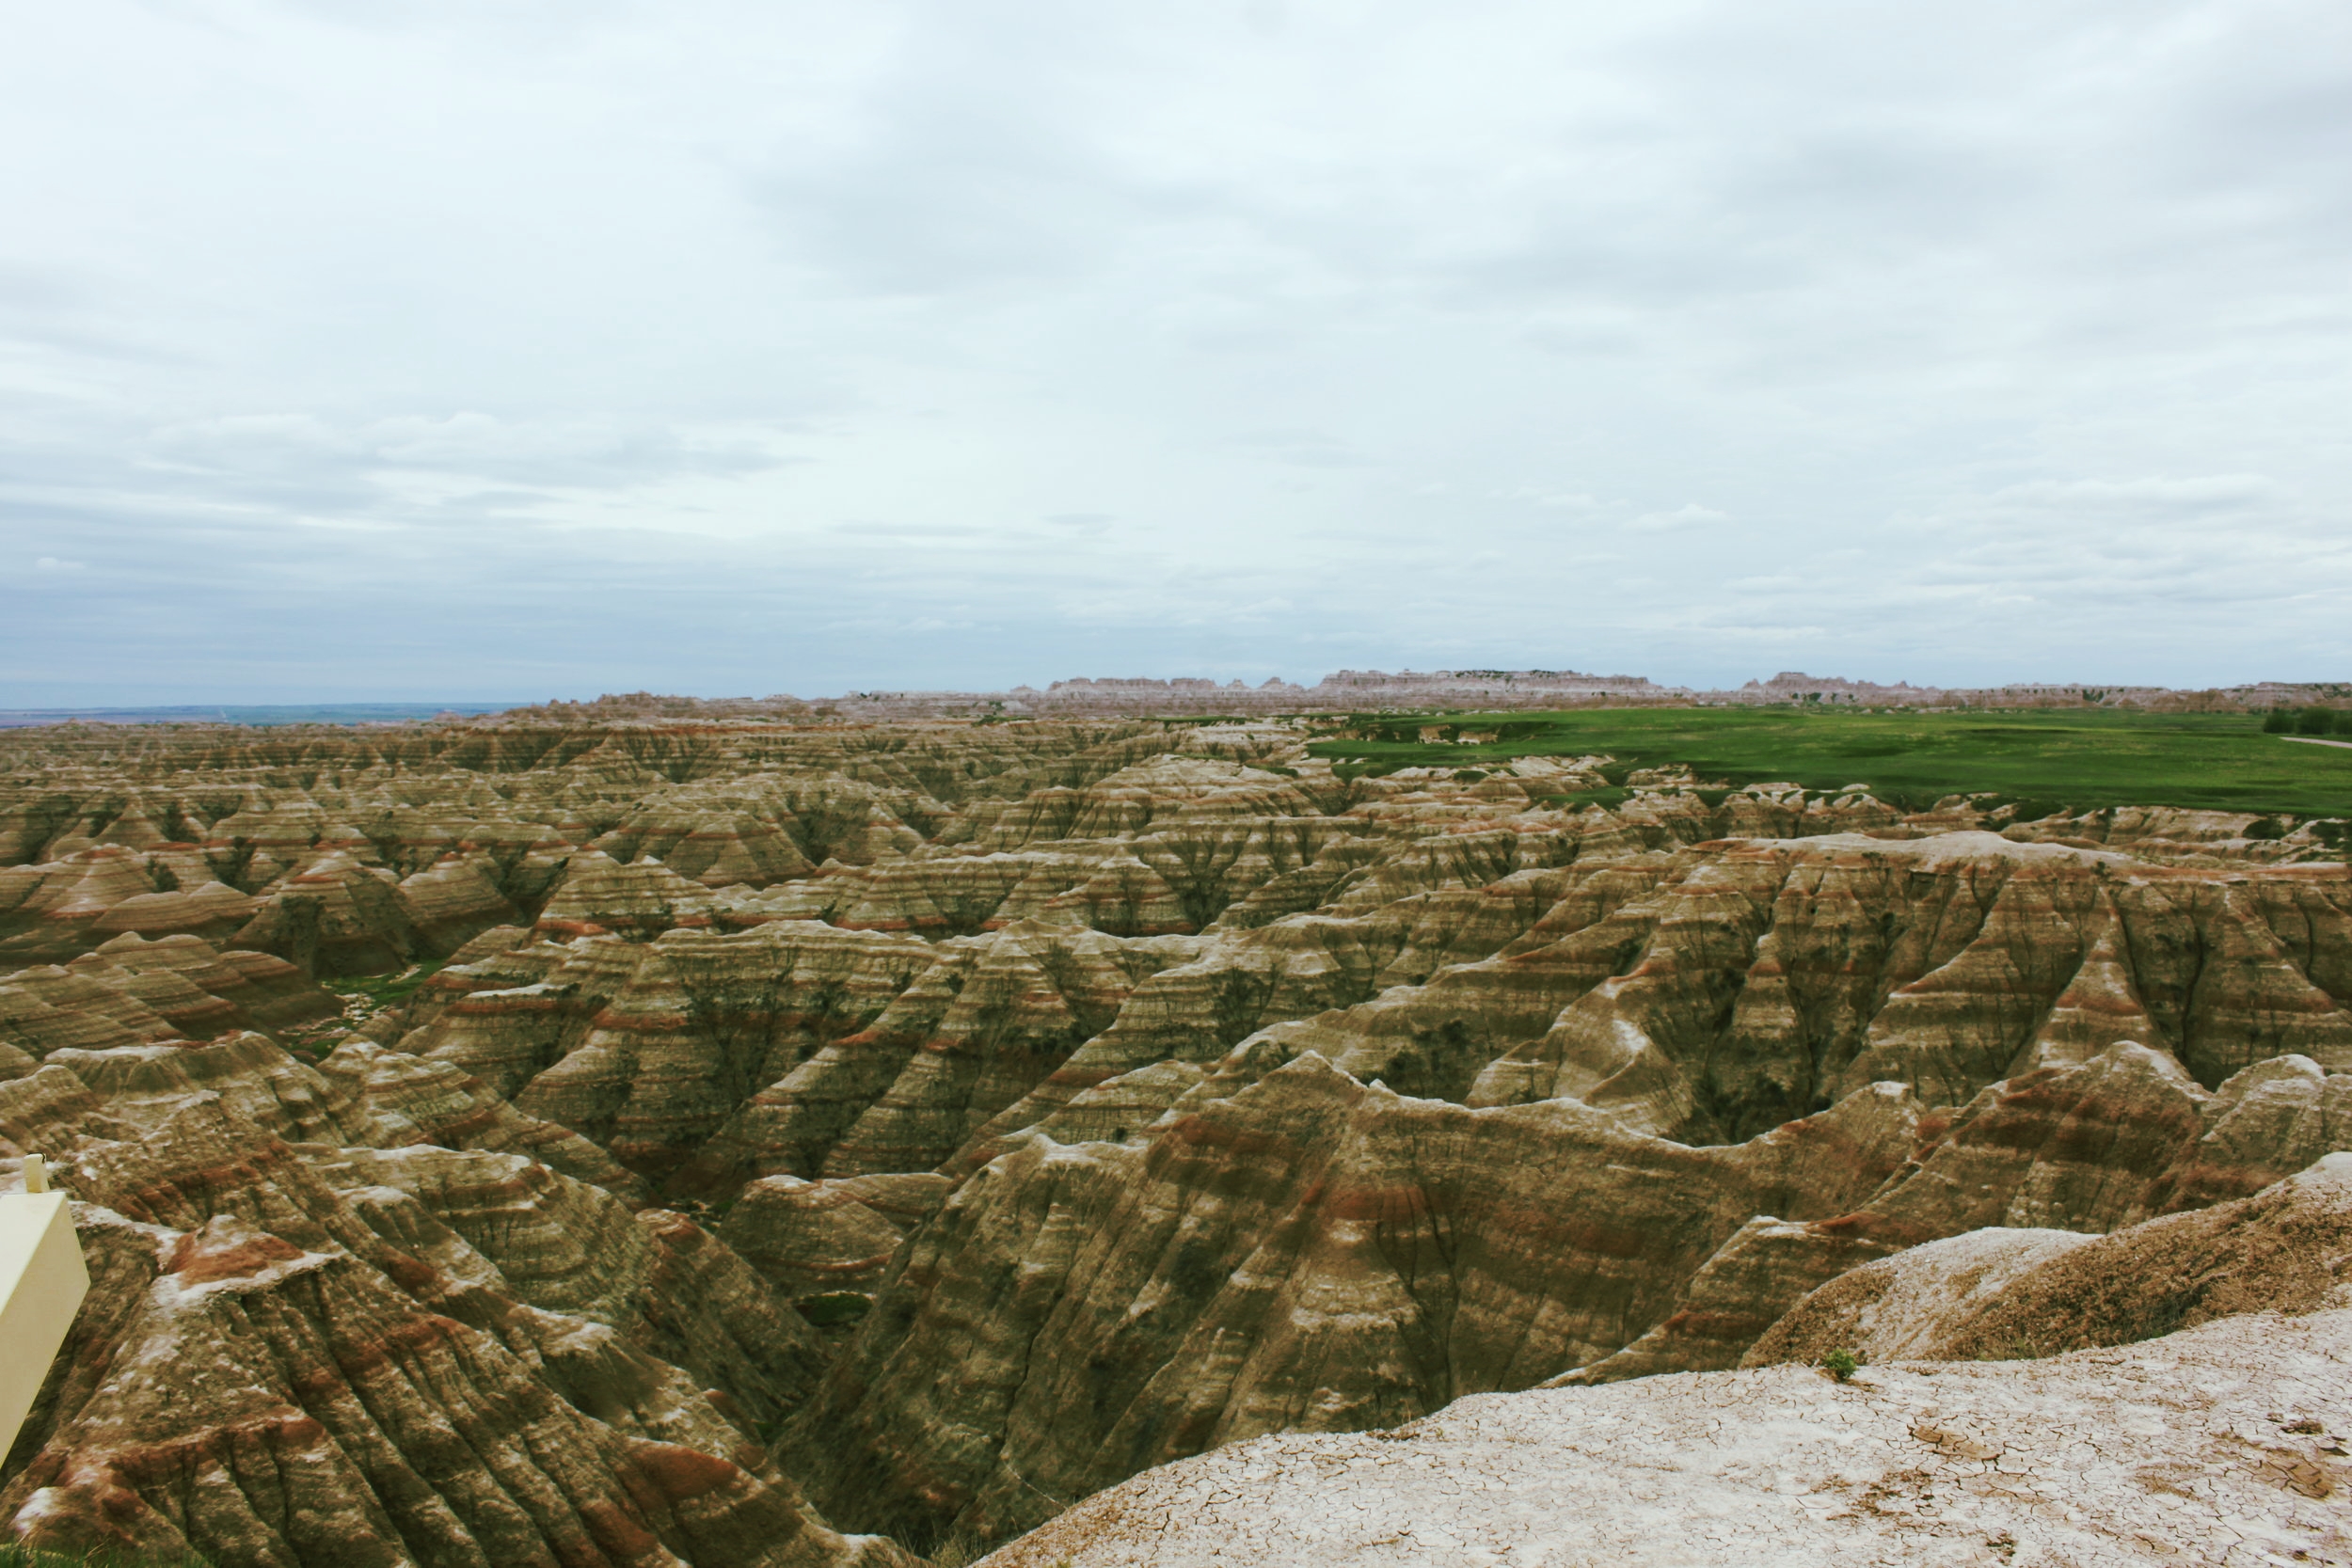
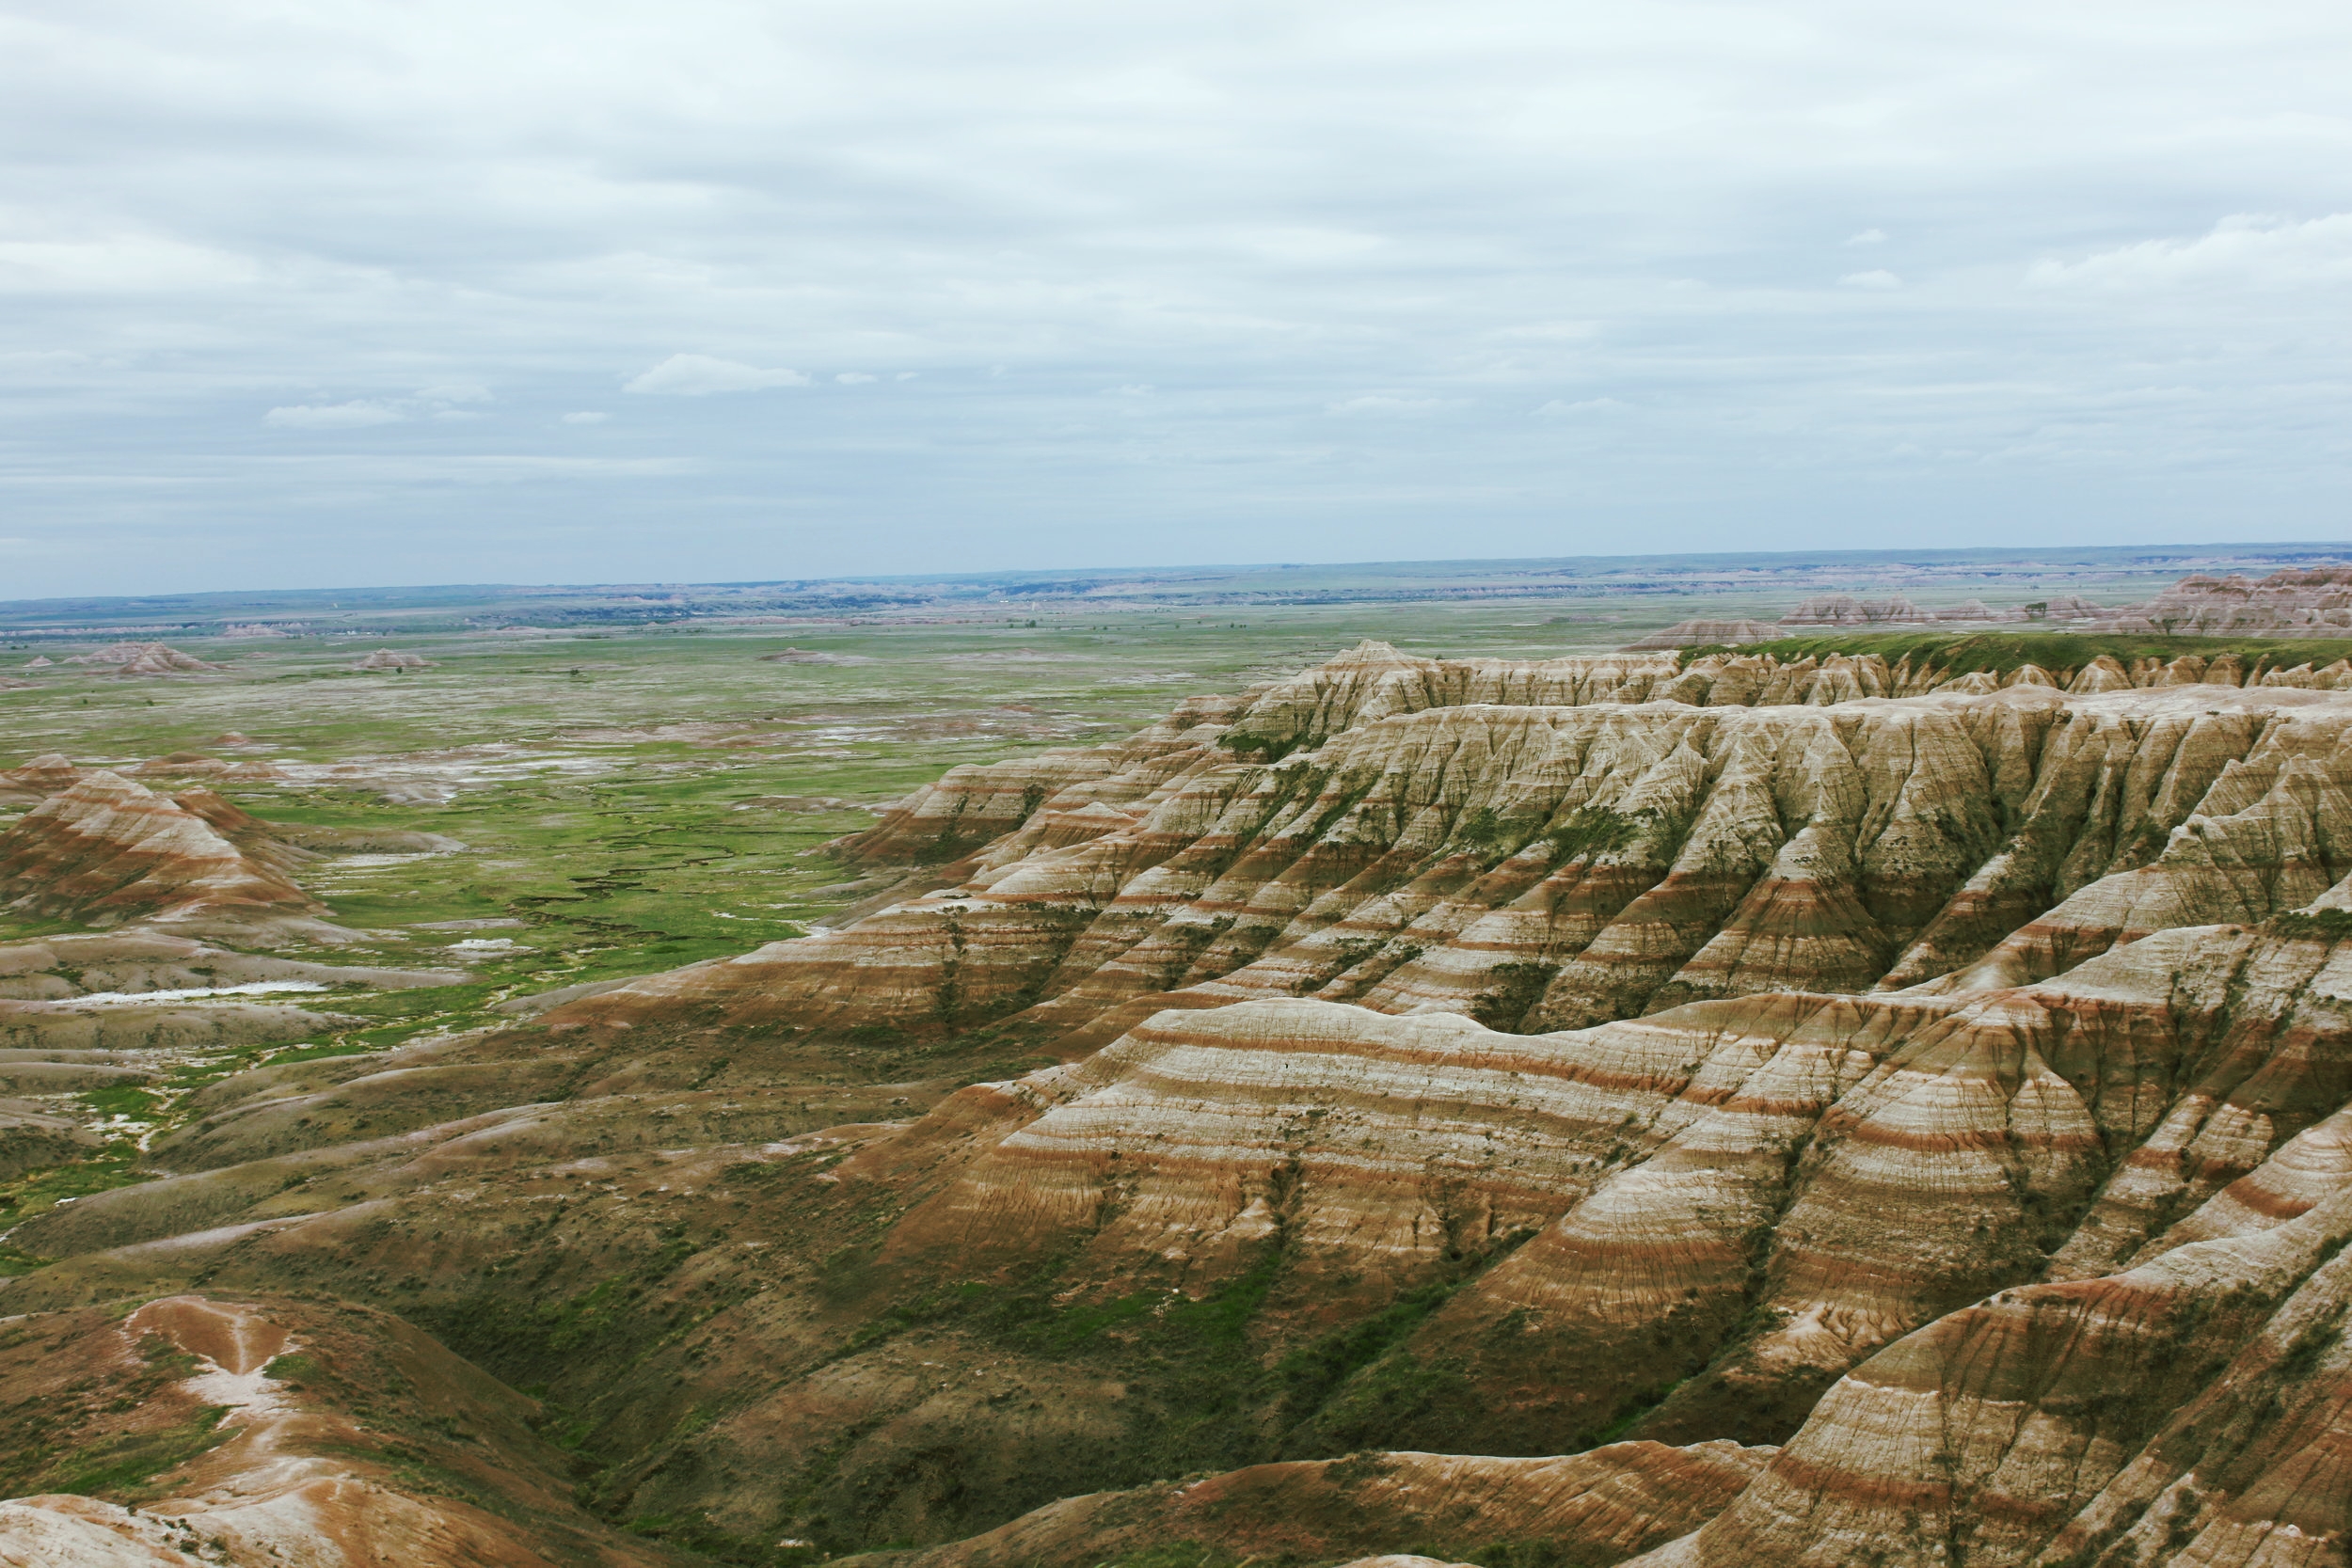
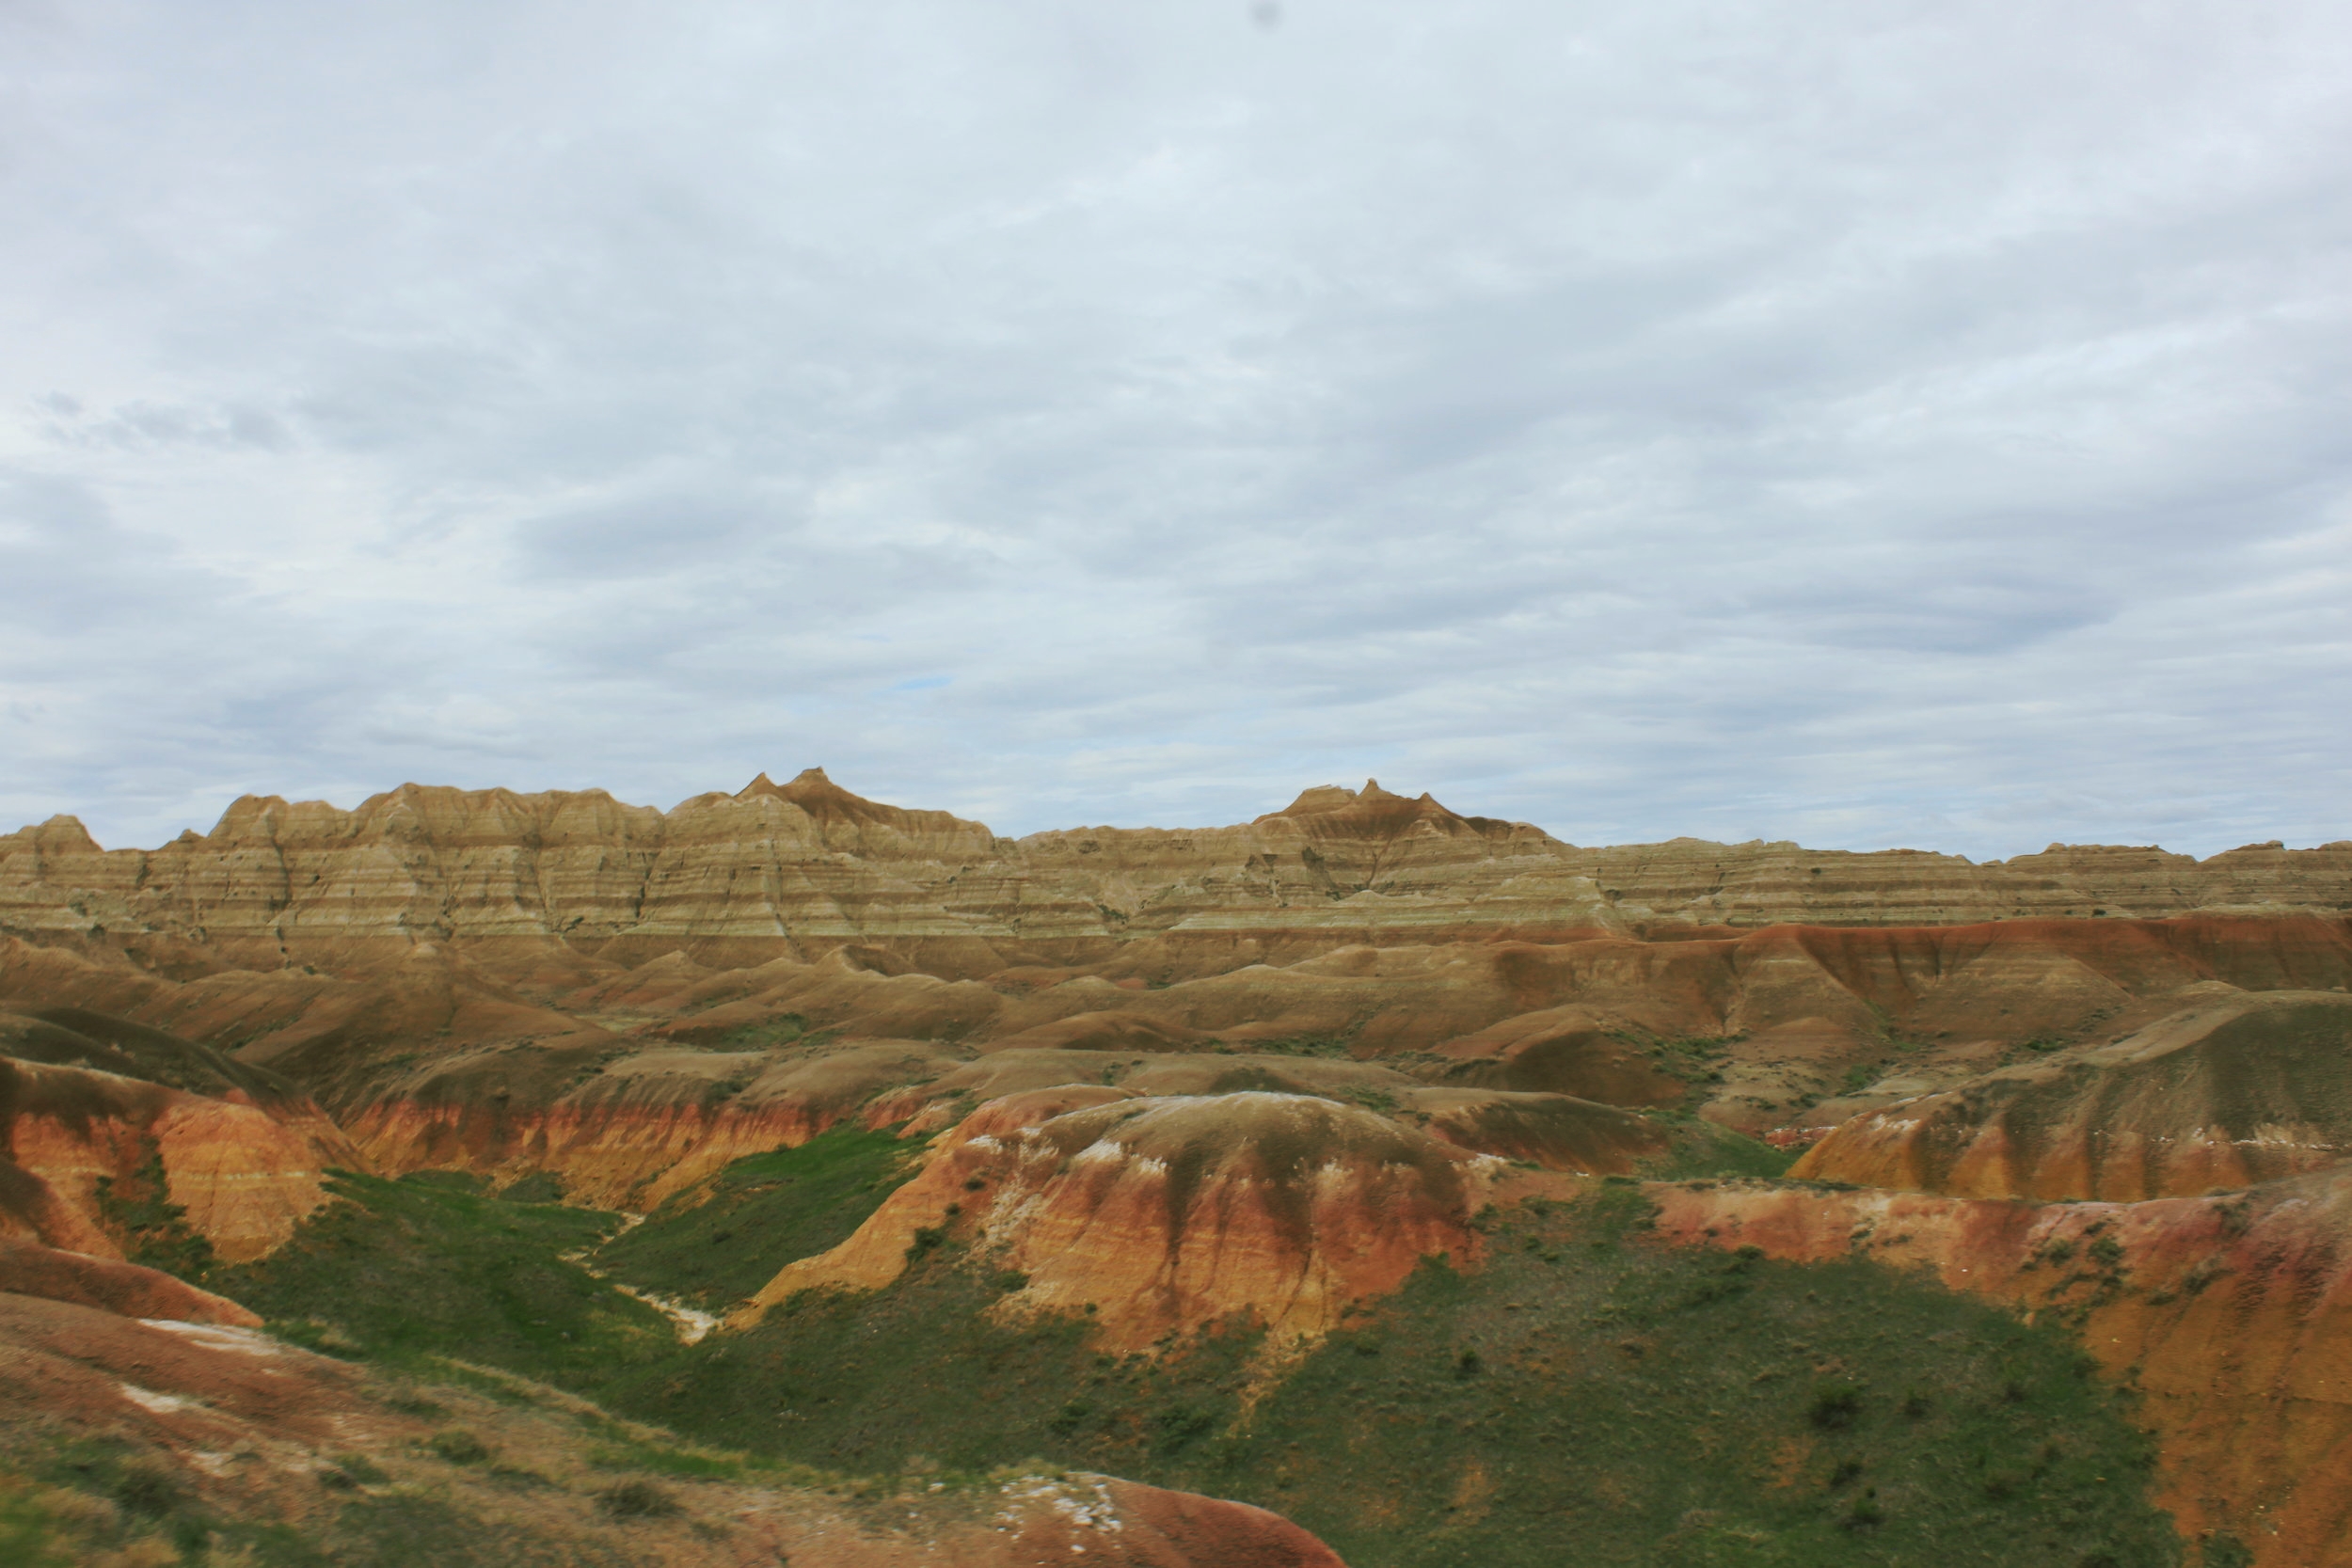
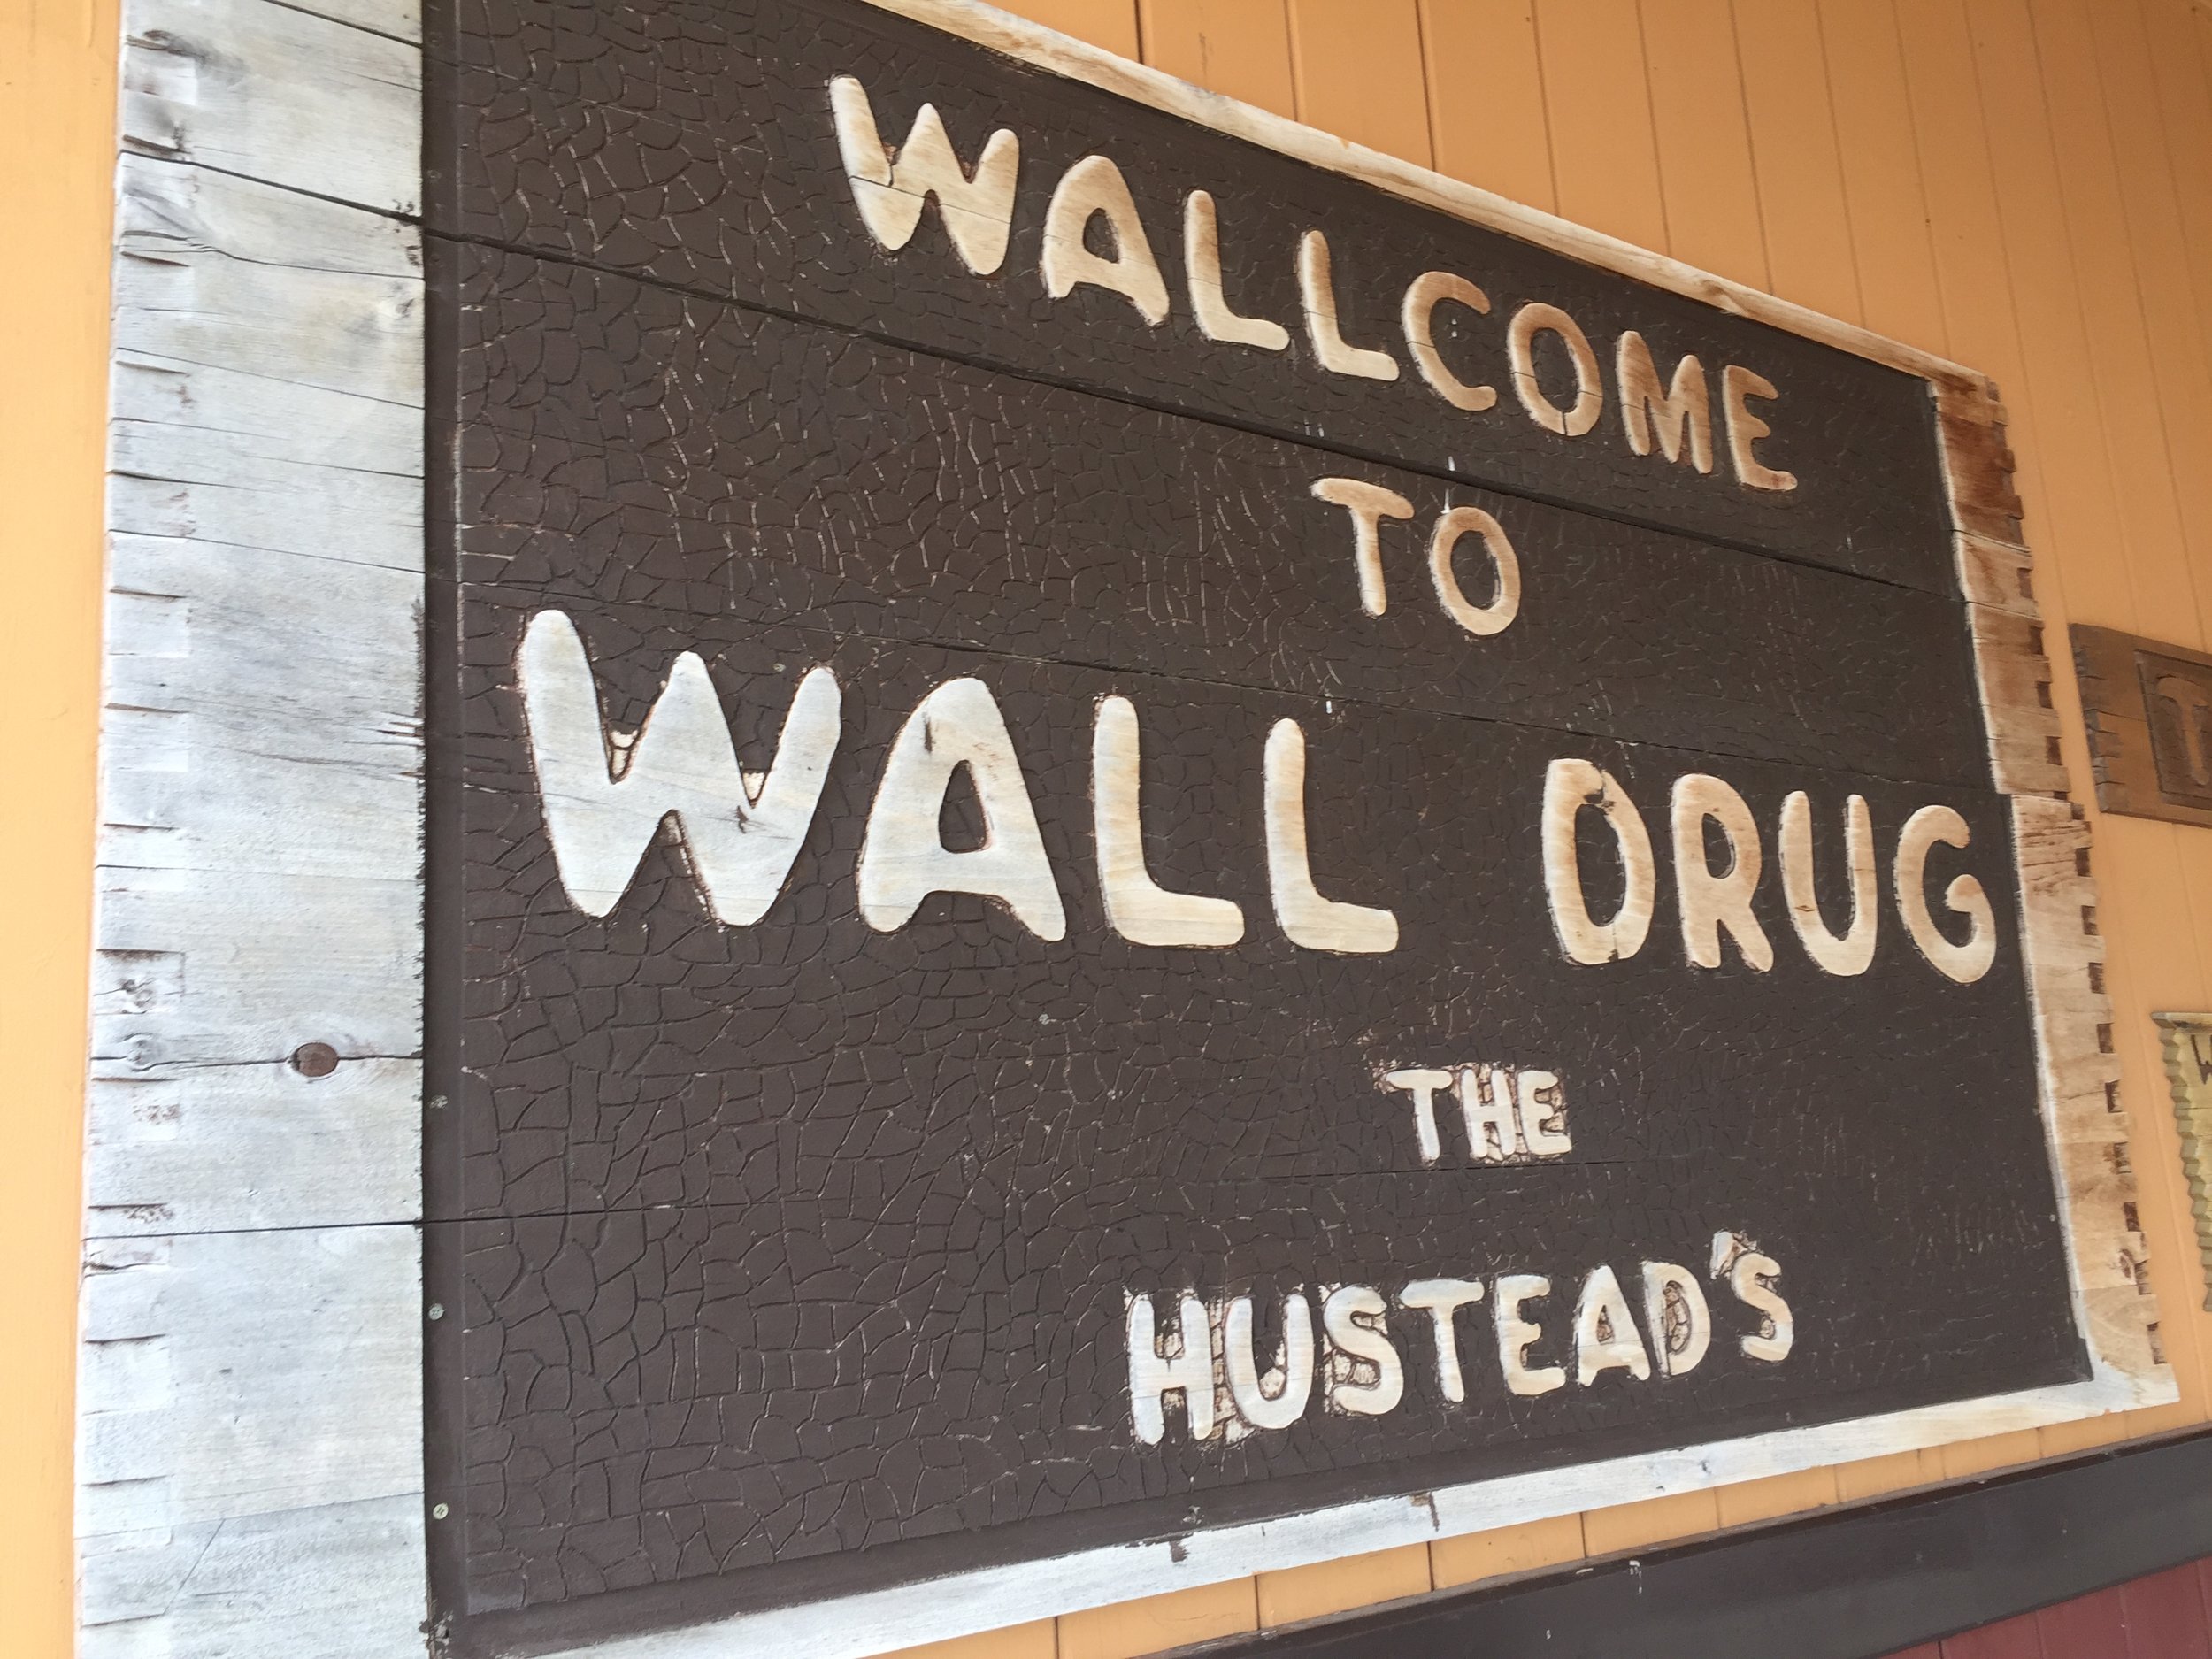
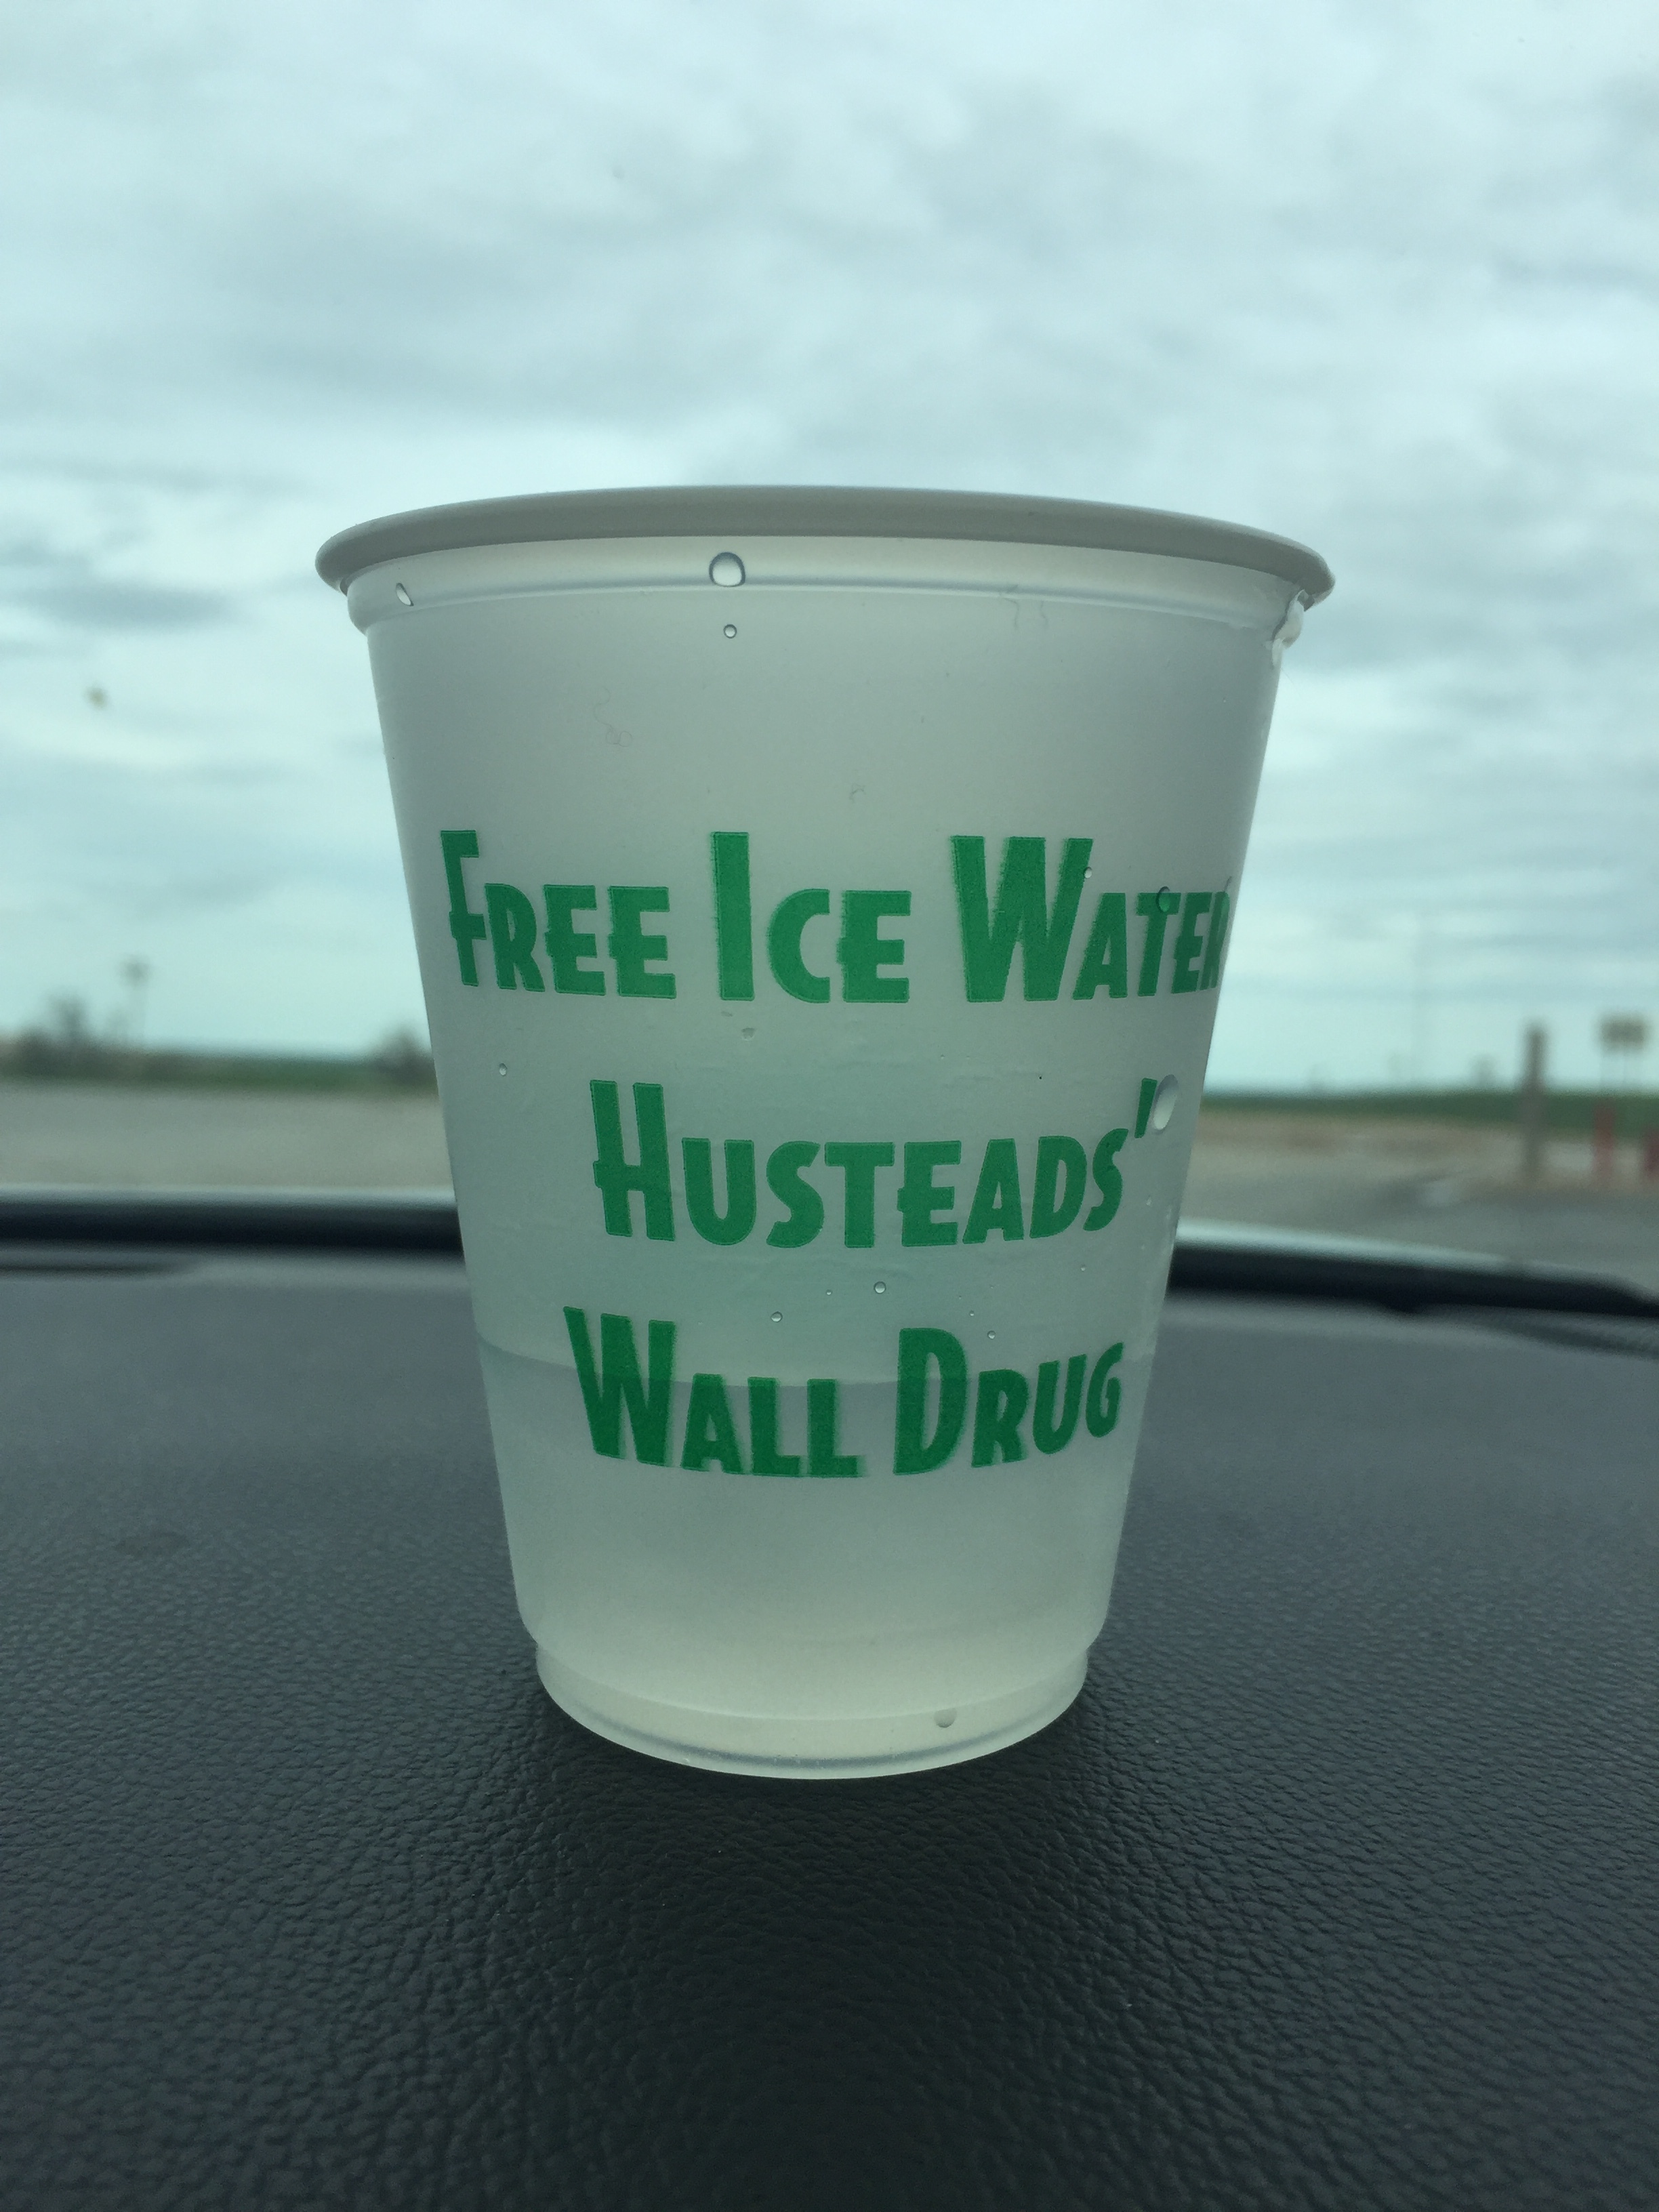
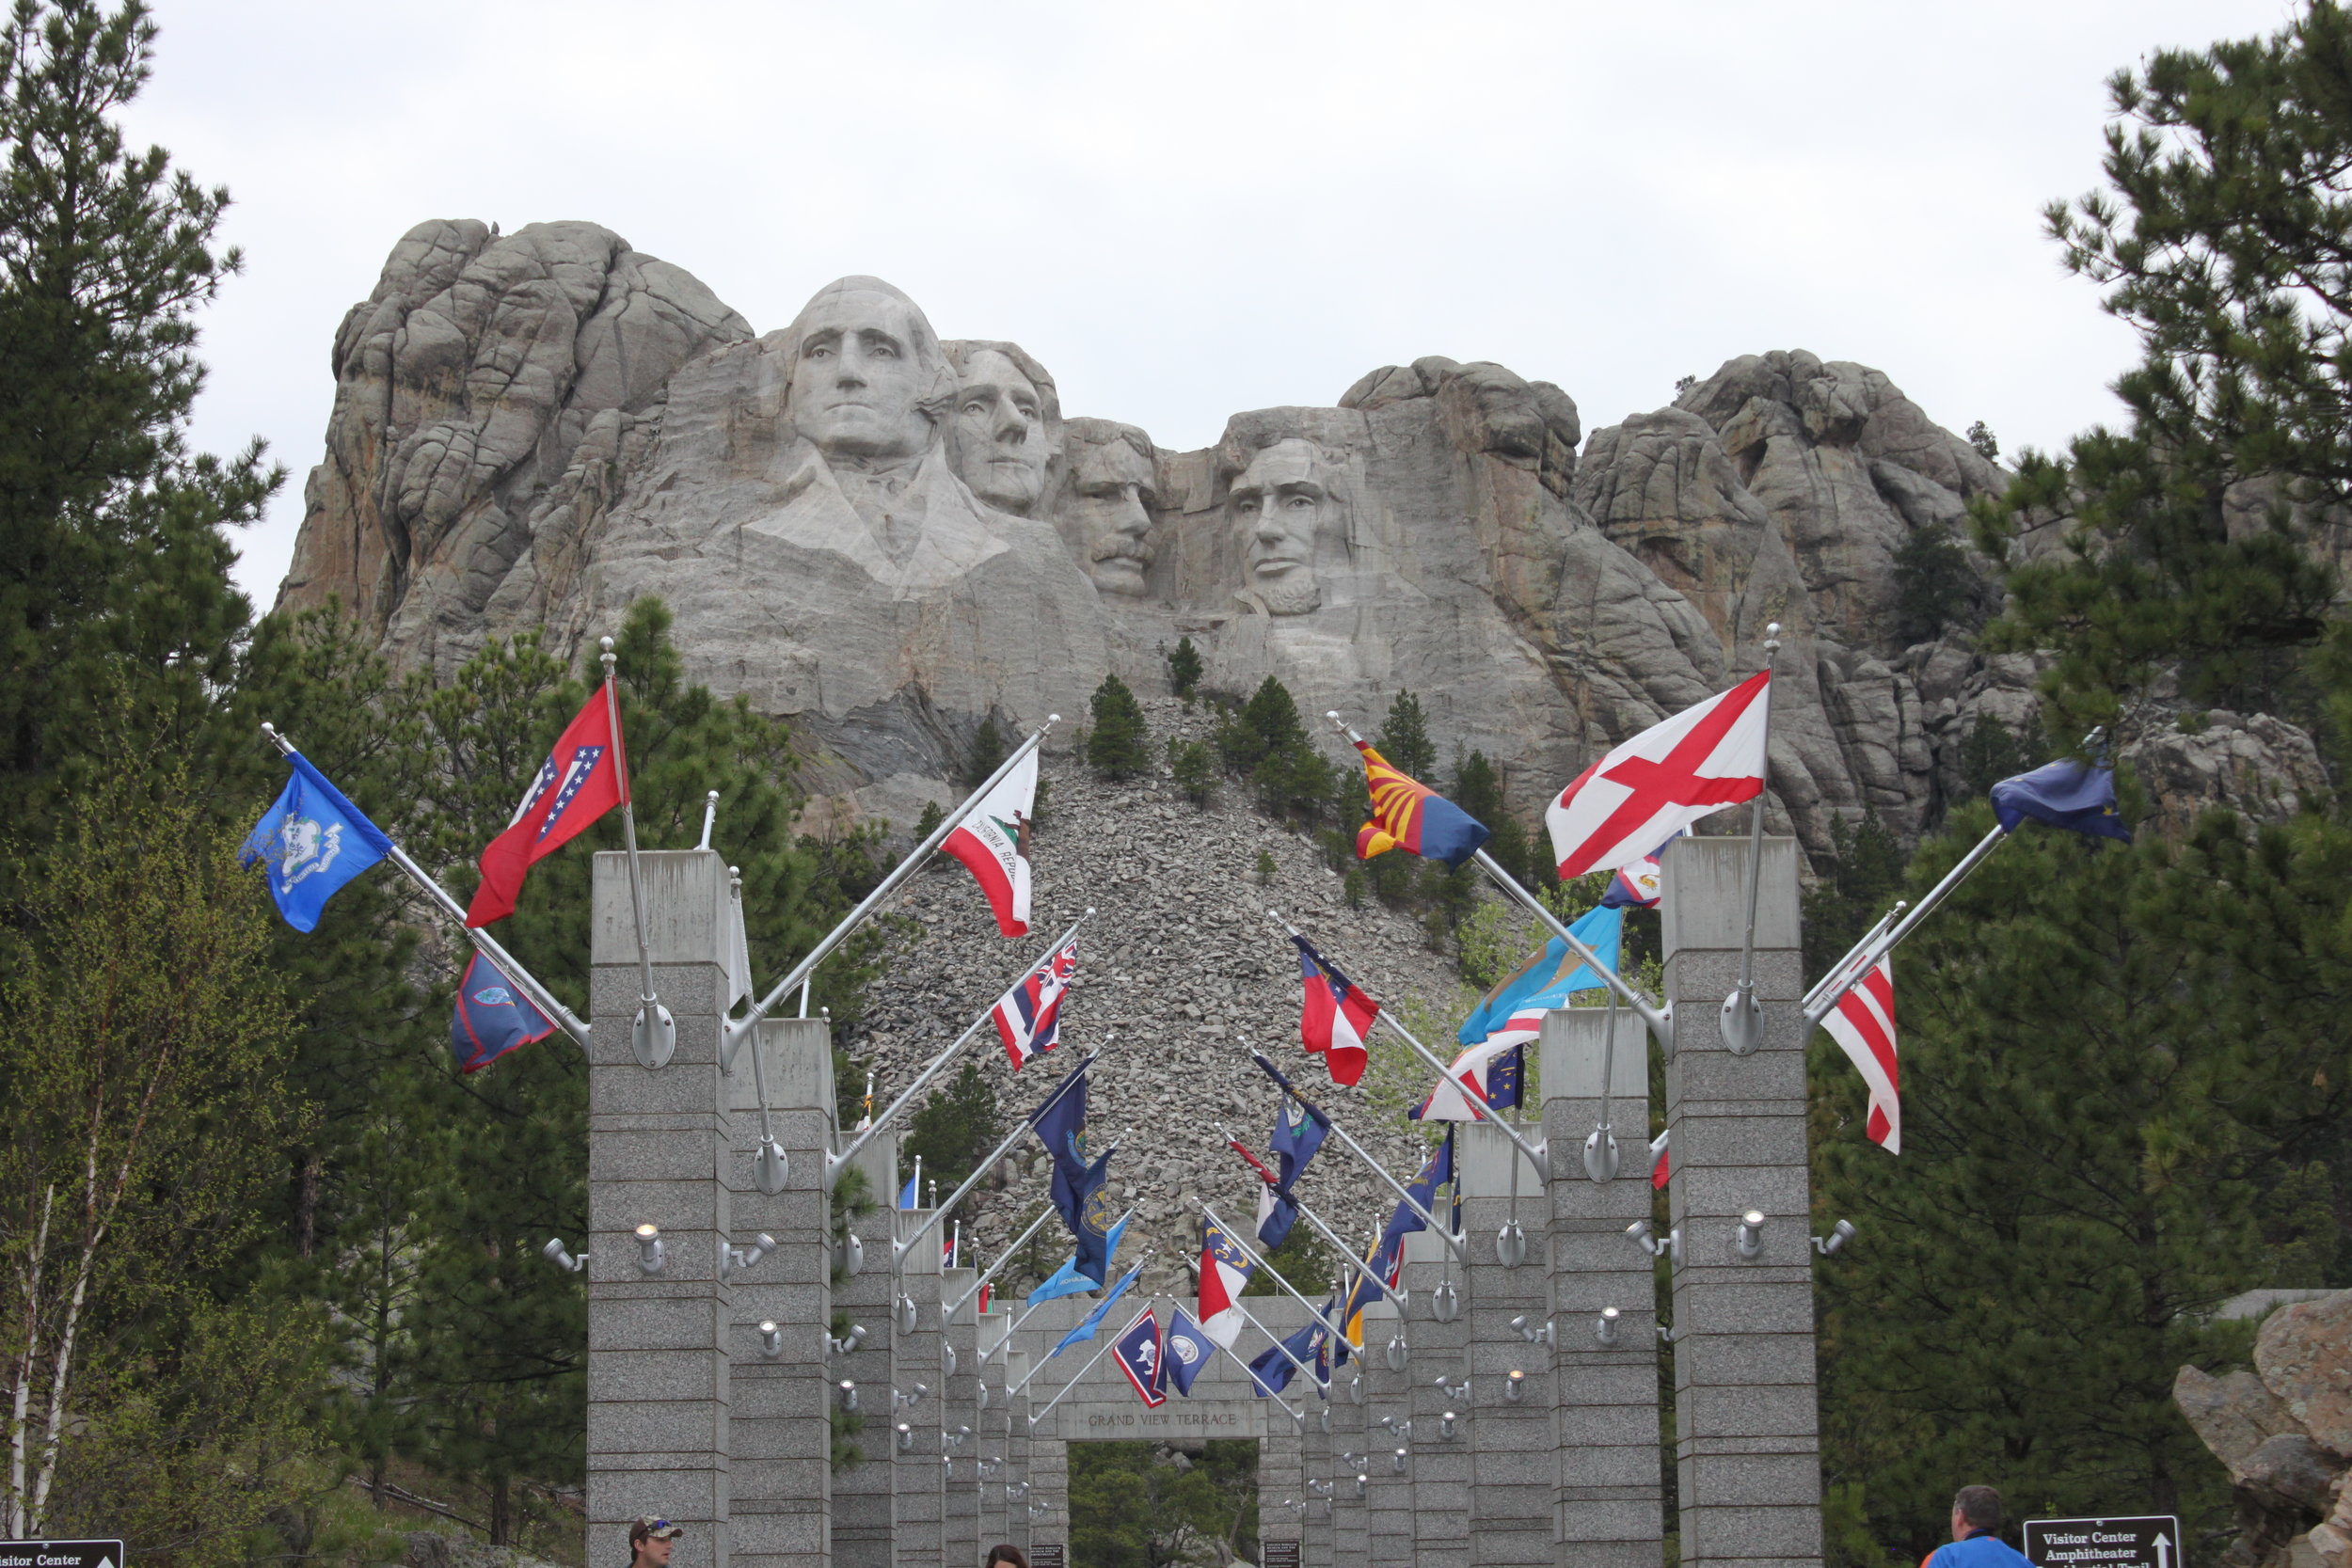
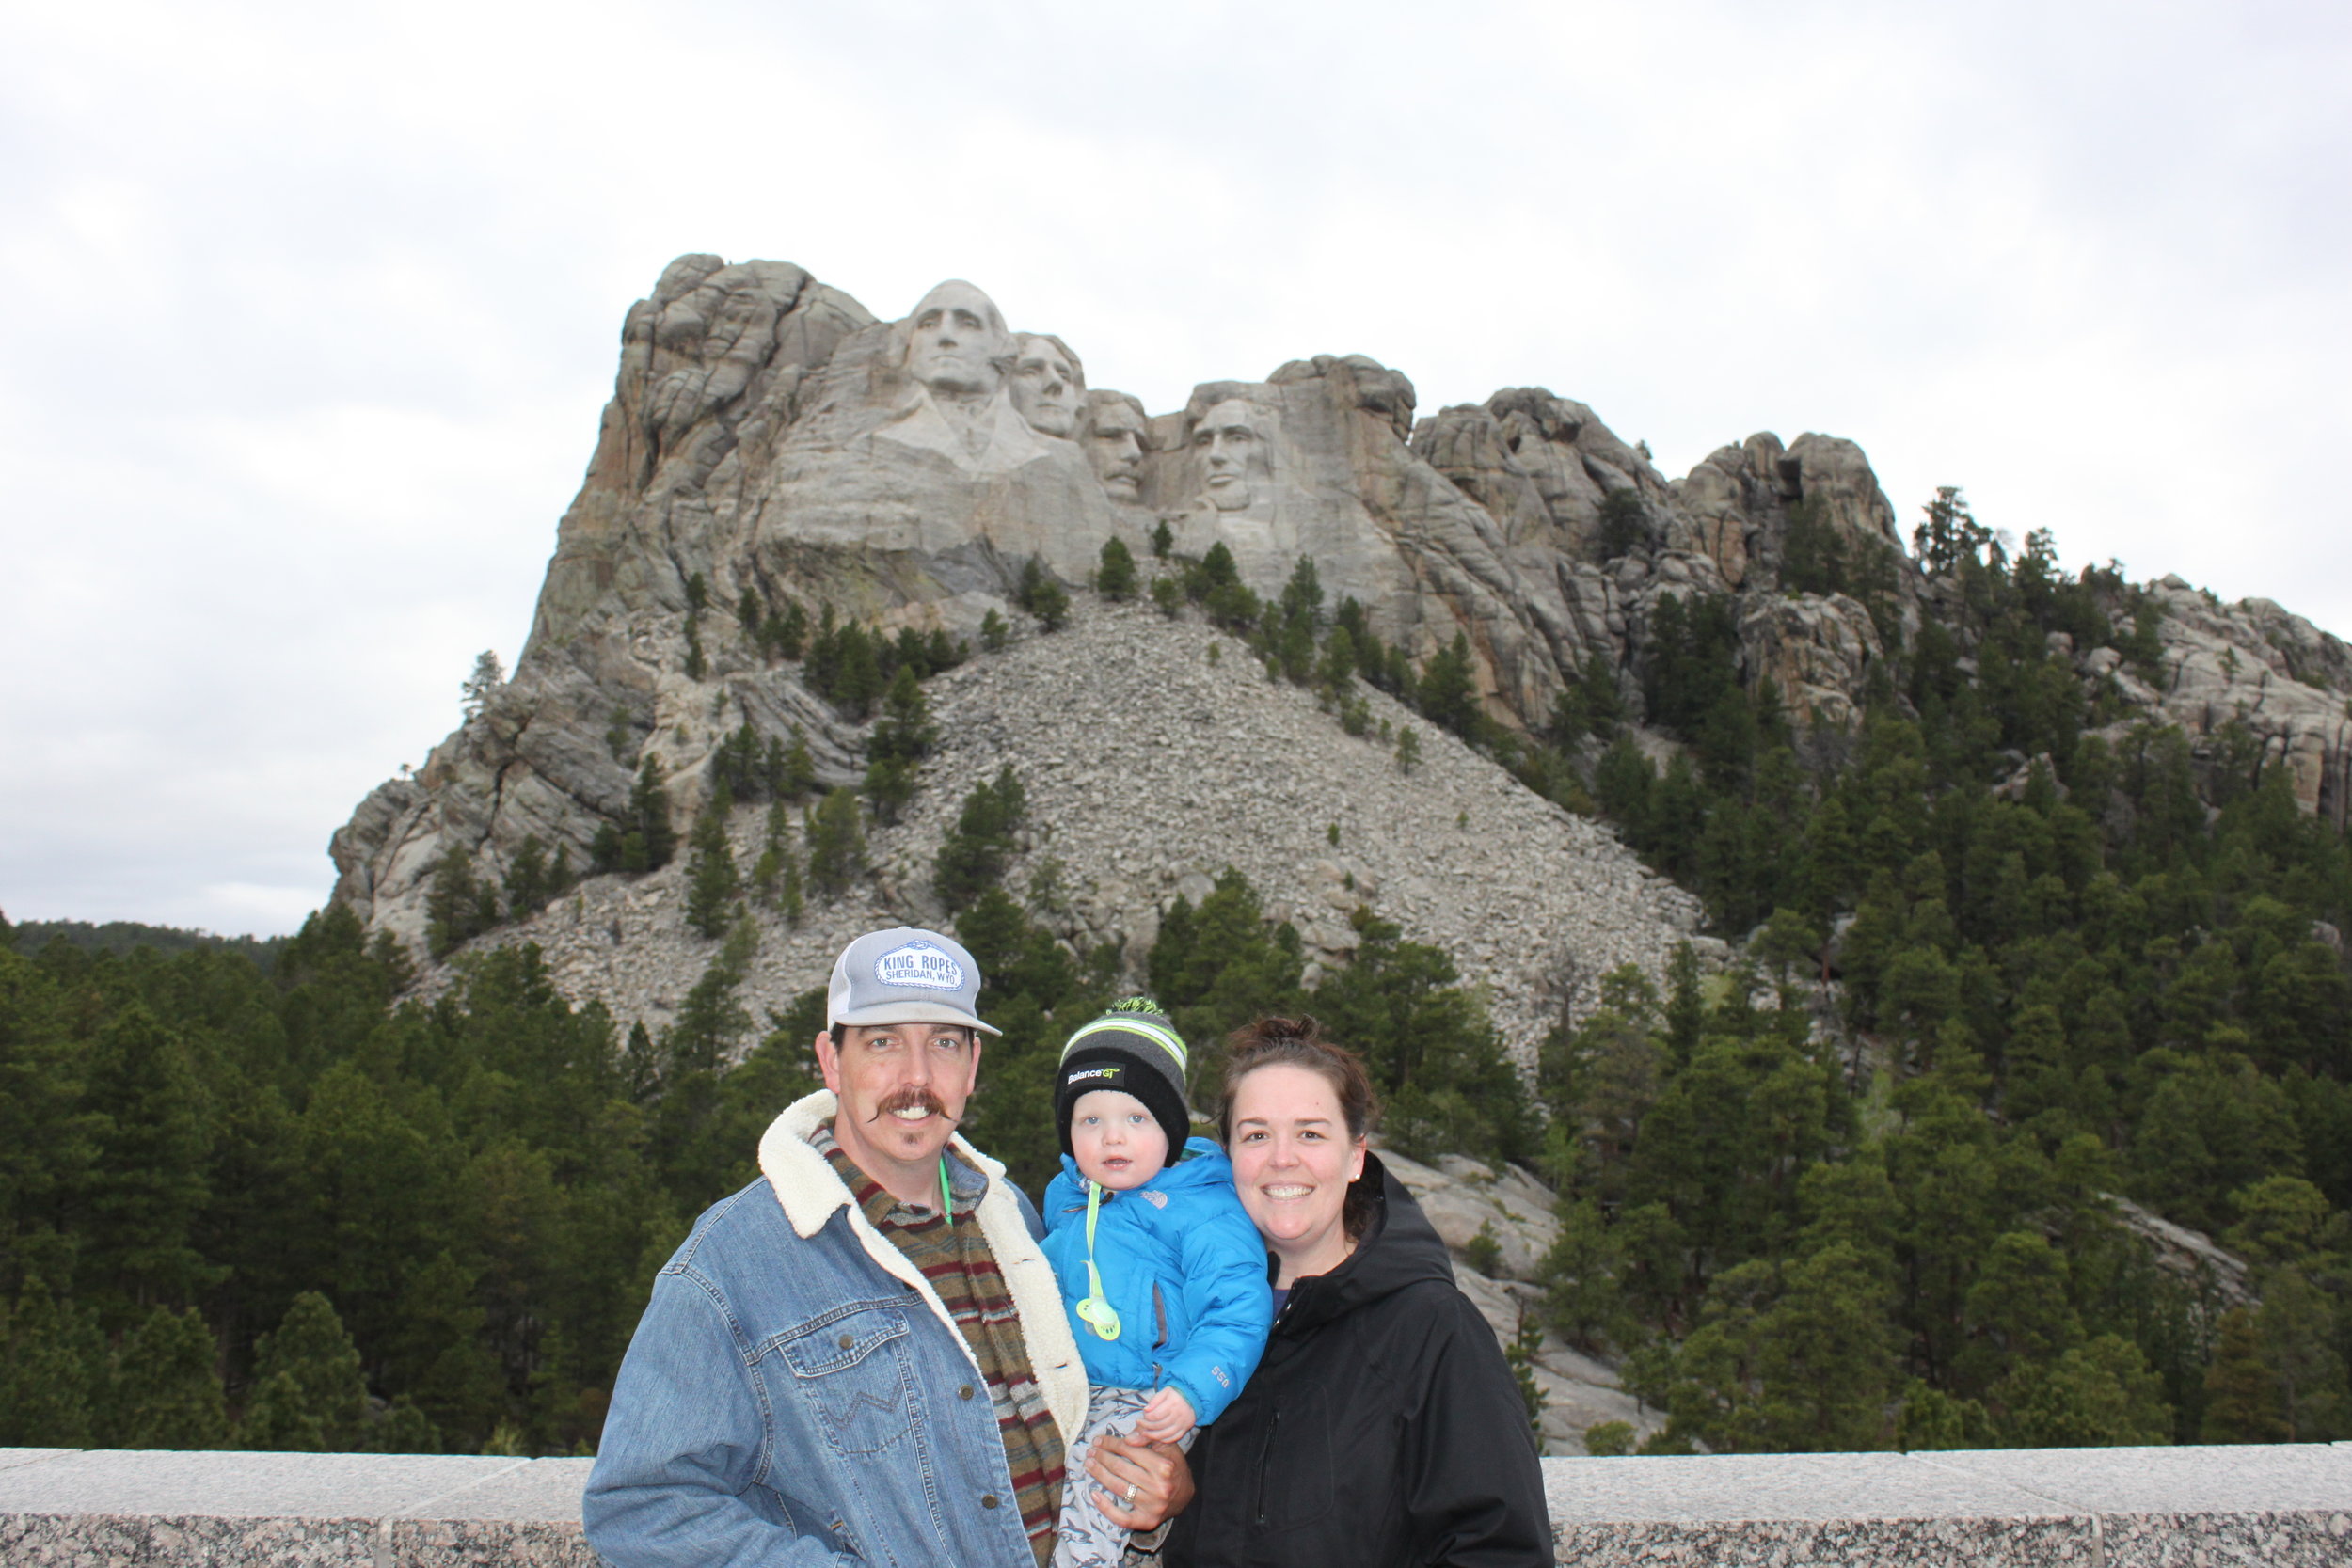
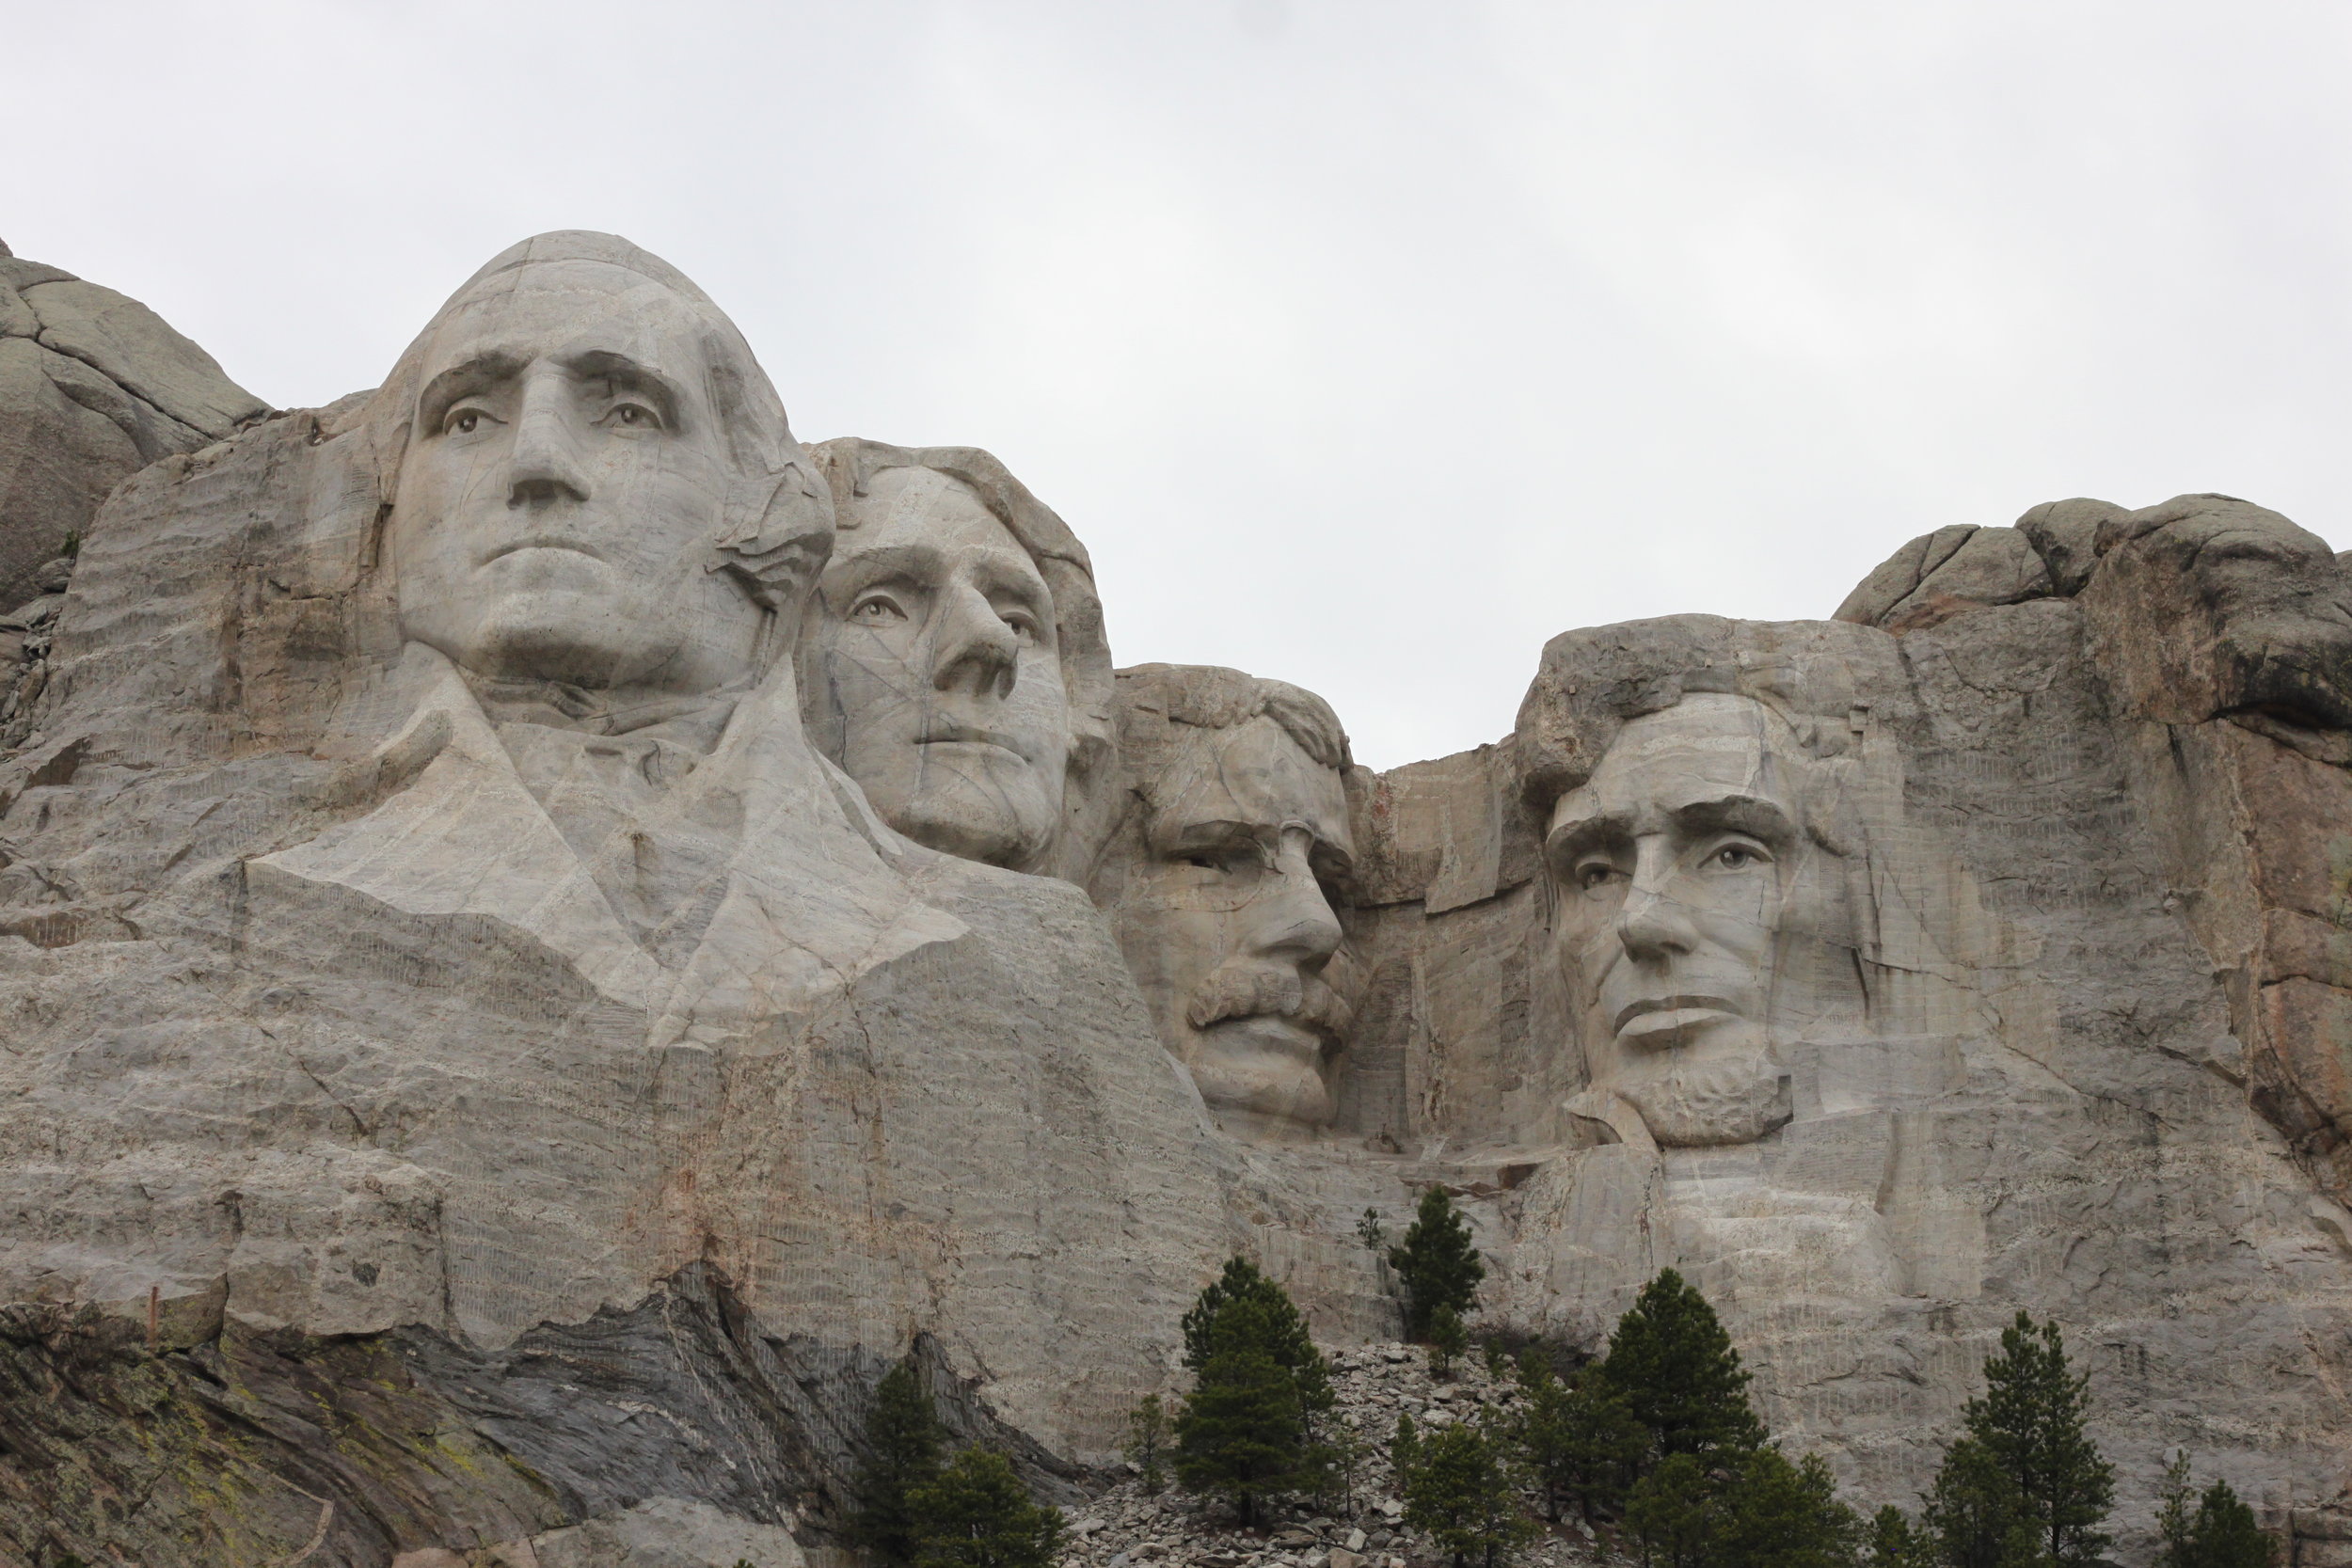
Saw along the way: Hiked Badlands National Park, Ran around Wall Drug (if you don’t go see this place we aren’t friends), walked around Mount Rushmore National Memorial (seeing this at sunset is amazing).
Camped: American Buffalo Resort
Day 3: Rapid City, SD to Buffalo, SD
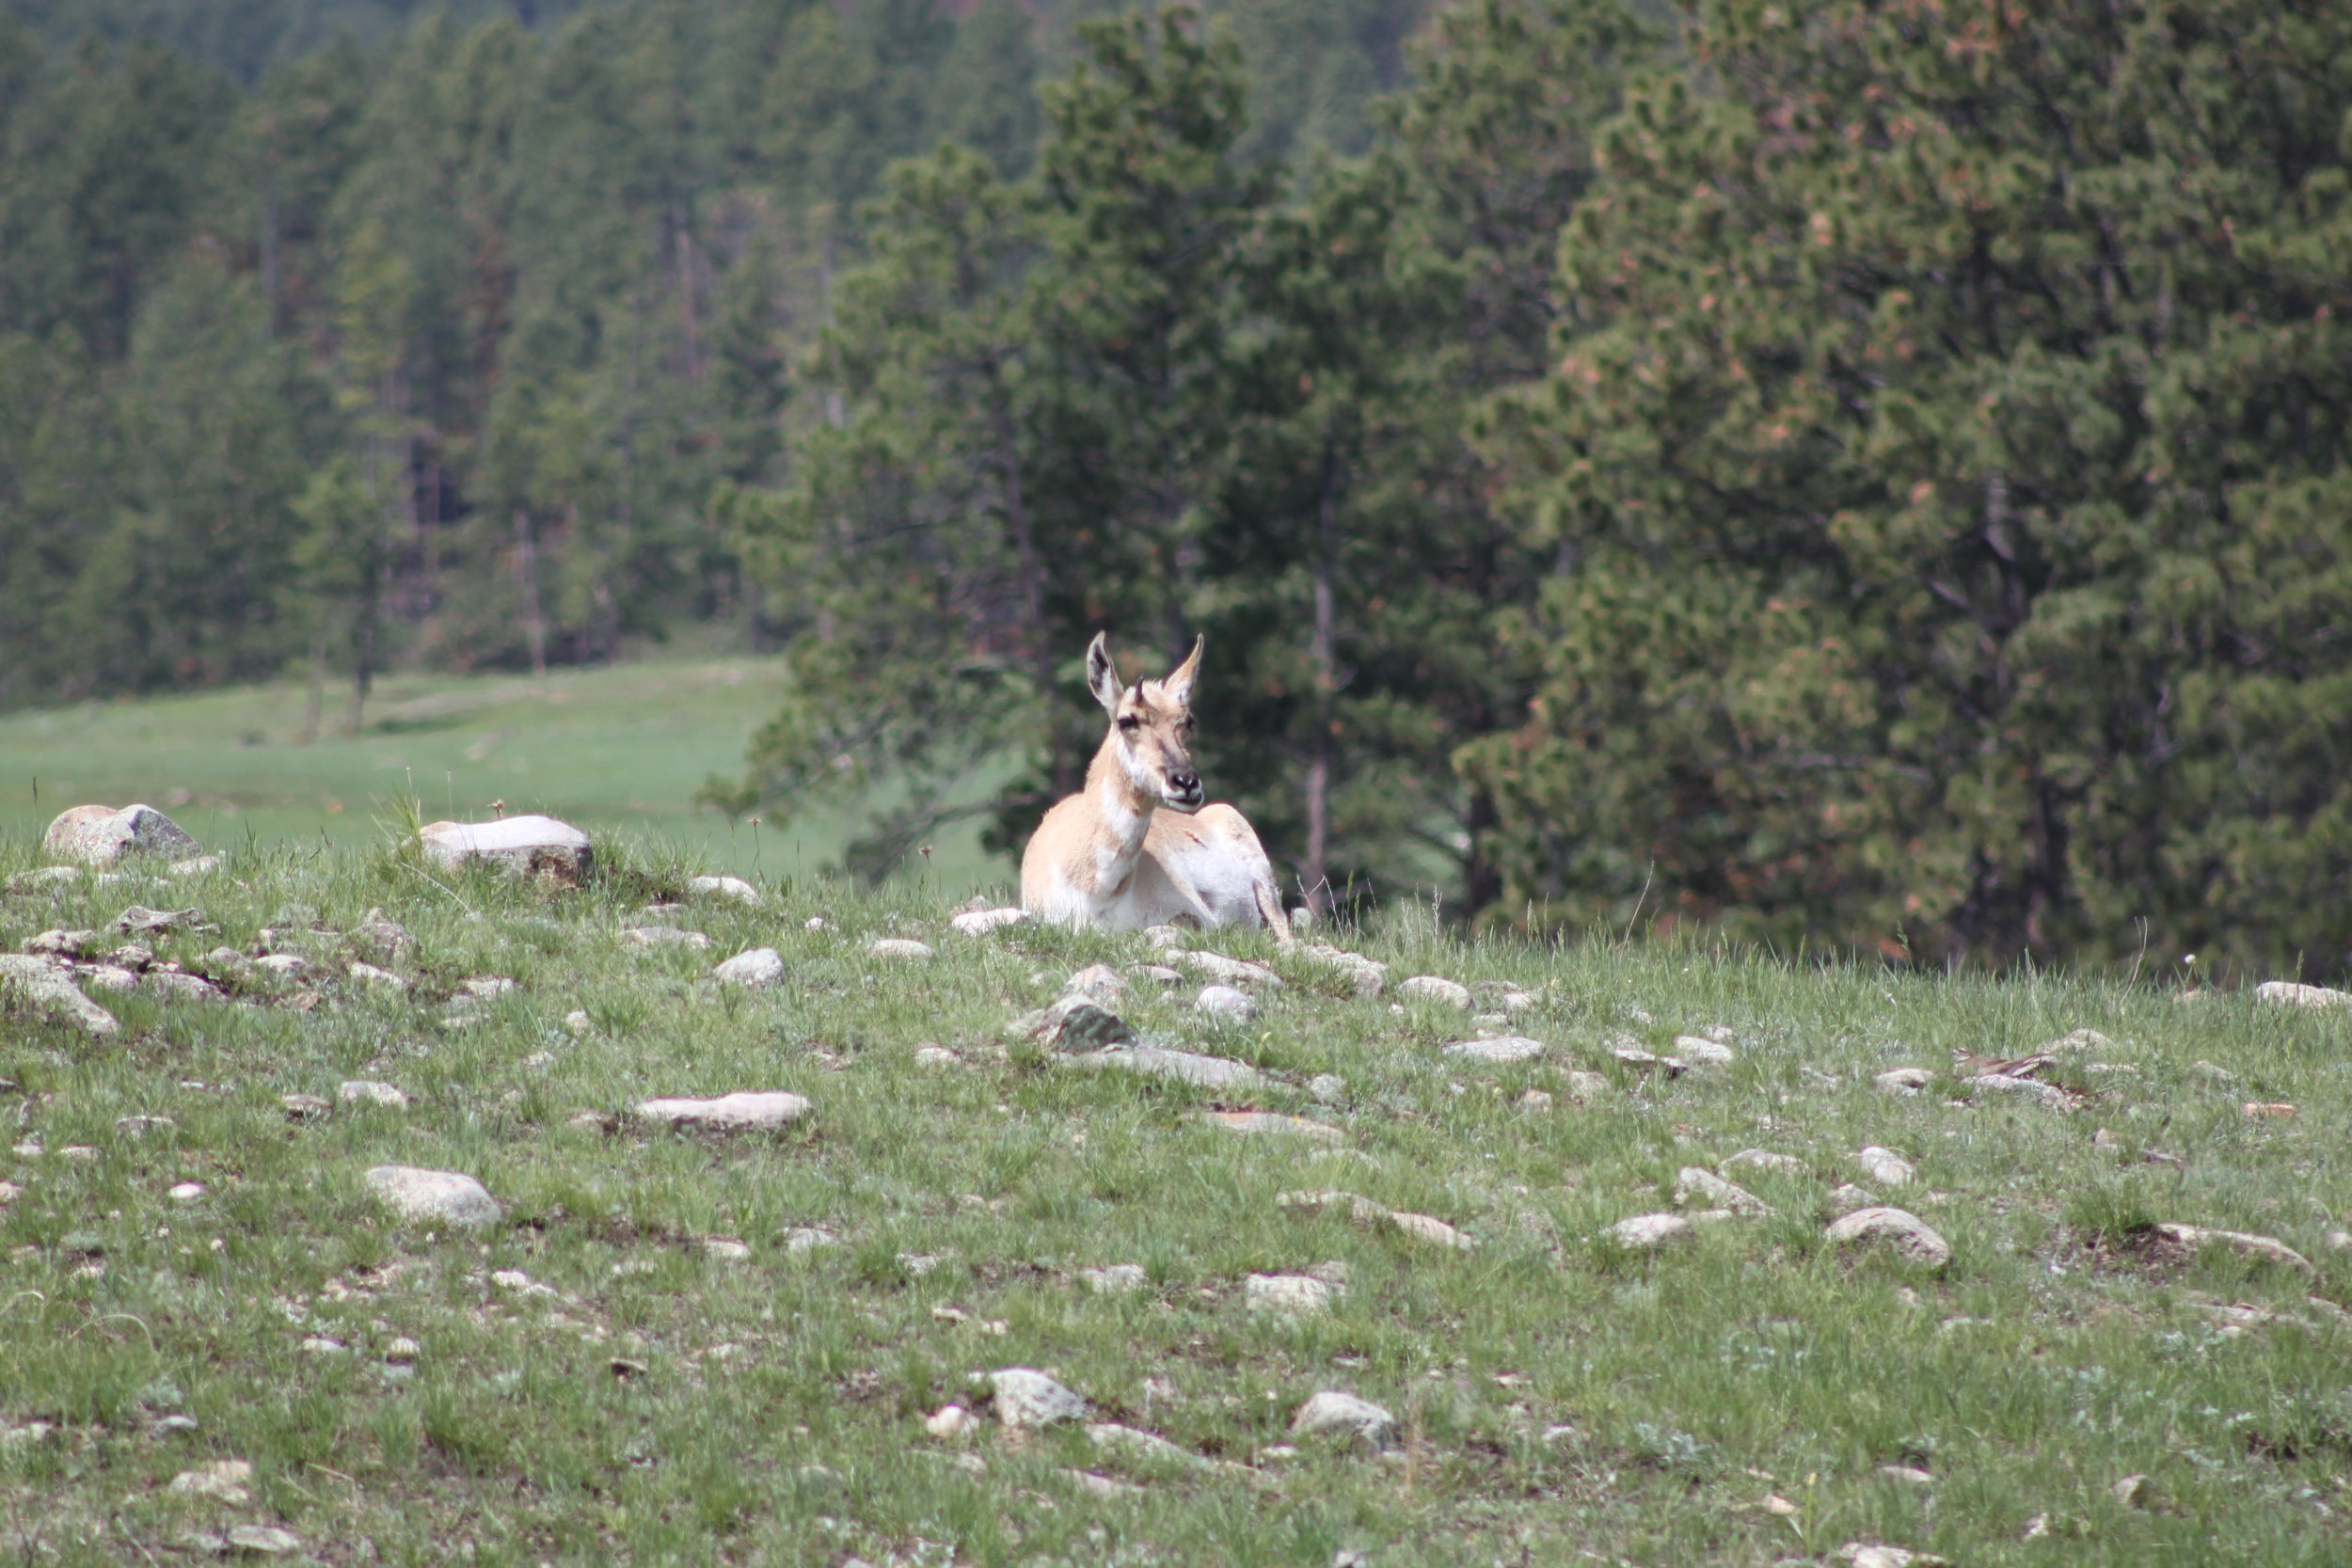
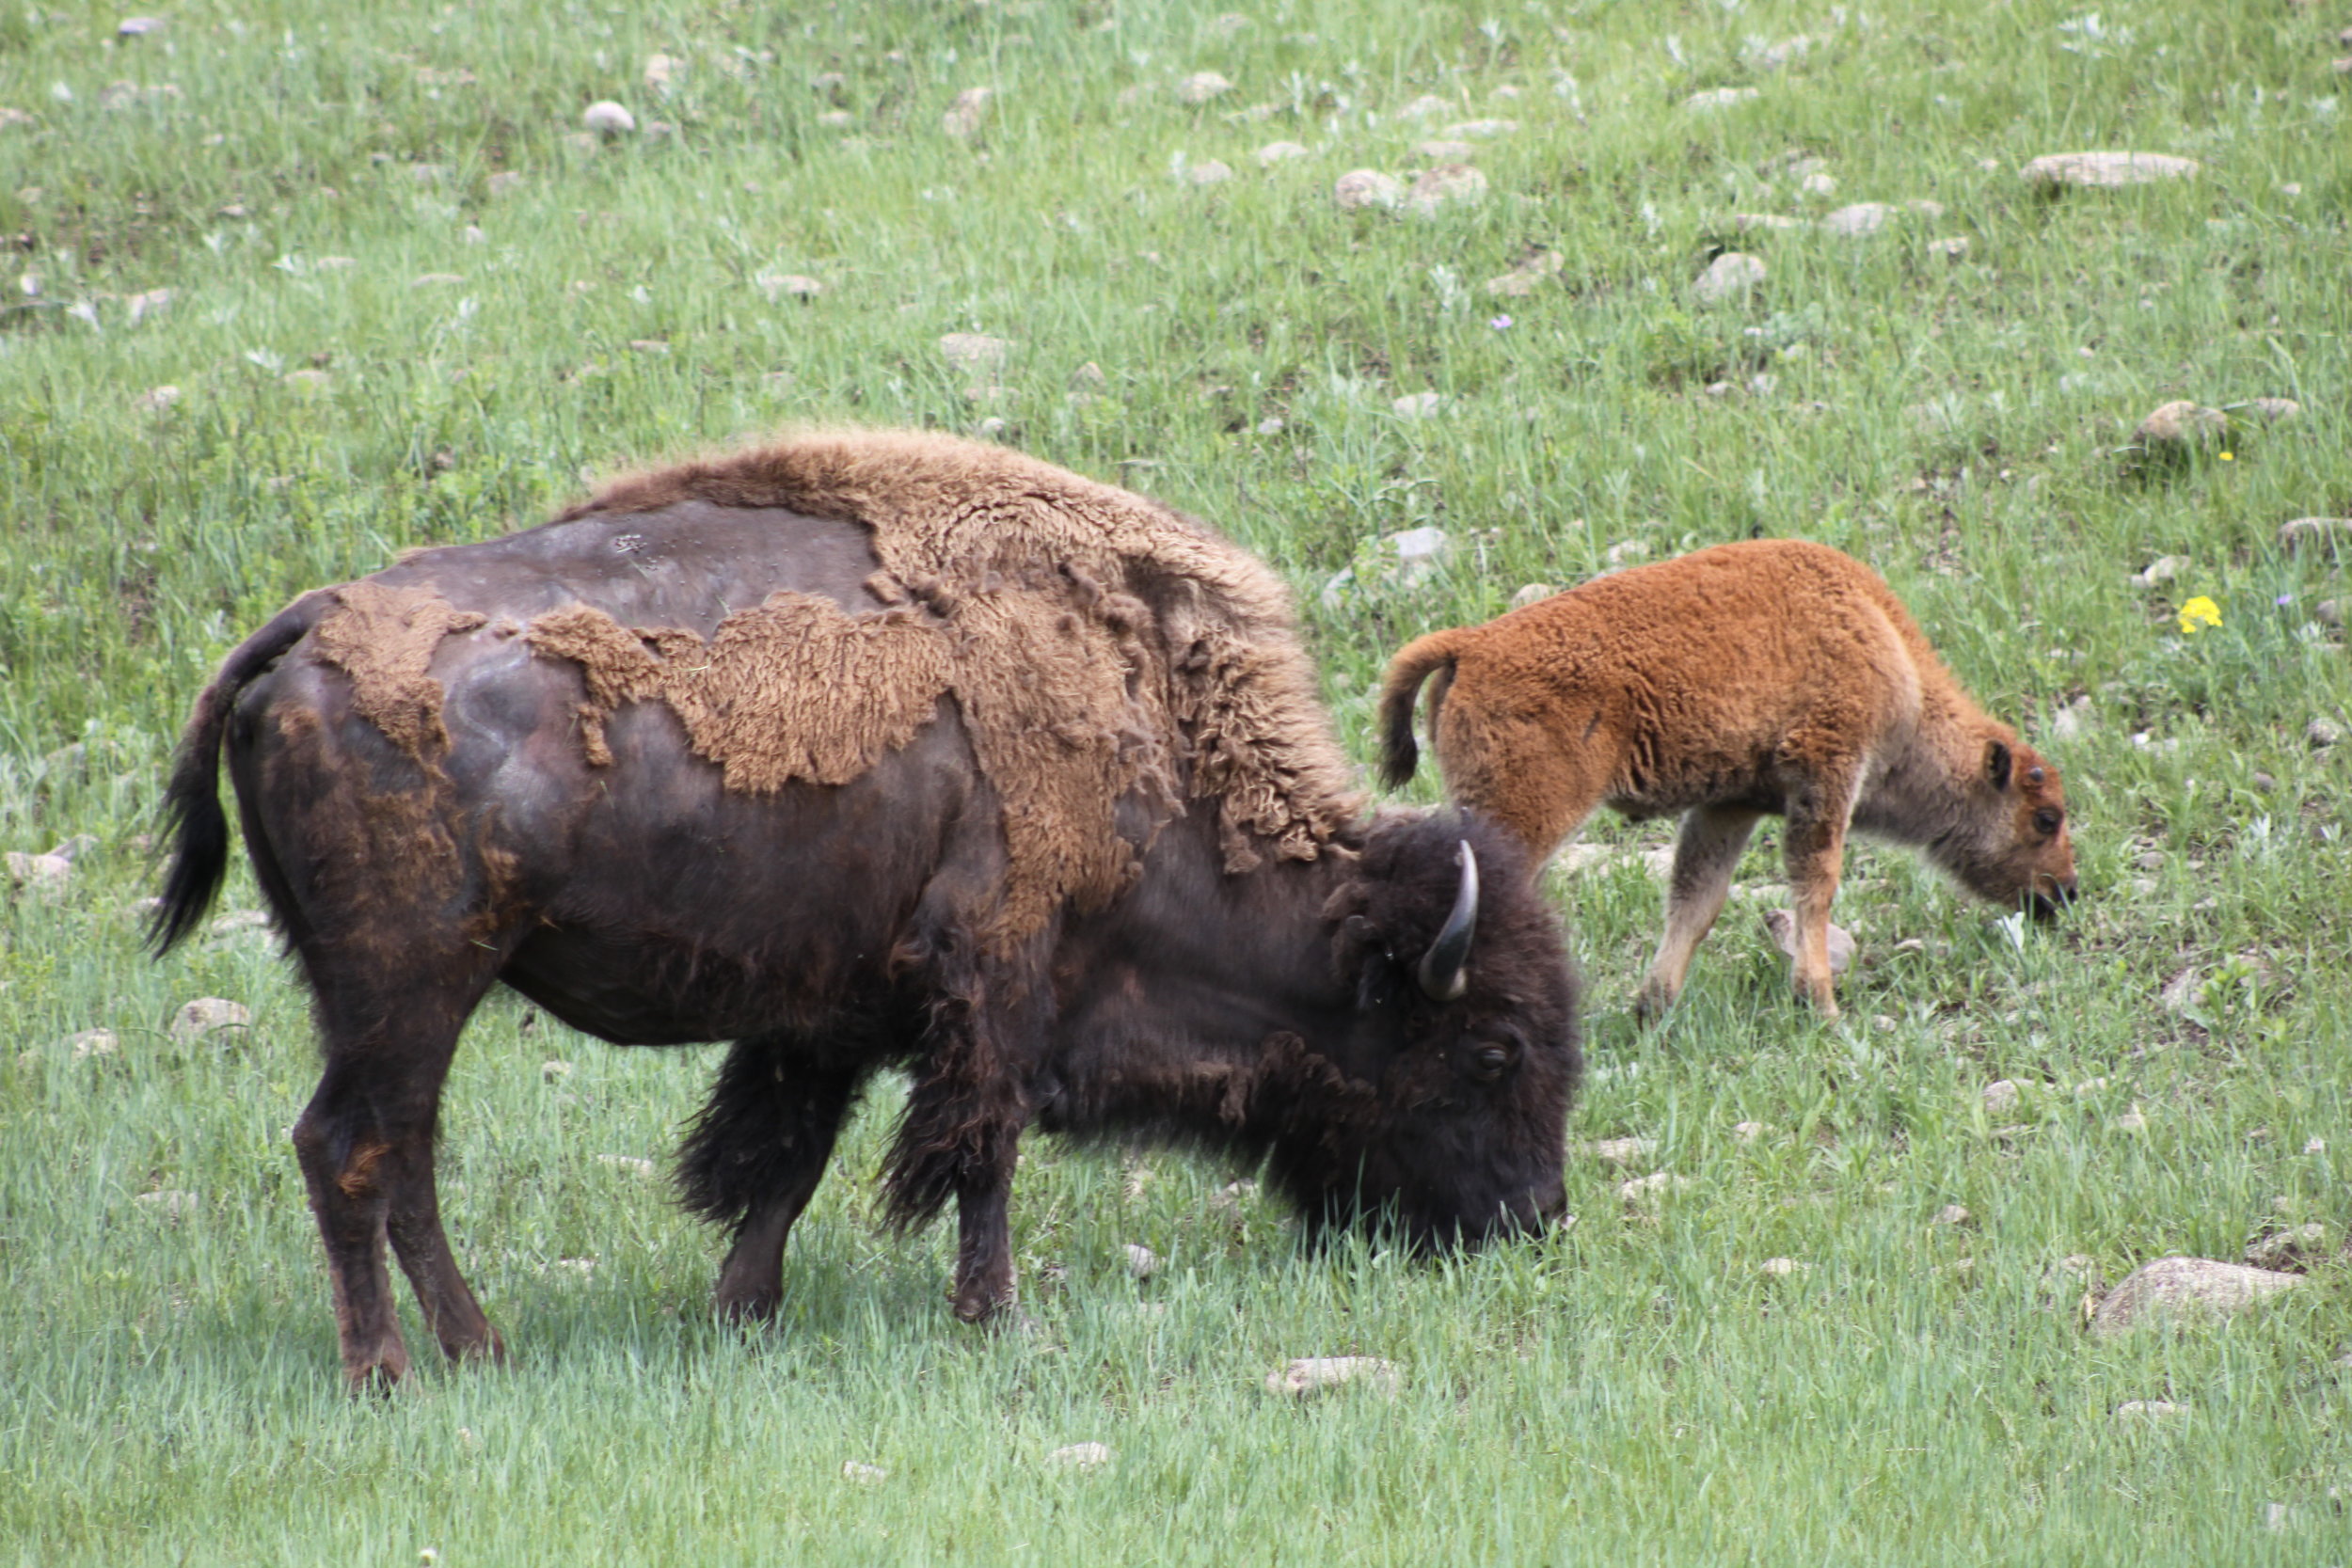
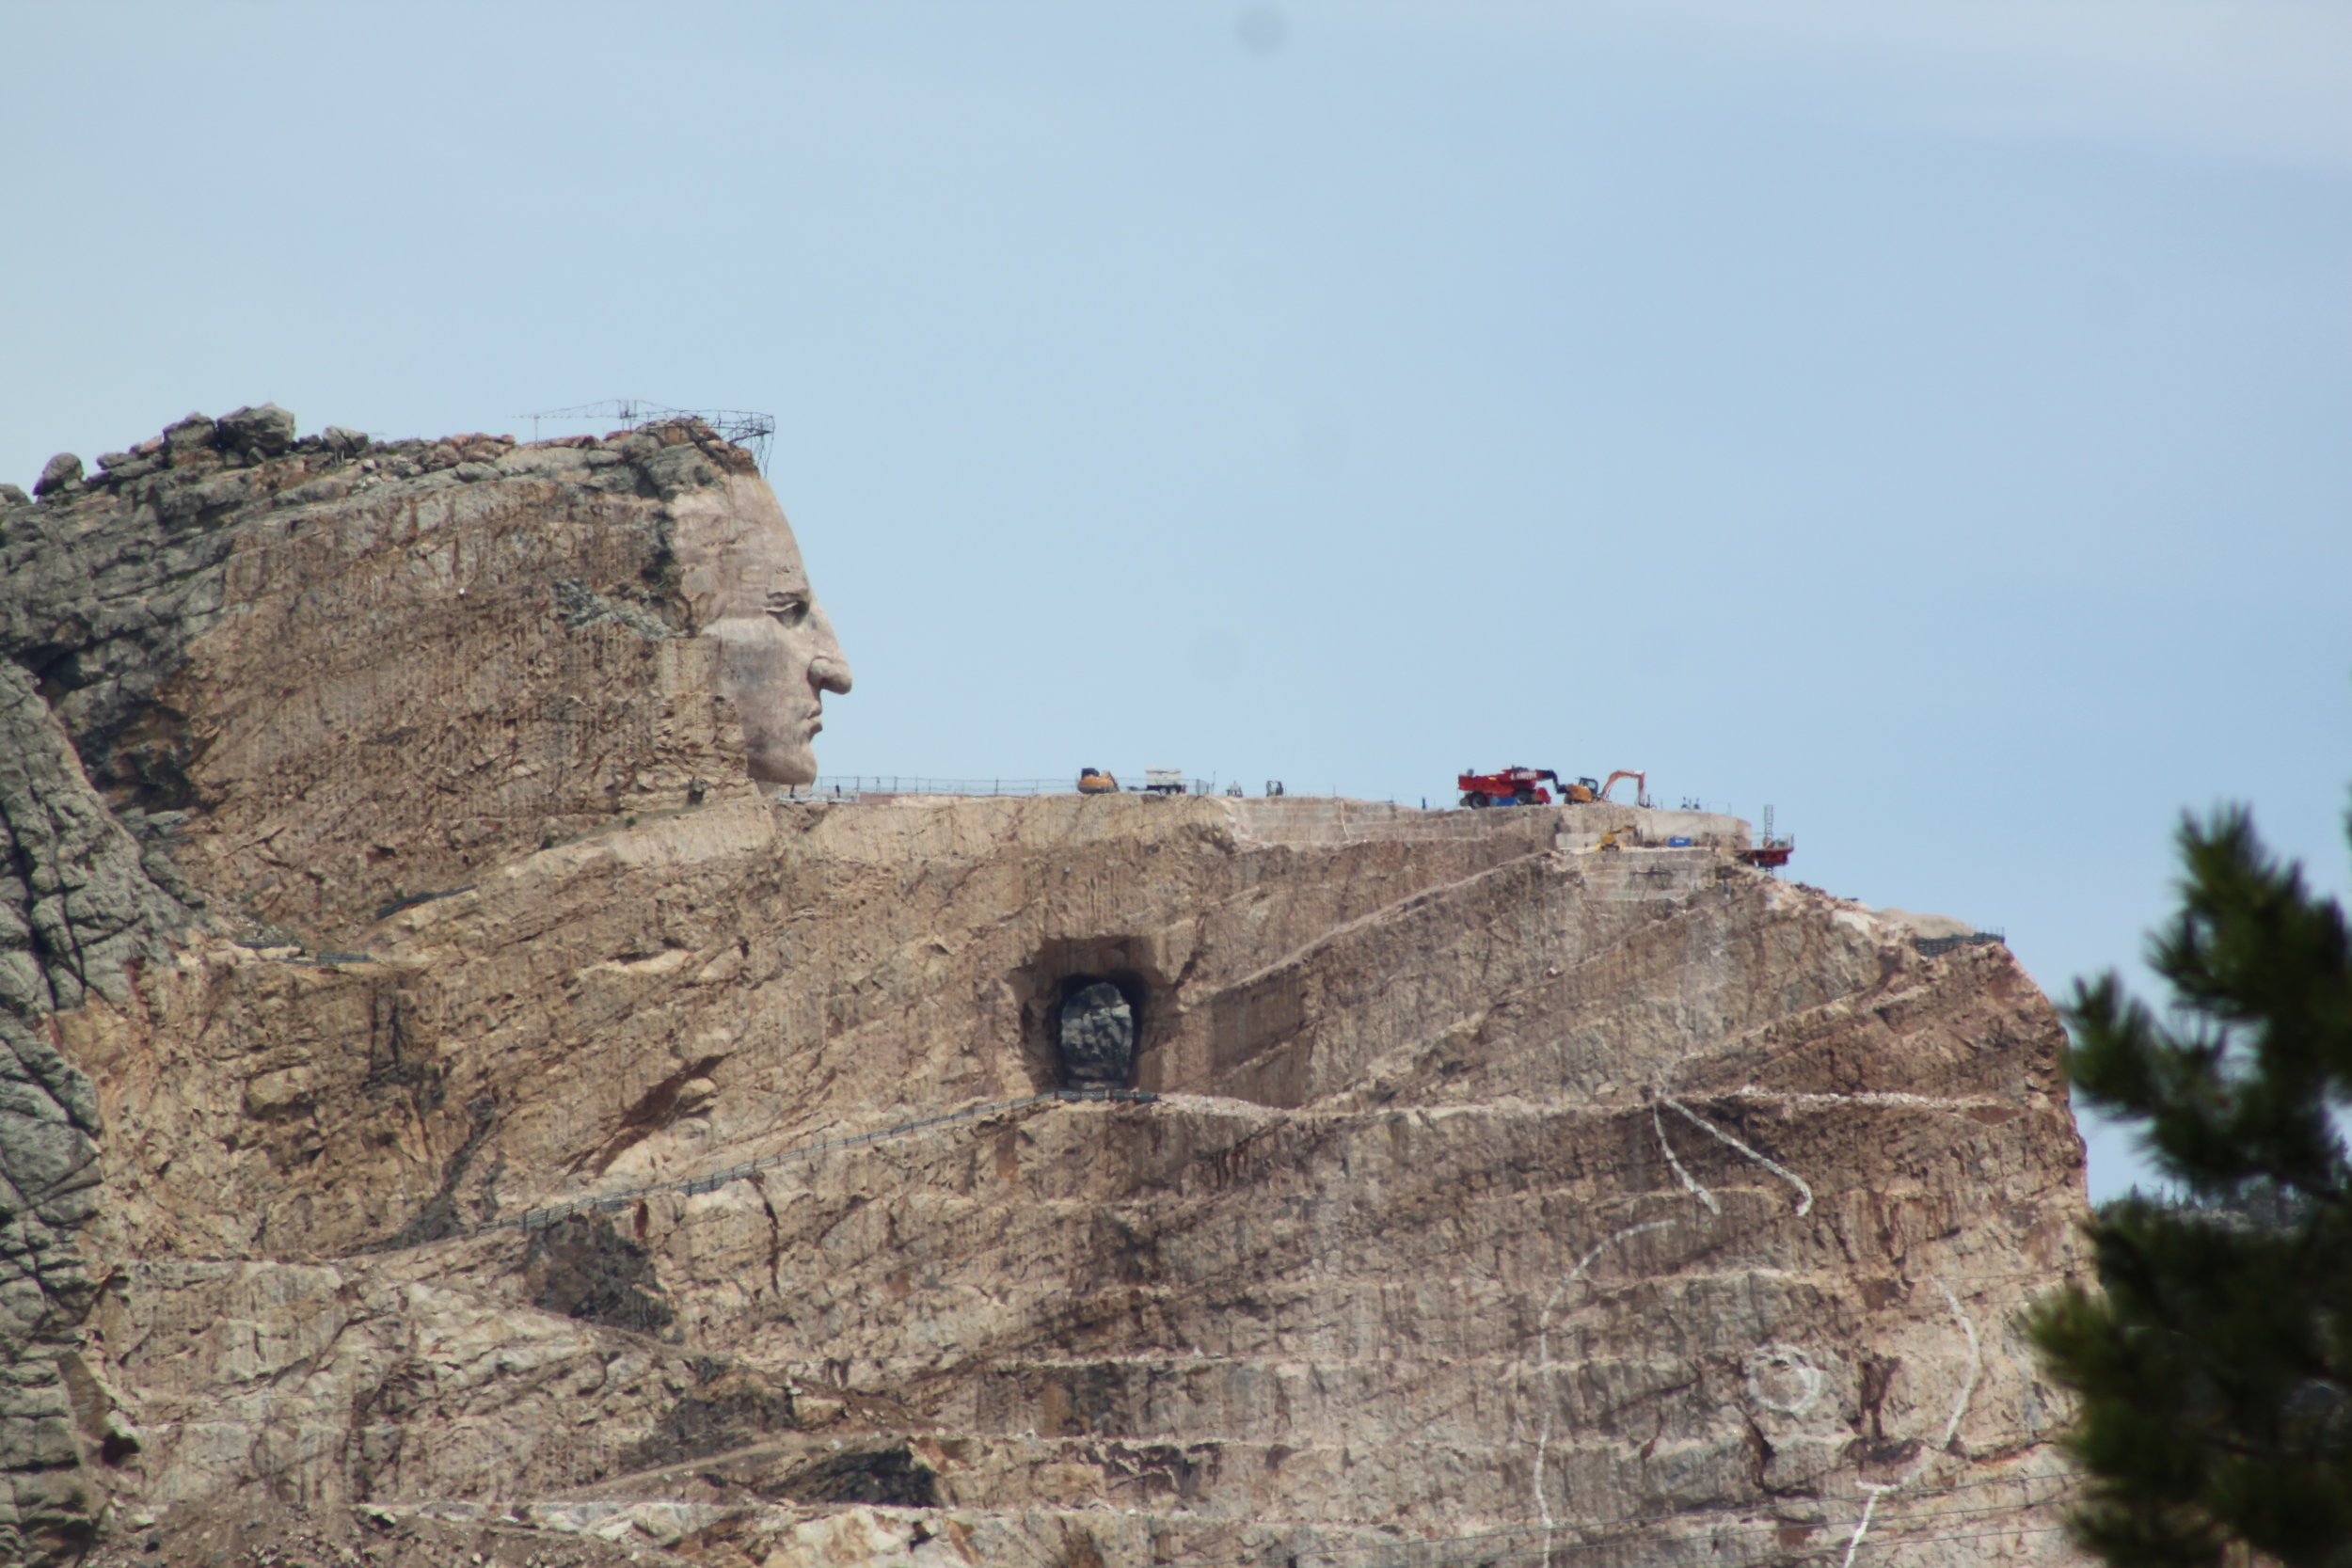
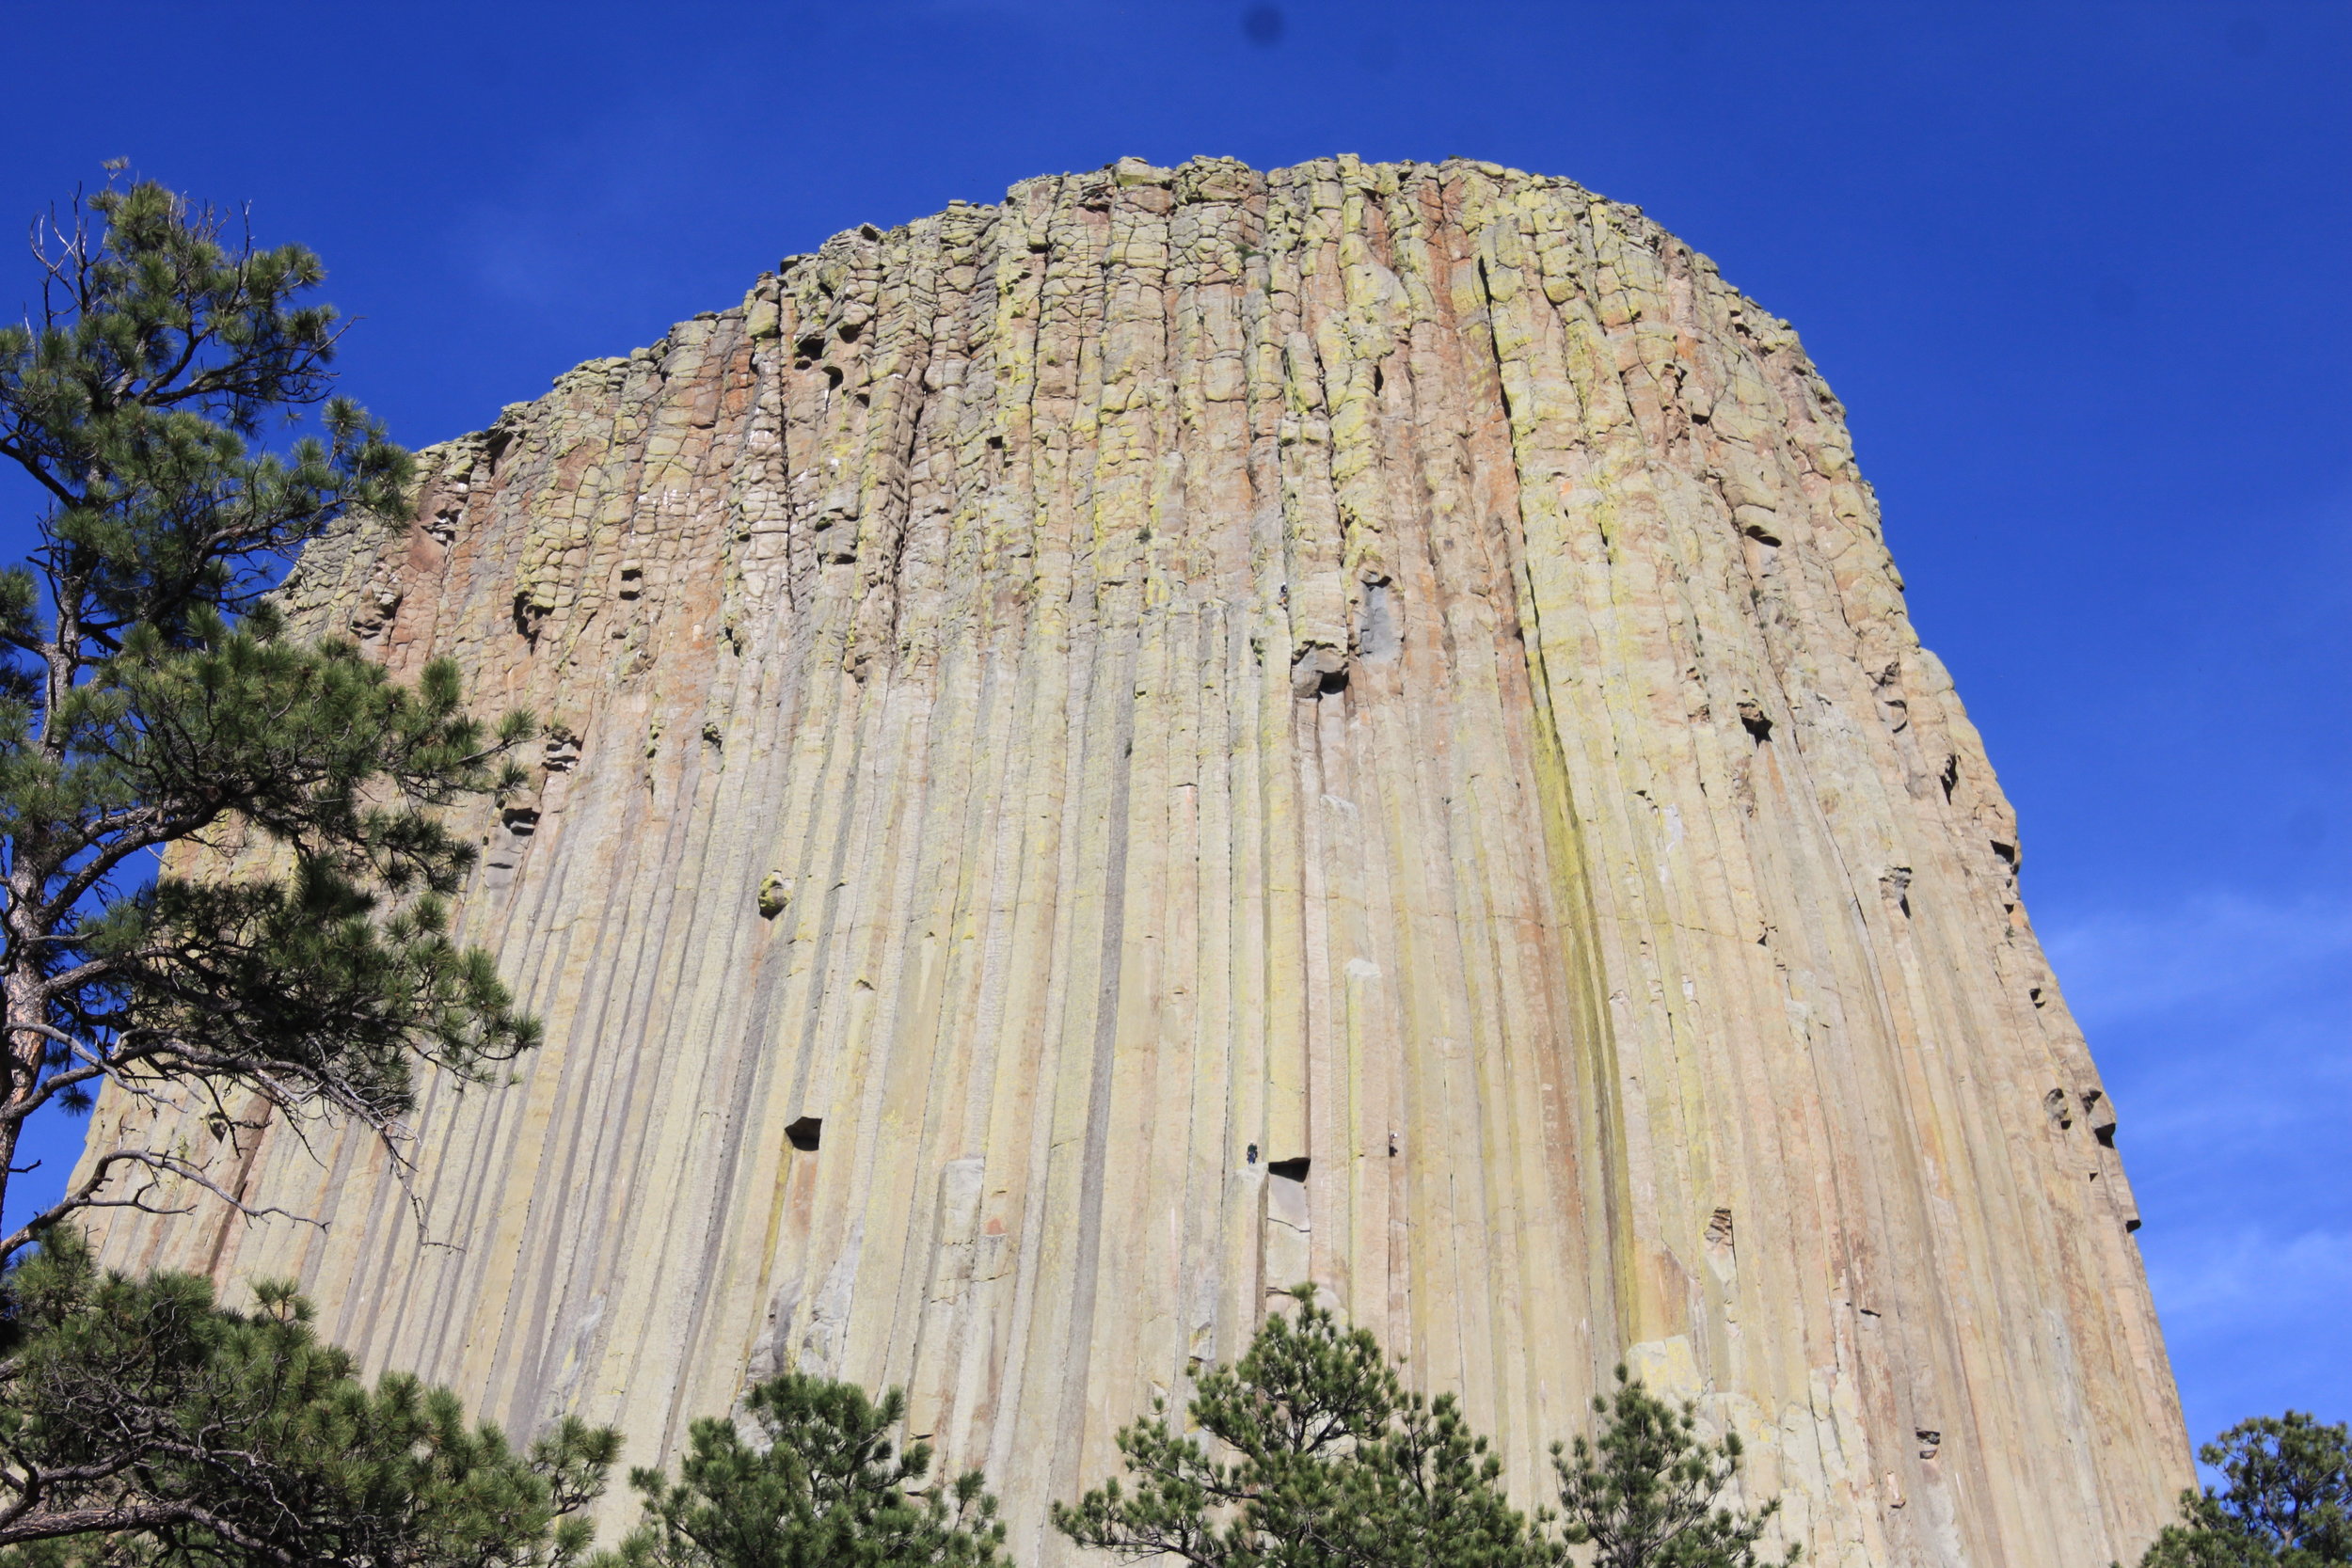
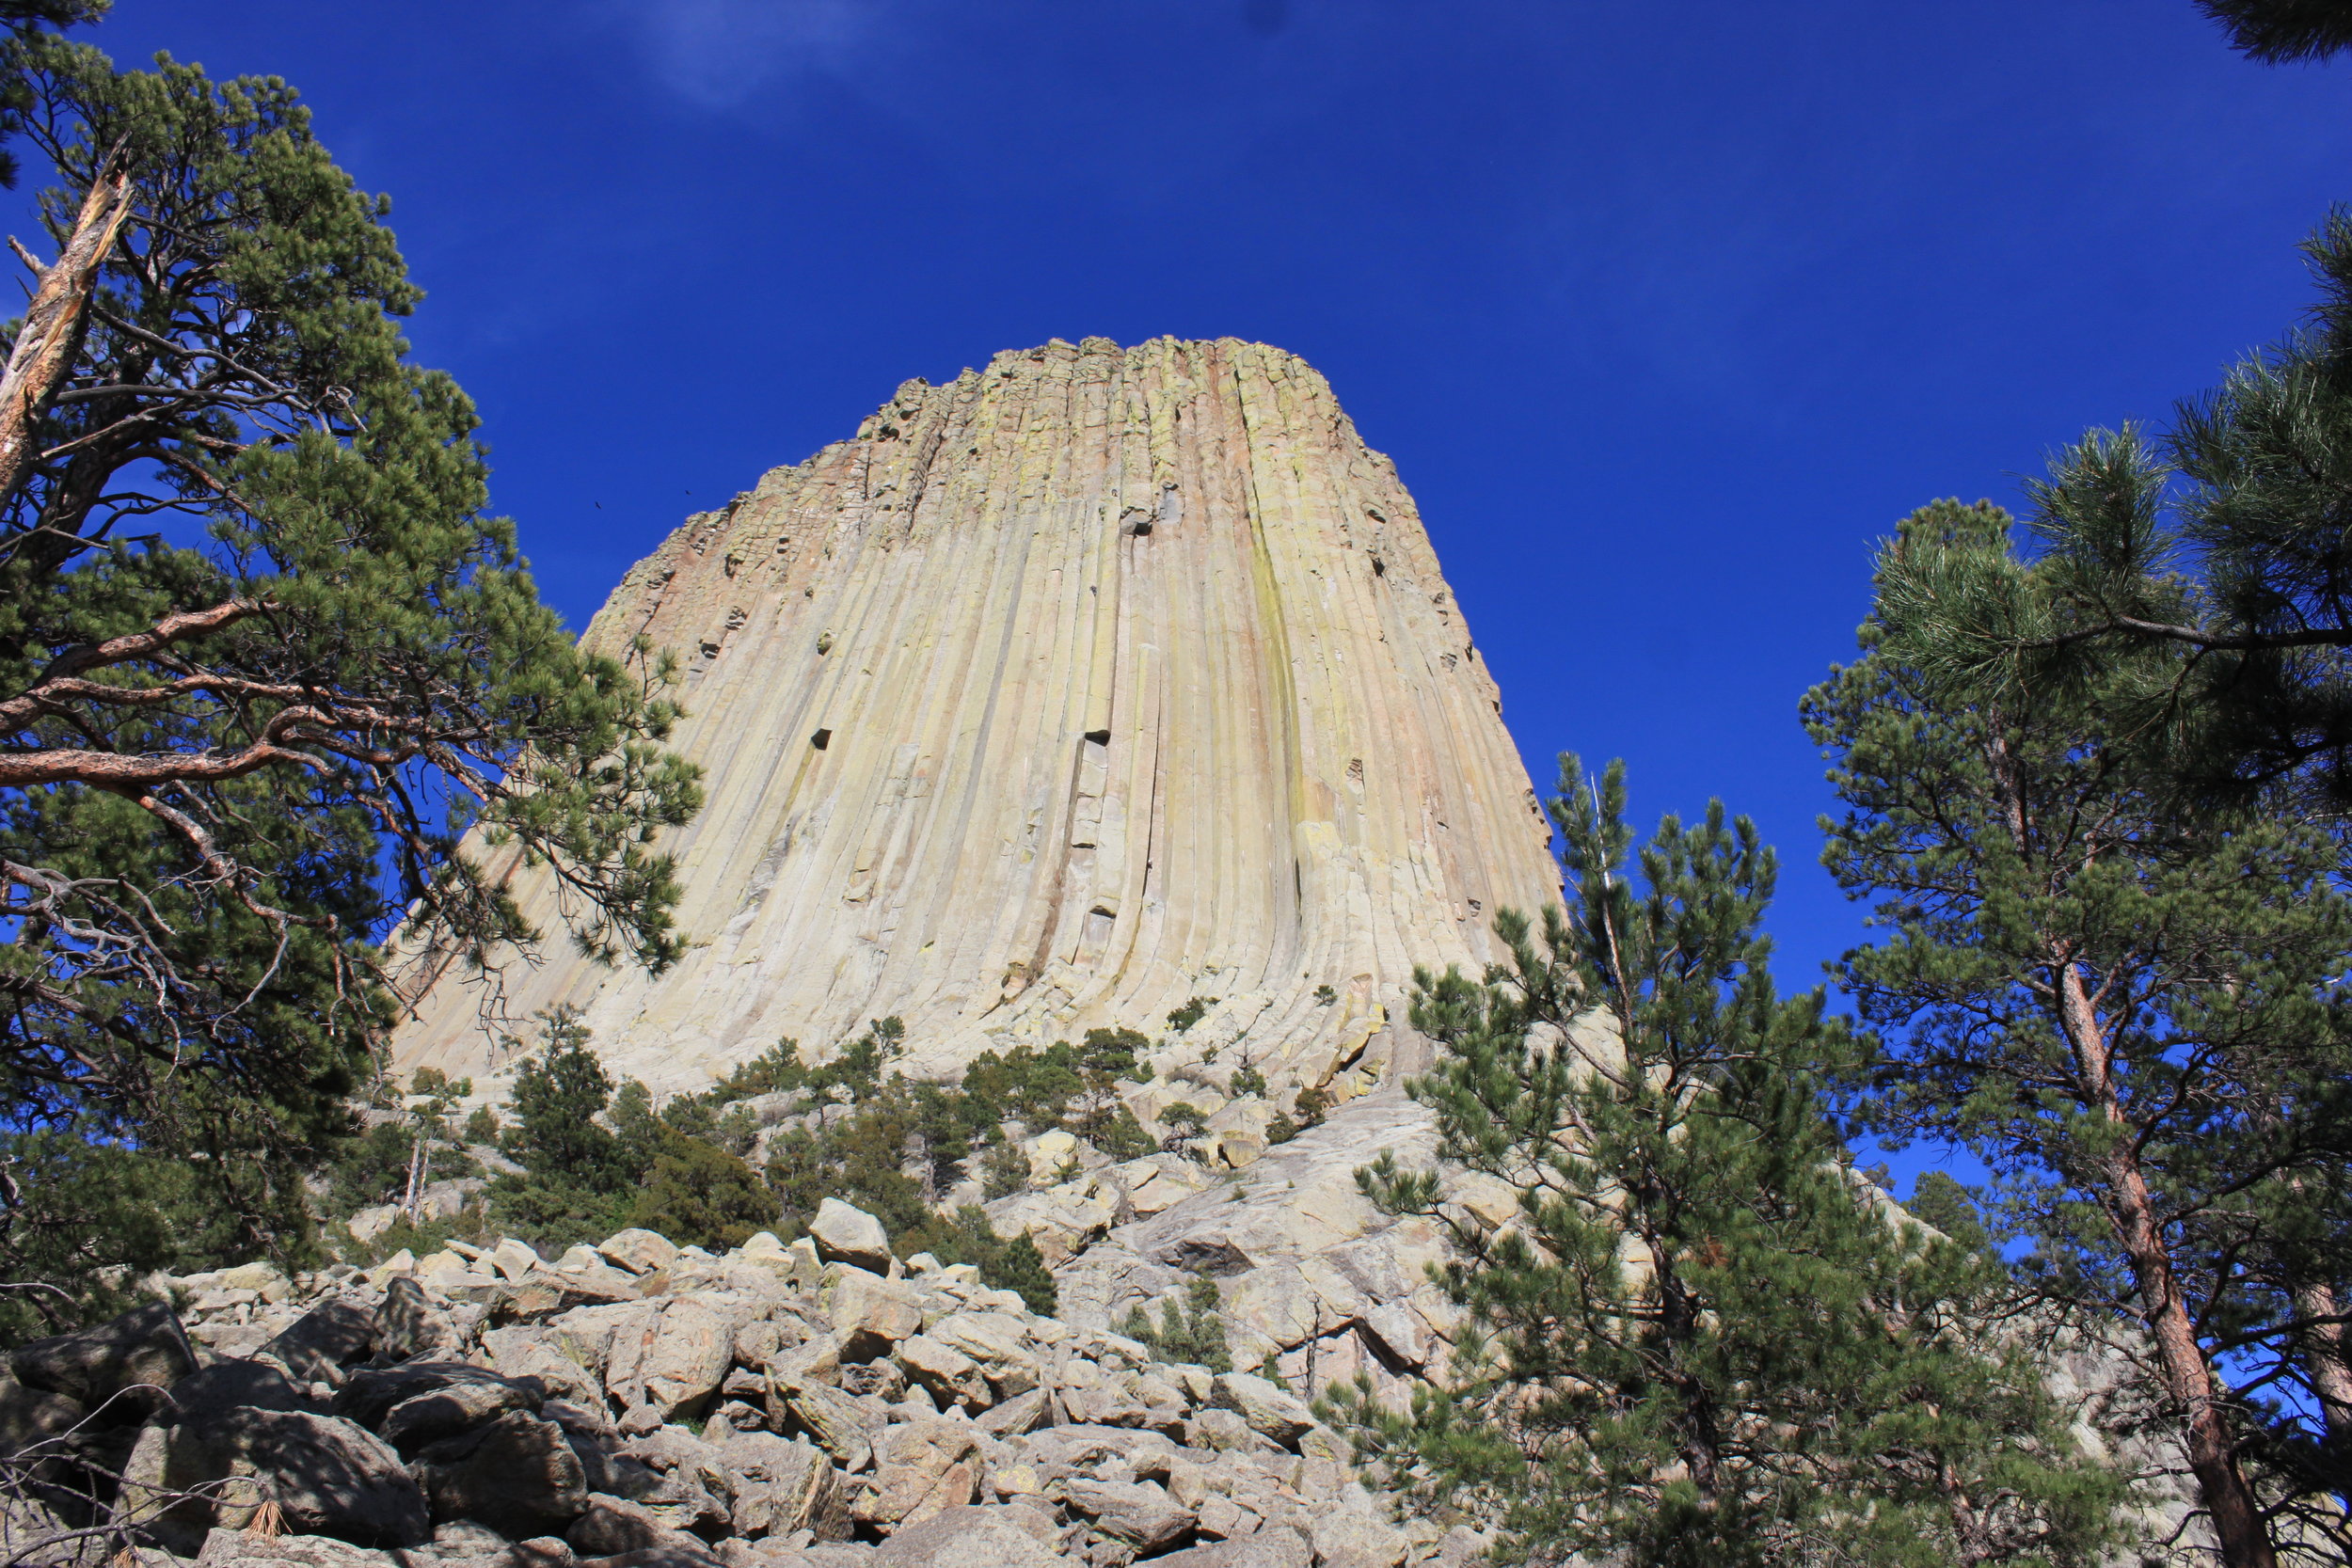
Saw: Drove Custer State Park loop (SO MANY buffalo and don’t drive this with a trailer), Saw Crazy Horse Memorial from the road, and hiked Devils Tower National Monument
Camped: Indian Campground & RV Park
Day 4: Buffalo, SD to Yellowstone
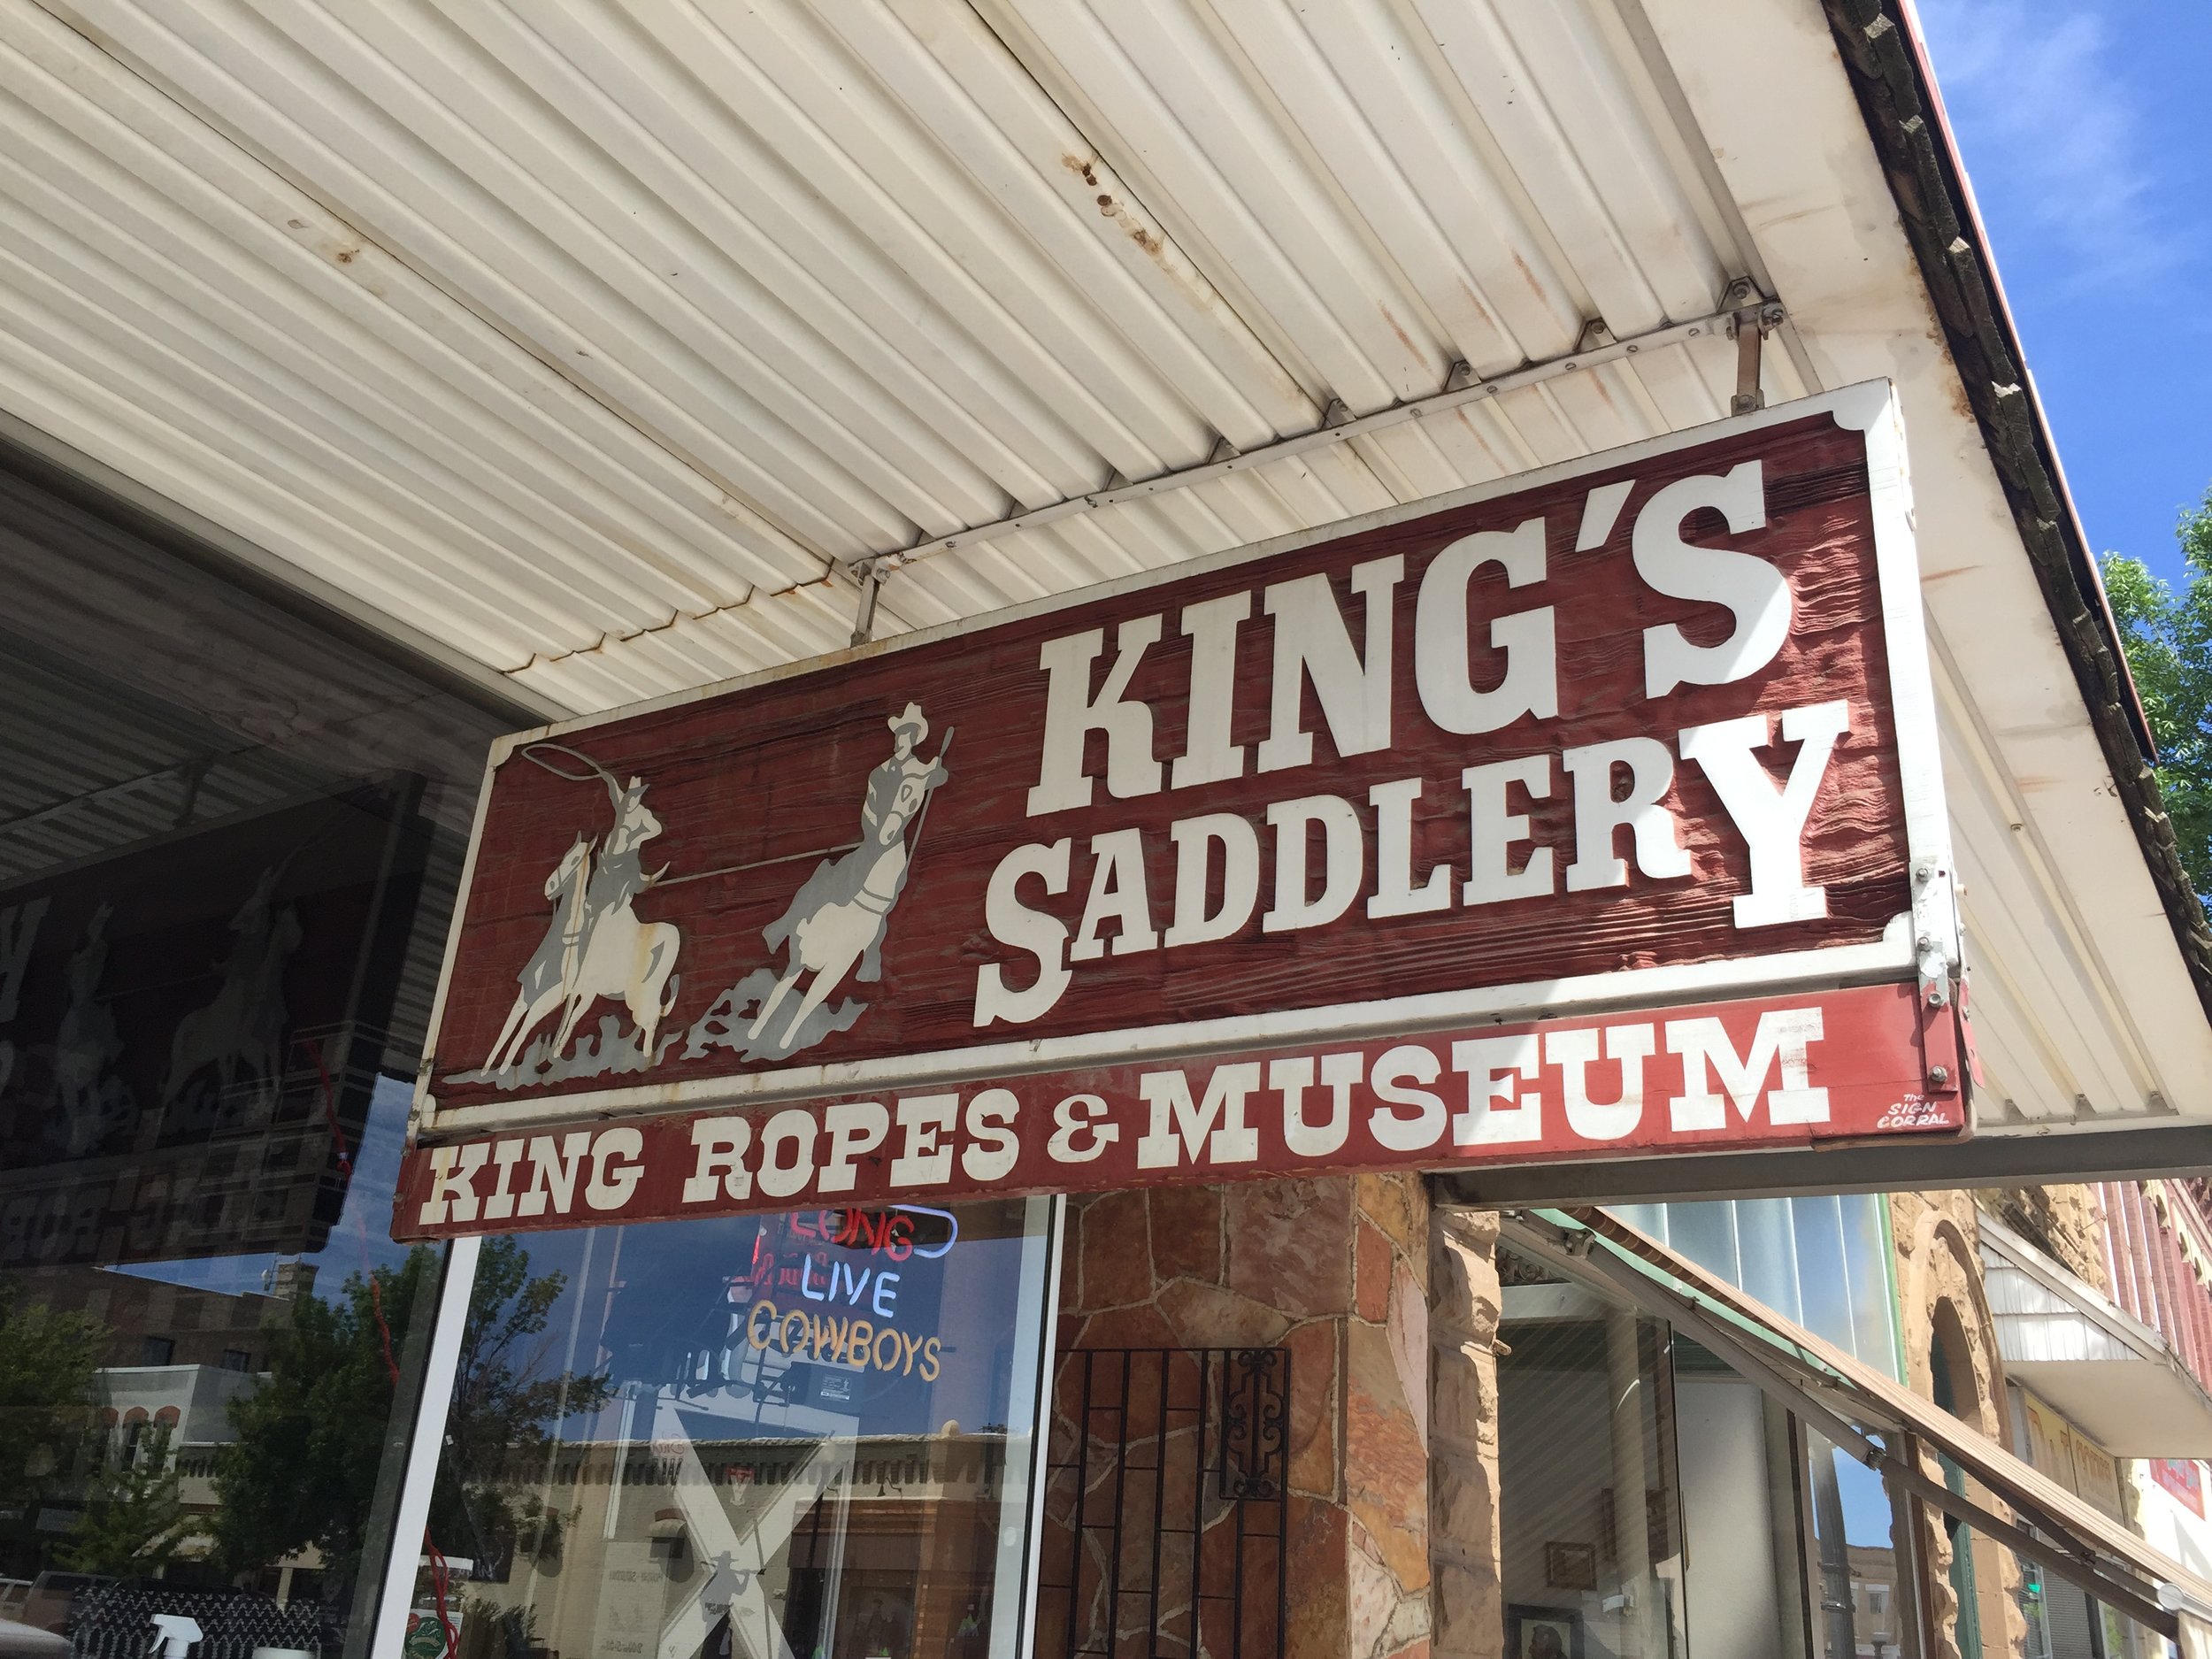
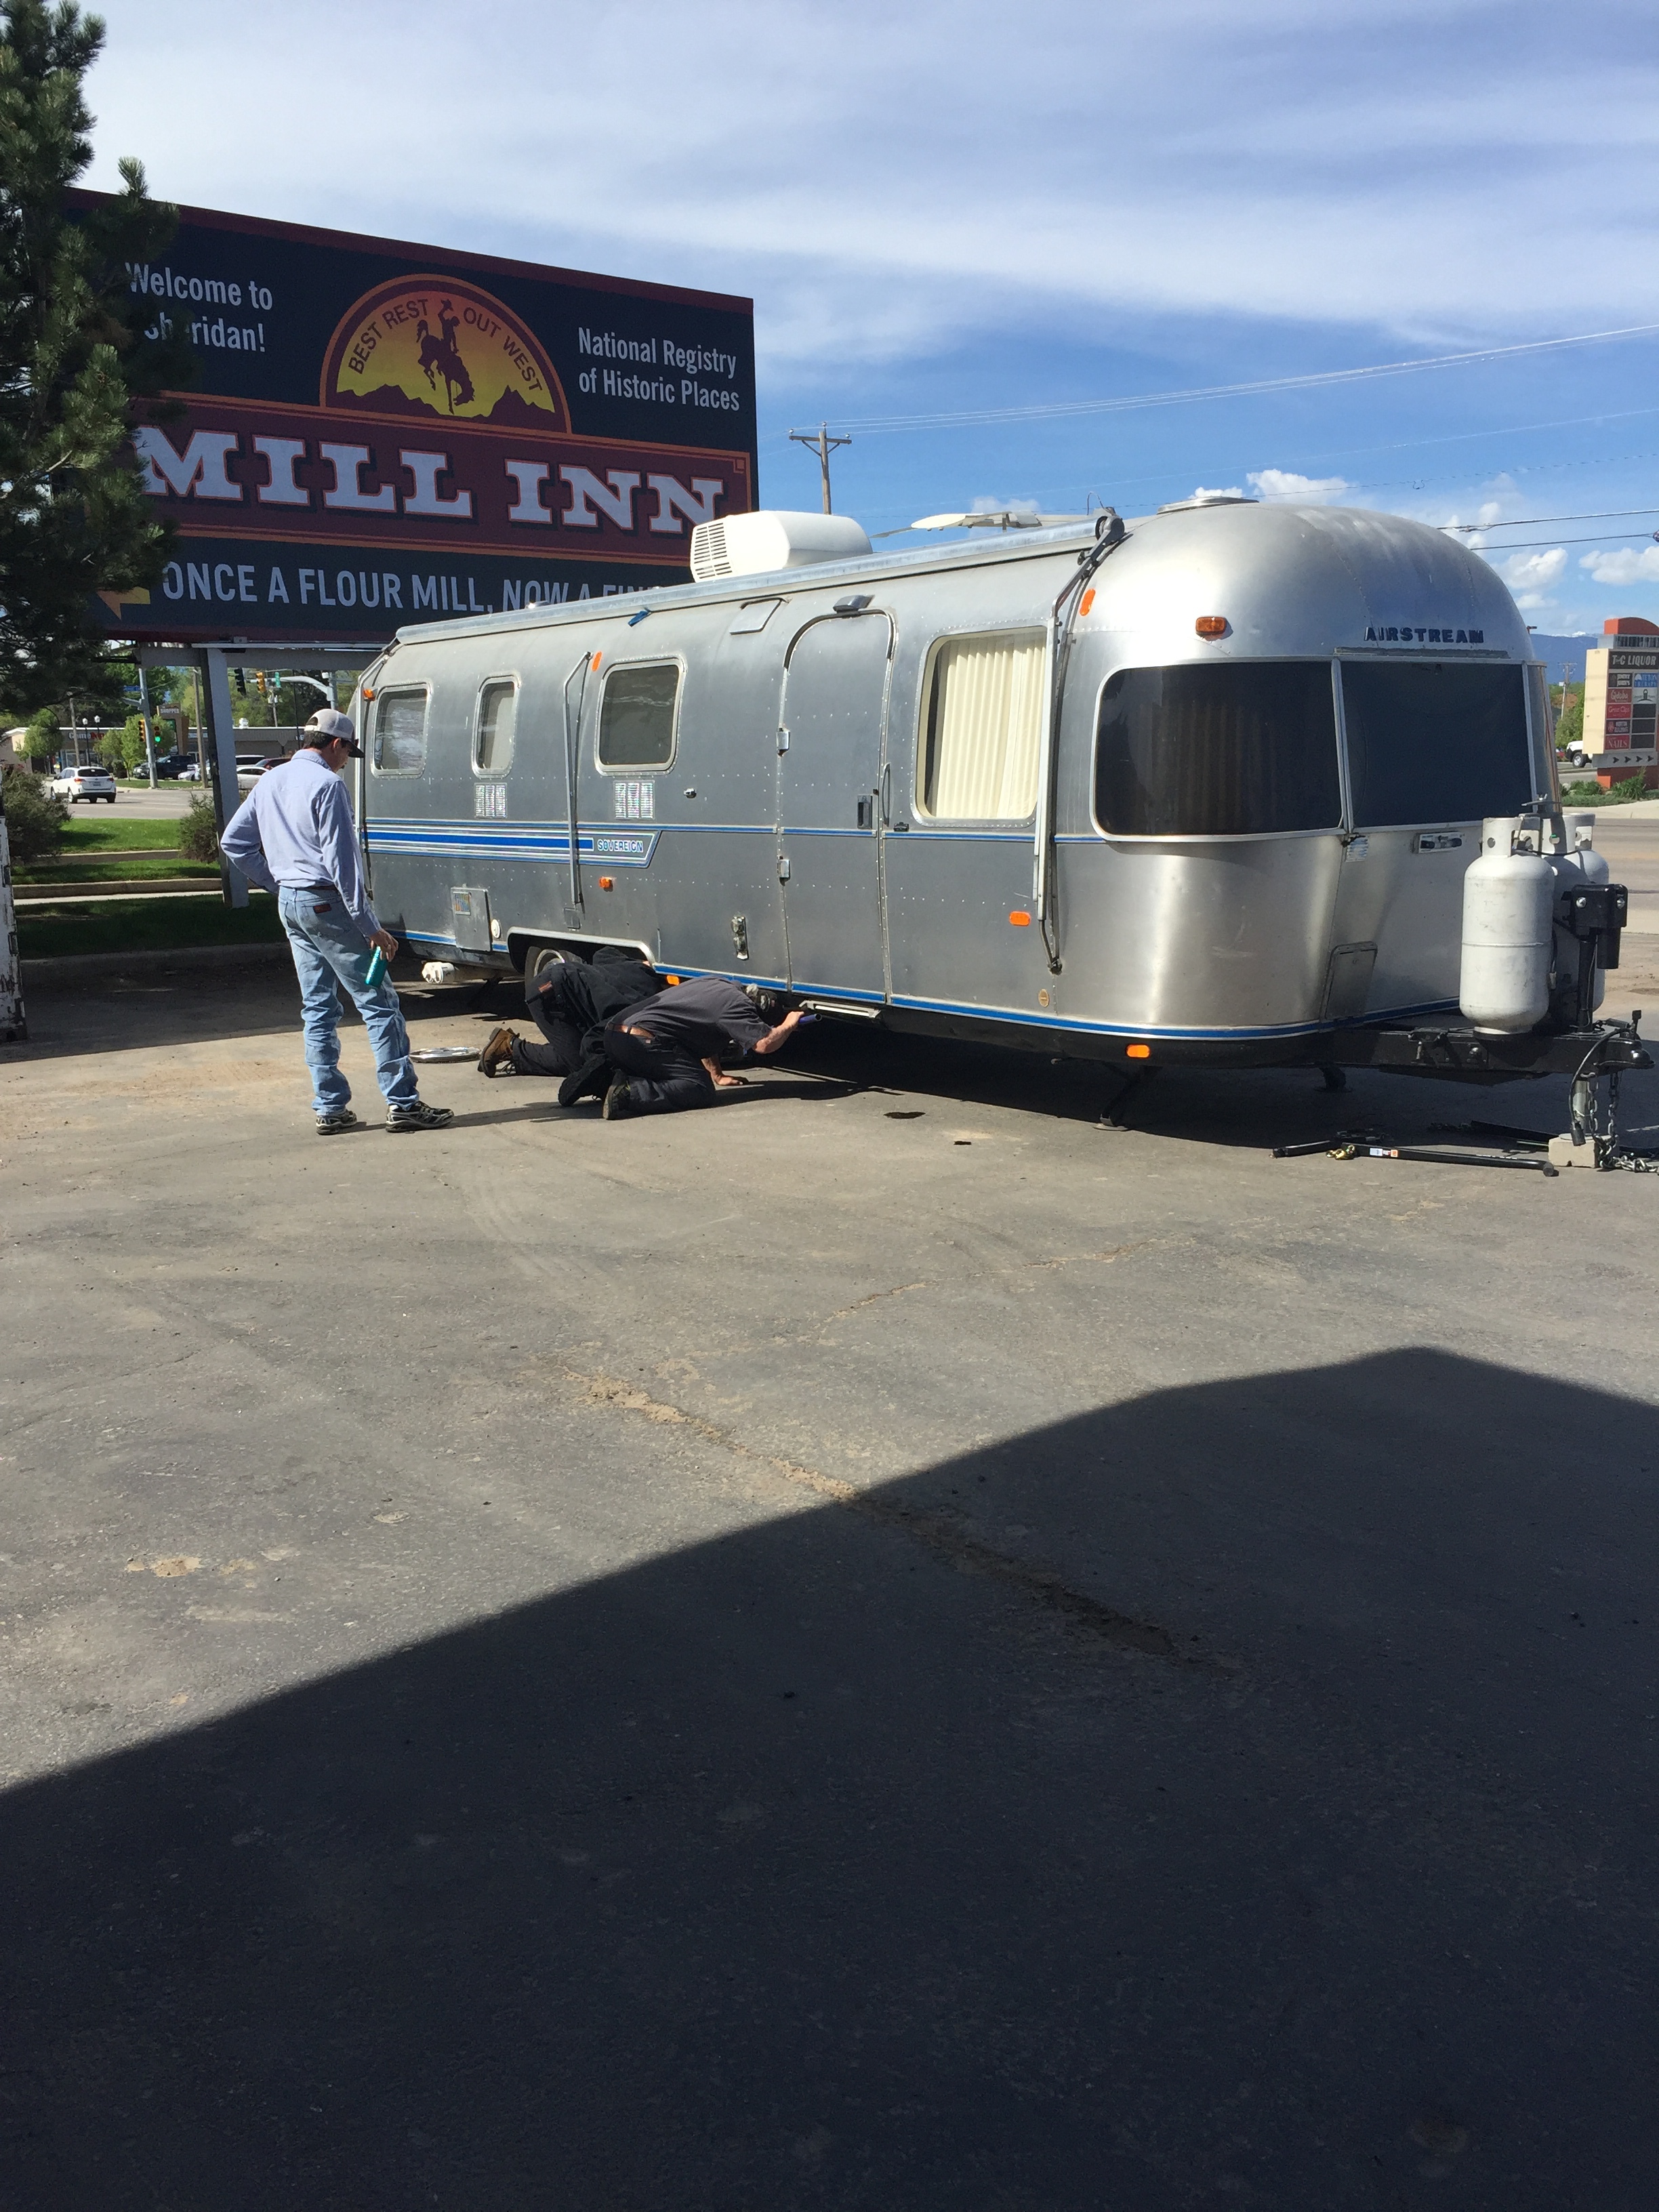
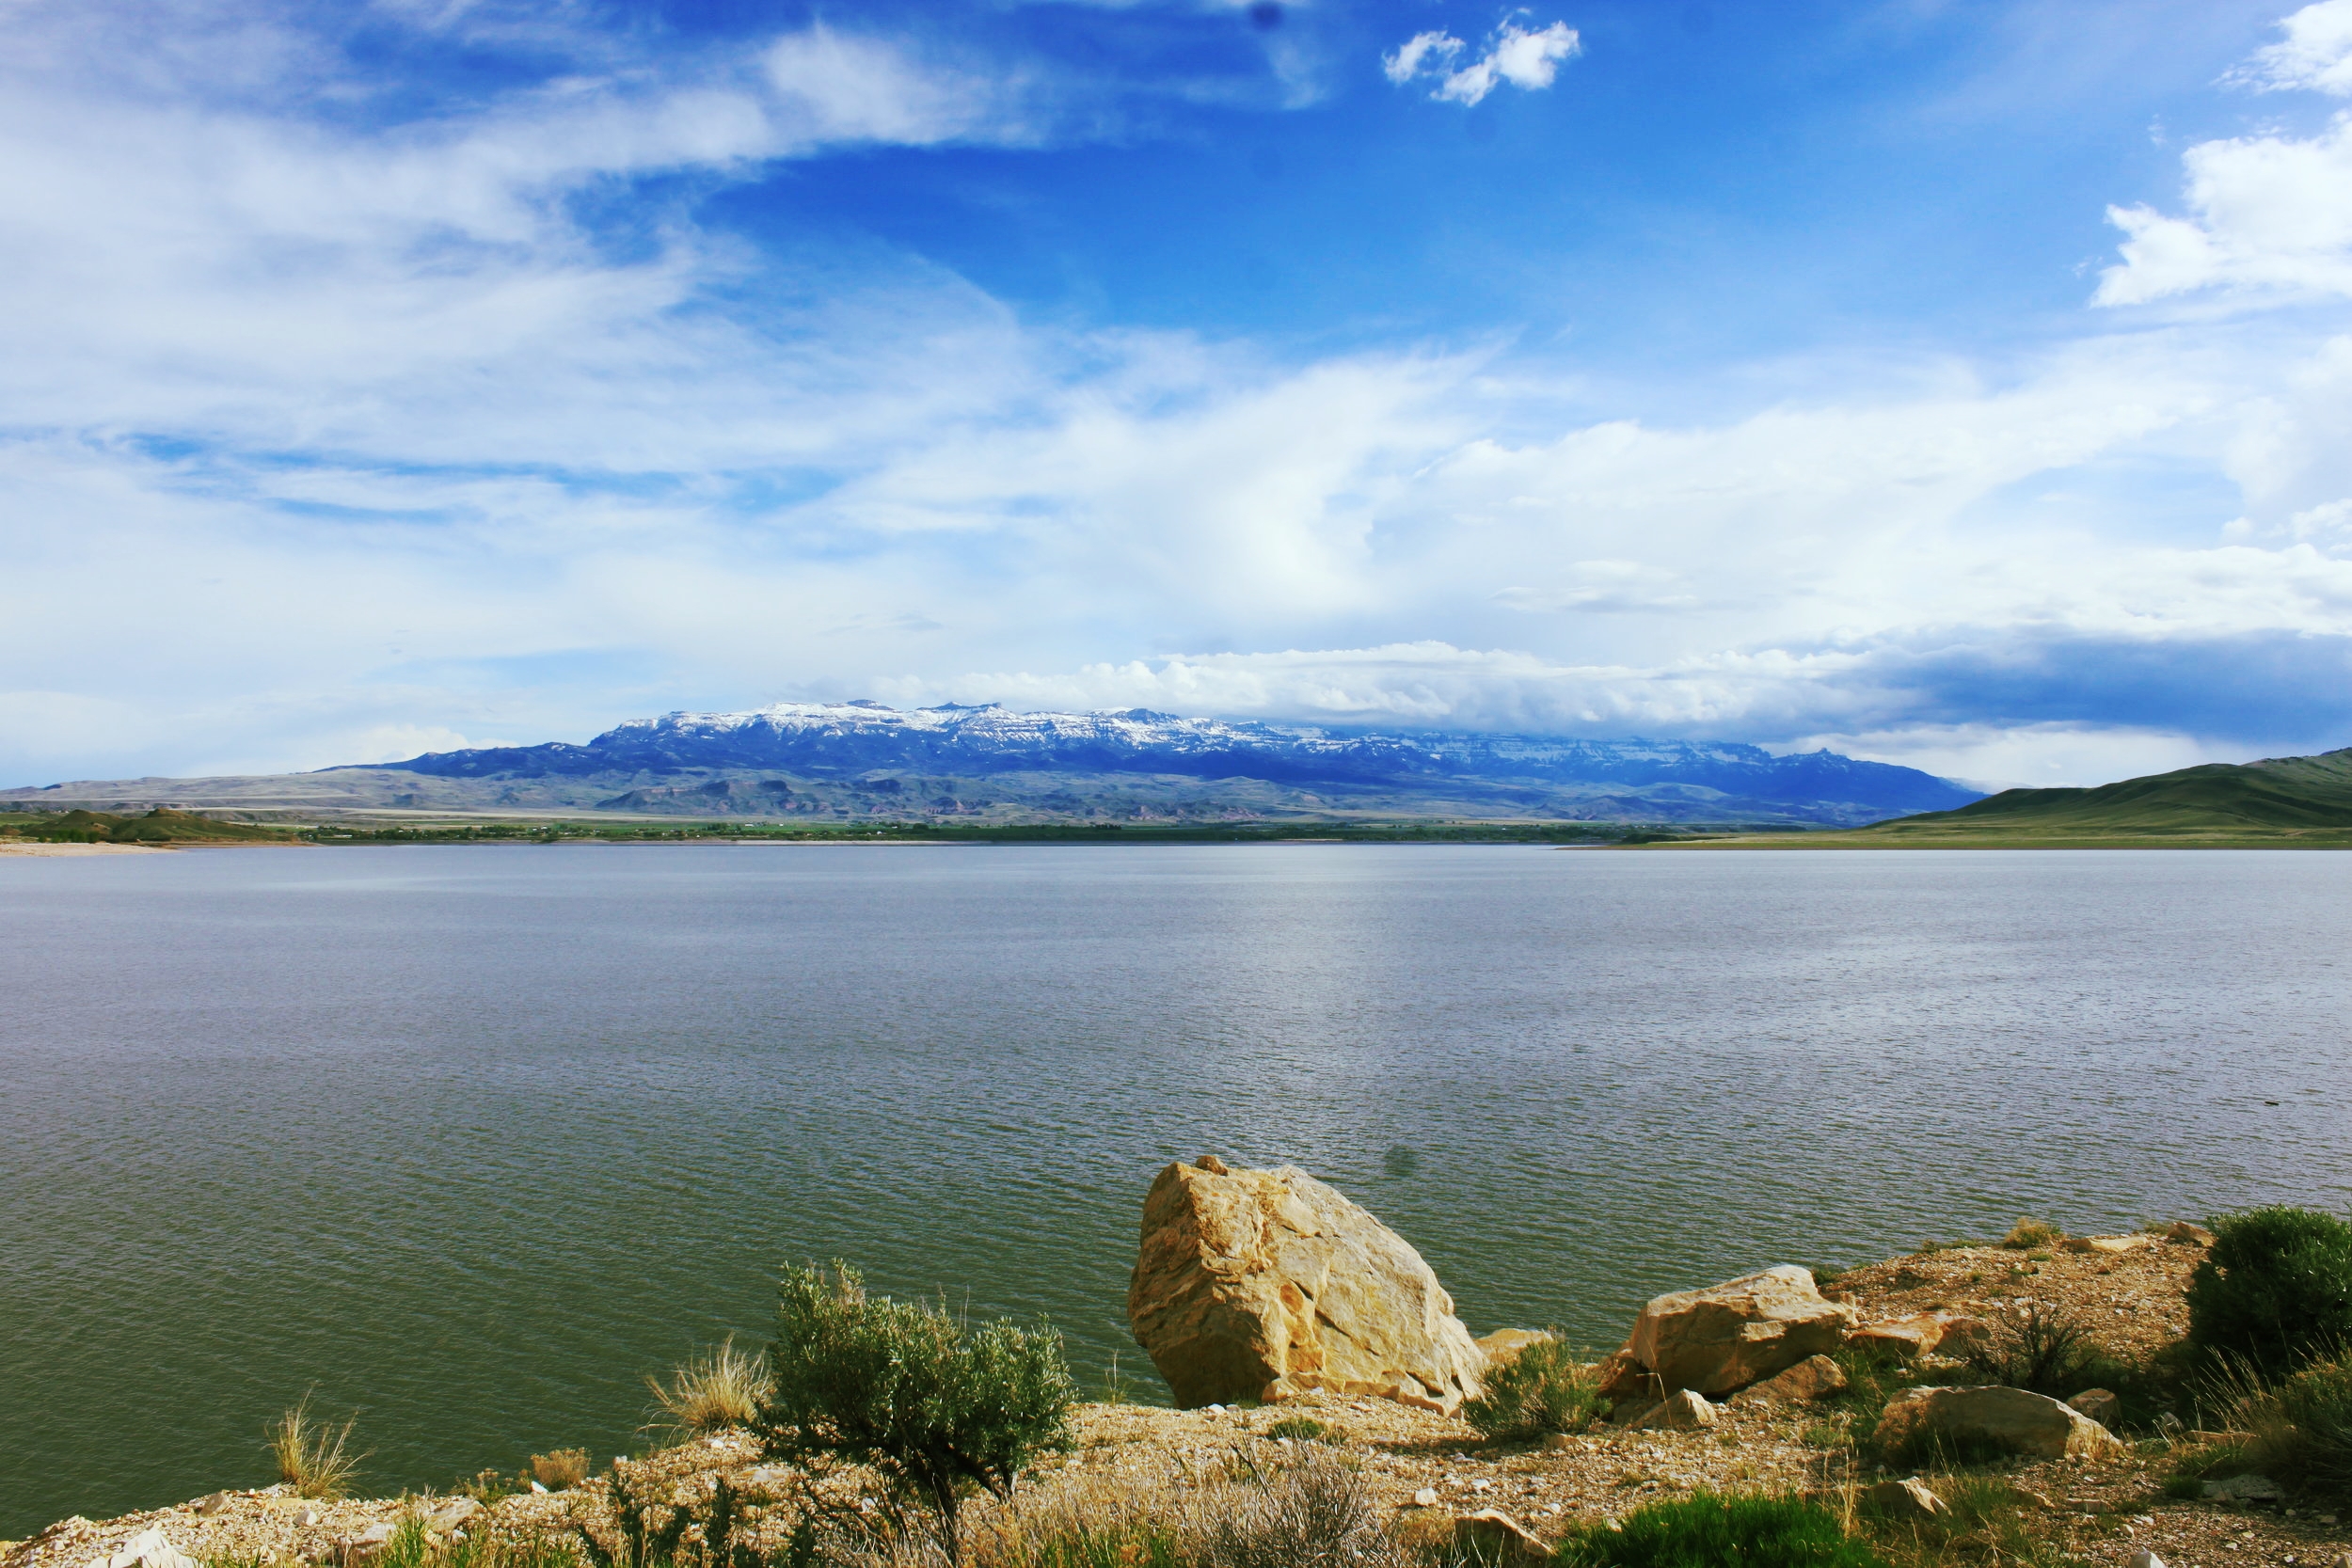
Saw: Drove up to Sheridan WY to check out Cactus Ropes and Firestone Tire (because we forgot our trailer spare tire and didn’t NOT want to have a spare in the mountains, insert another eye roll) and hung out in Cody, WY for a short bit
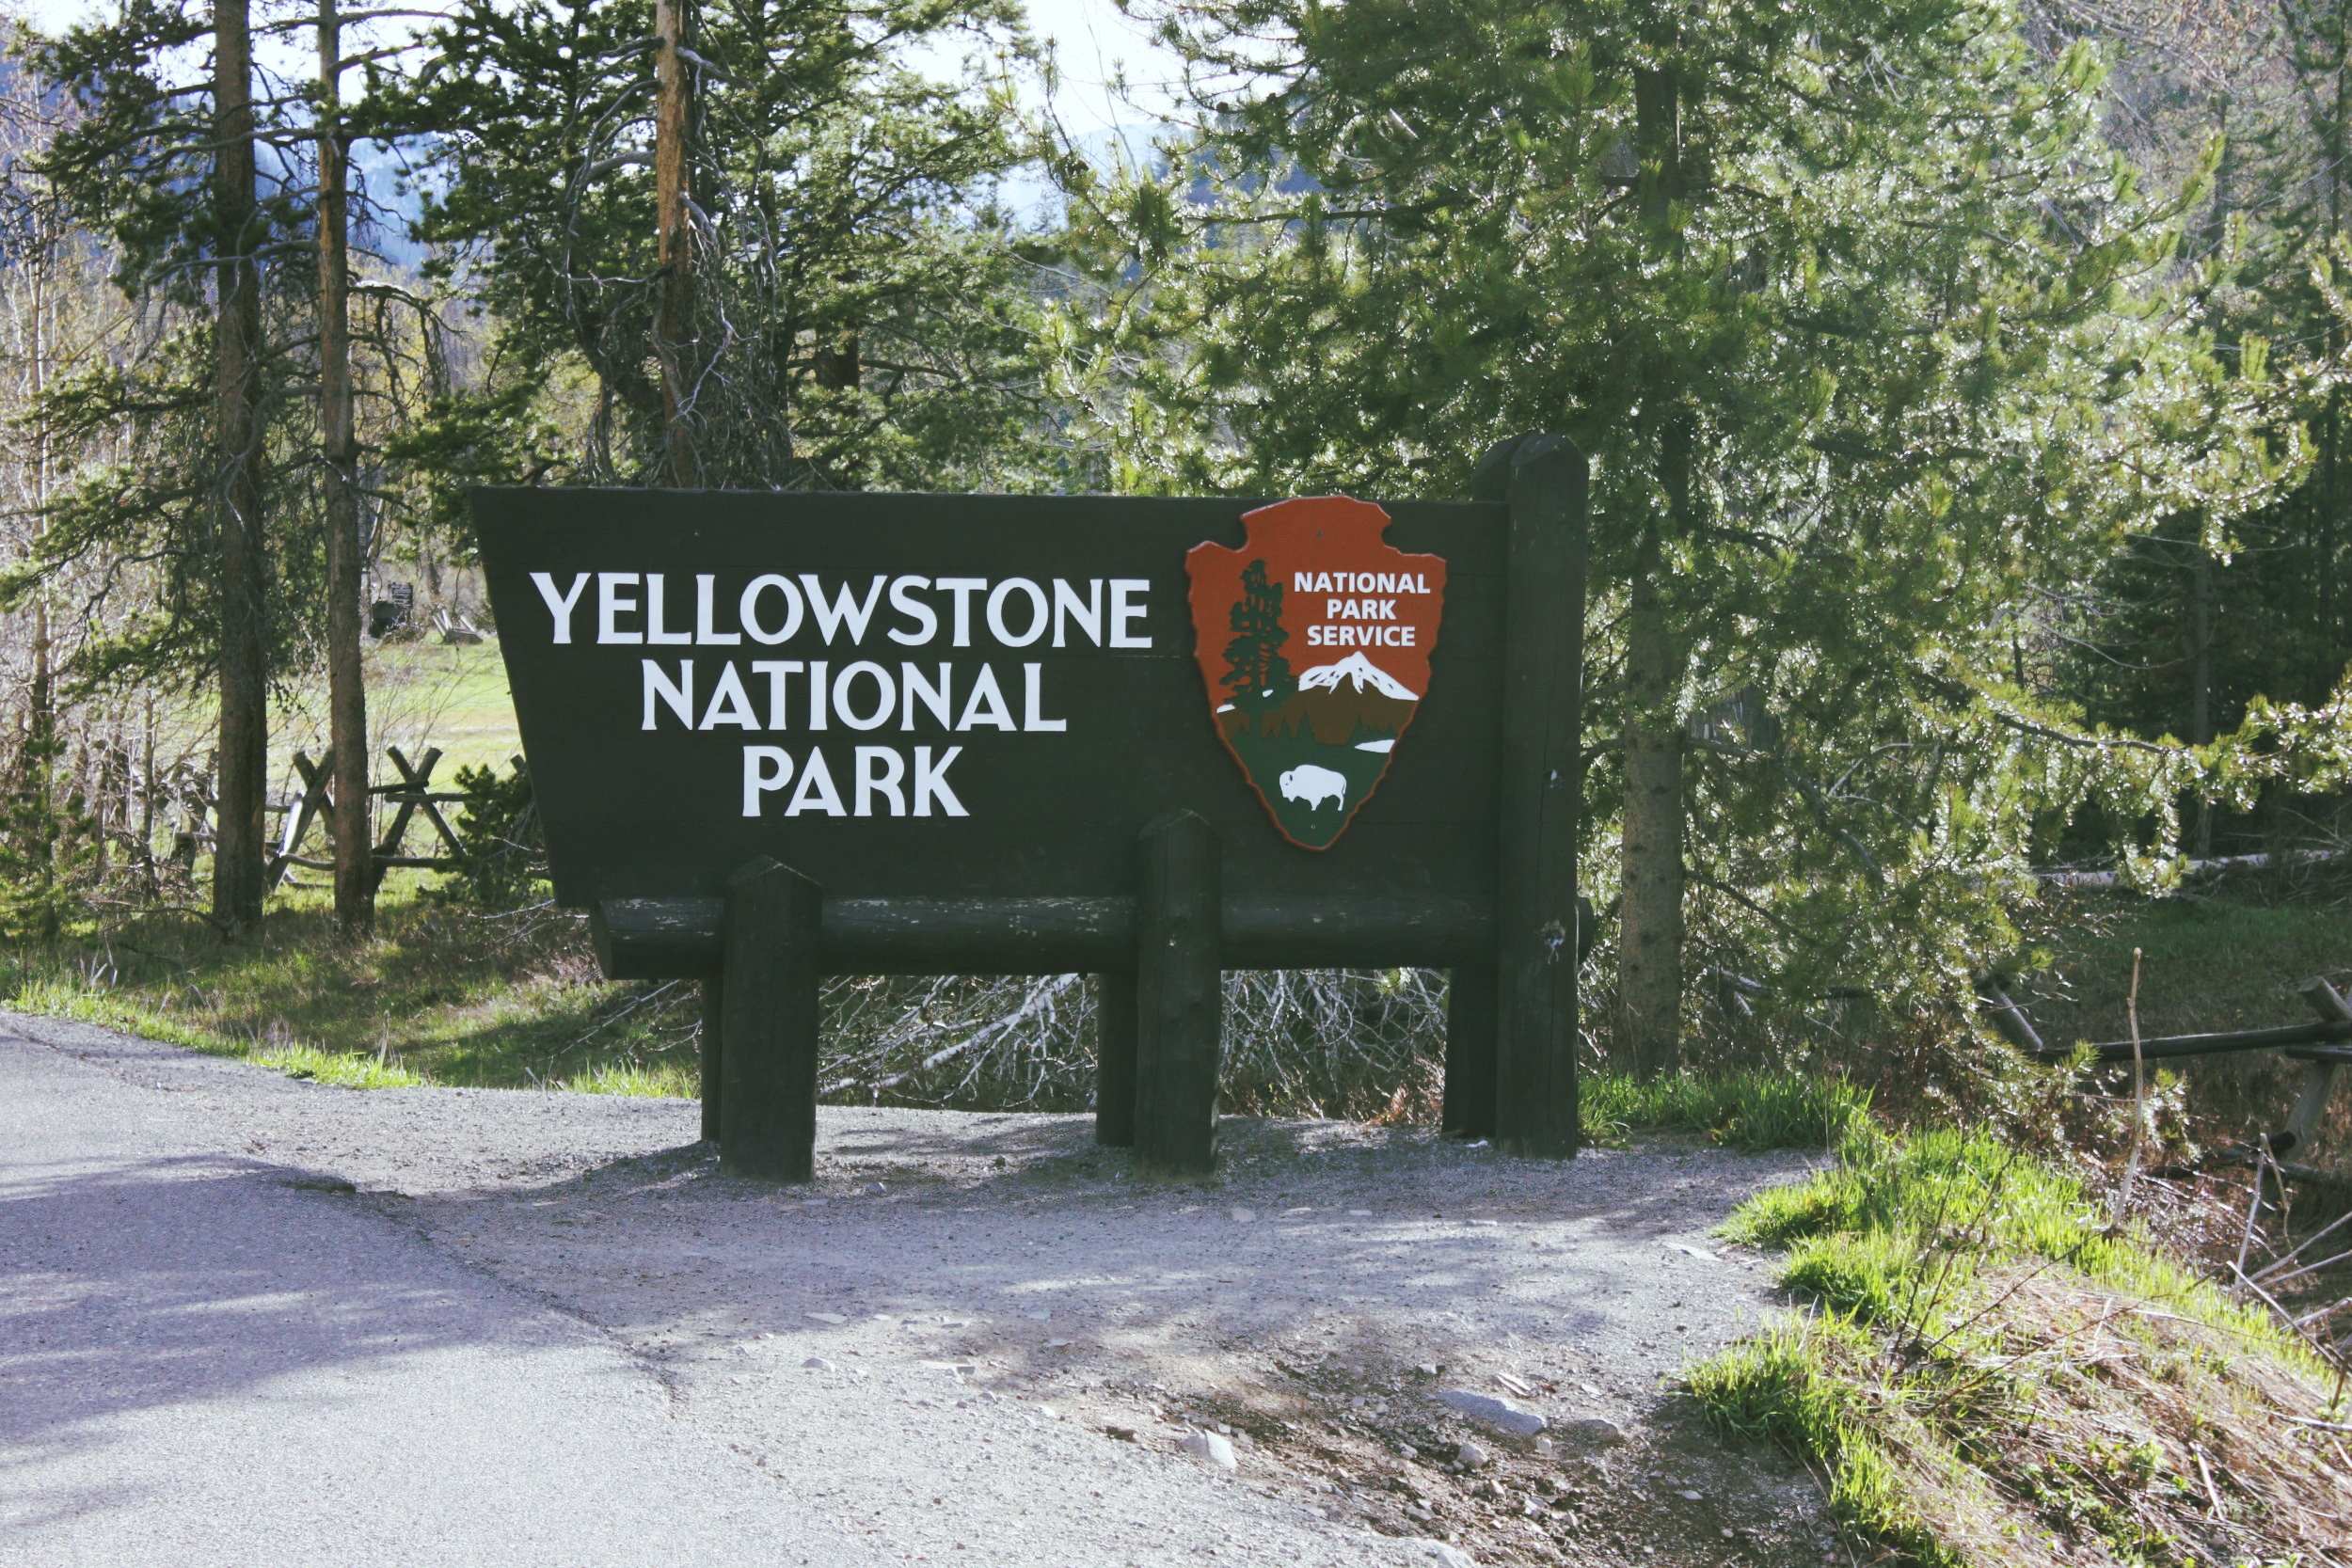
Camped: Fishing Bridge RV Park, Yellowstone AMERICA
Here’s some of my favorite photos from the first leg of the trip!


Things to keep in mind when PLANNING your trip:
Pick your top 10-20 places you want/think you might want to see (it’s ok to have too many, you might get somewhere, change your mind, a place might be closed and well you always need options).
I encourage you to stop along the way, for unplanned adventures! (Remember I AM A PLANNER, and even I like a good adventure now and then!)
Plan on extra drive time if you have kids, a dog, a husband, you’re pulling a trailer, you want to eat, you need to gas up, you want to adventure, there is weather, anything…. PLAN ON EXTRA DRIVE TIME, don’t always expect that you’ll make it in the exact time indicated.
Keep in mind towns/cities that can provide gas along your route! ESPECIALLY if you’re headed to remote areas, and pulling a camper/travel trailer. Mountains and cross winds can suck your gas down…. like real FAST!
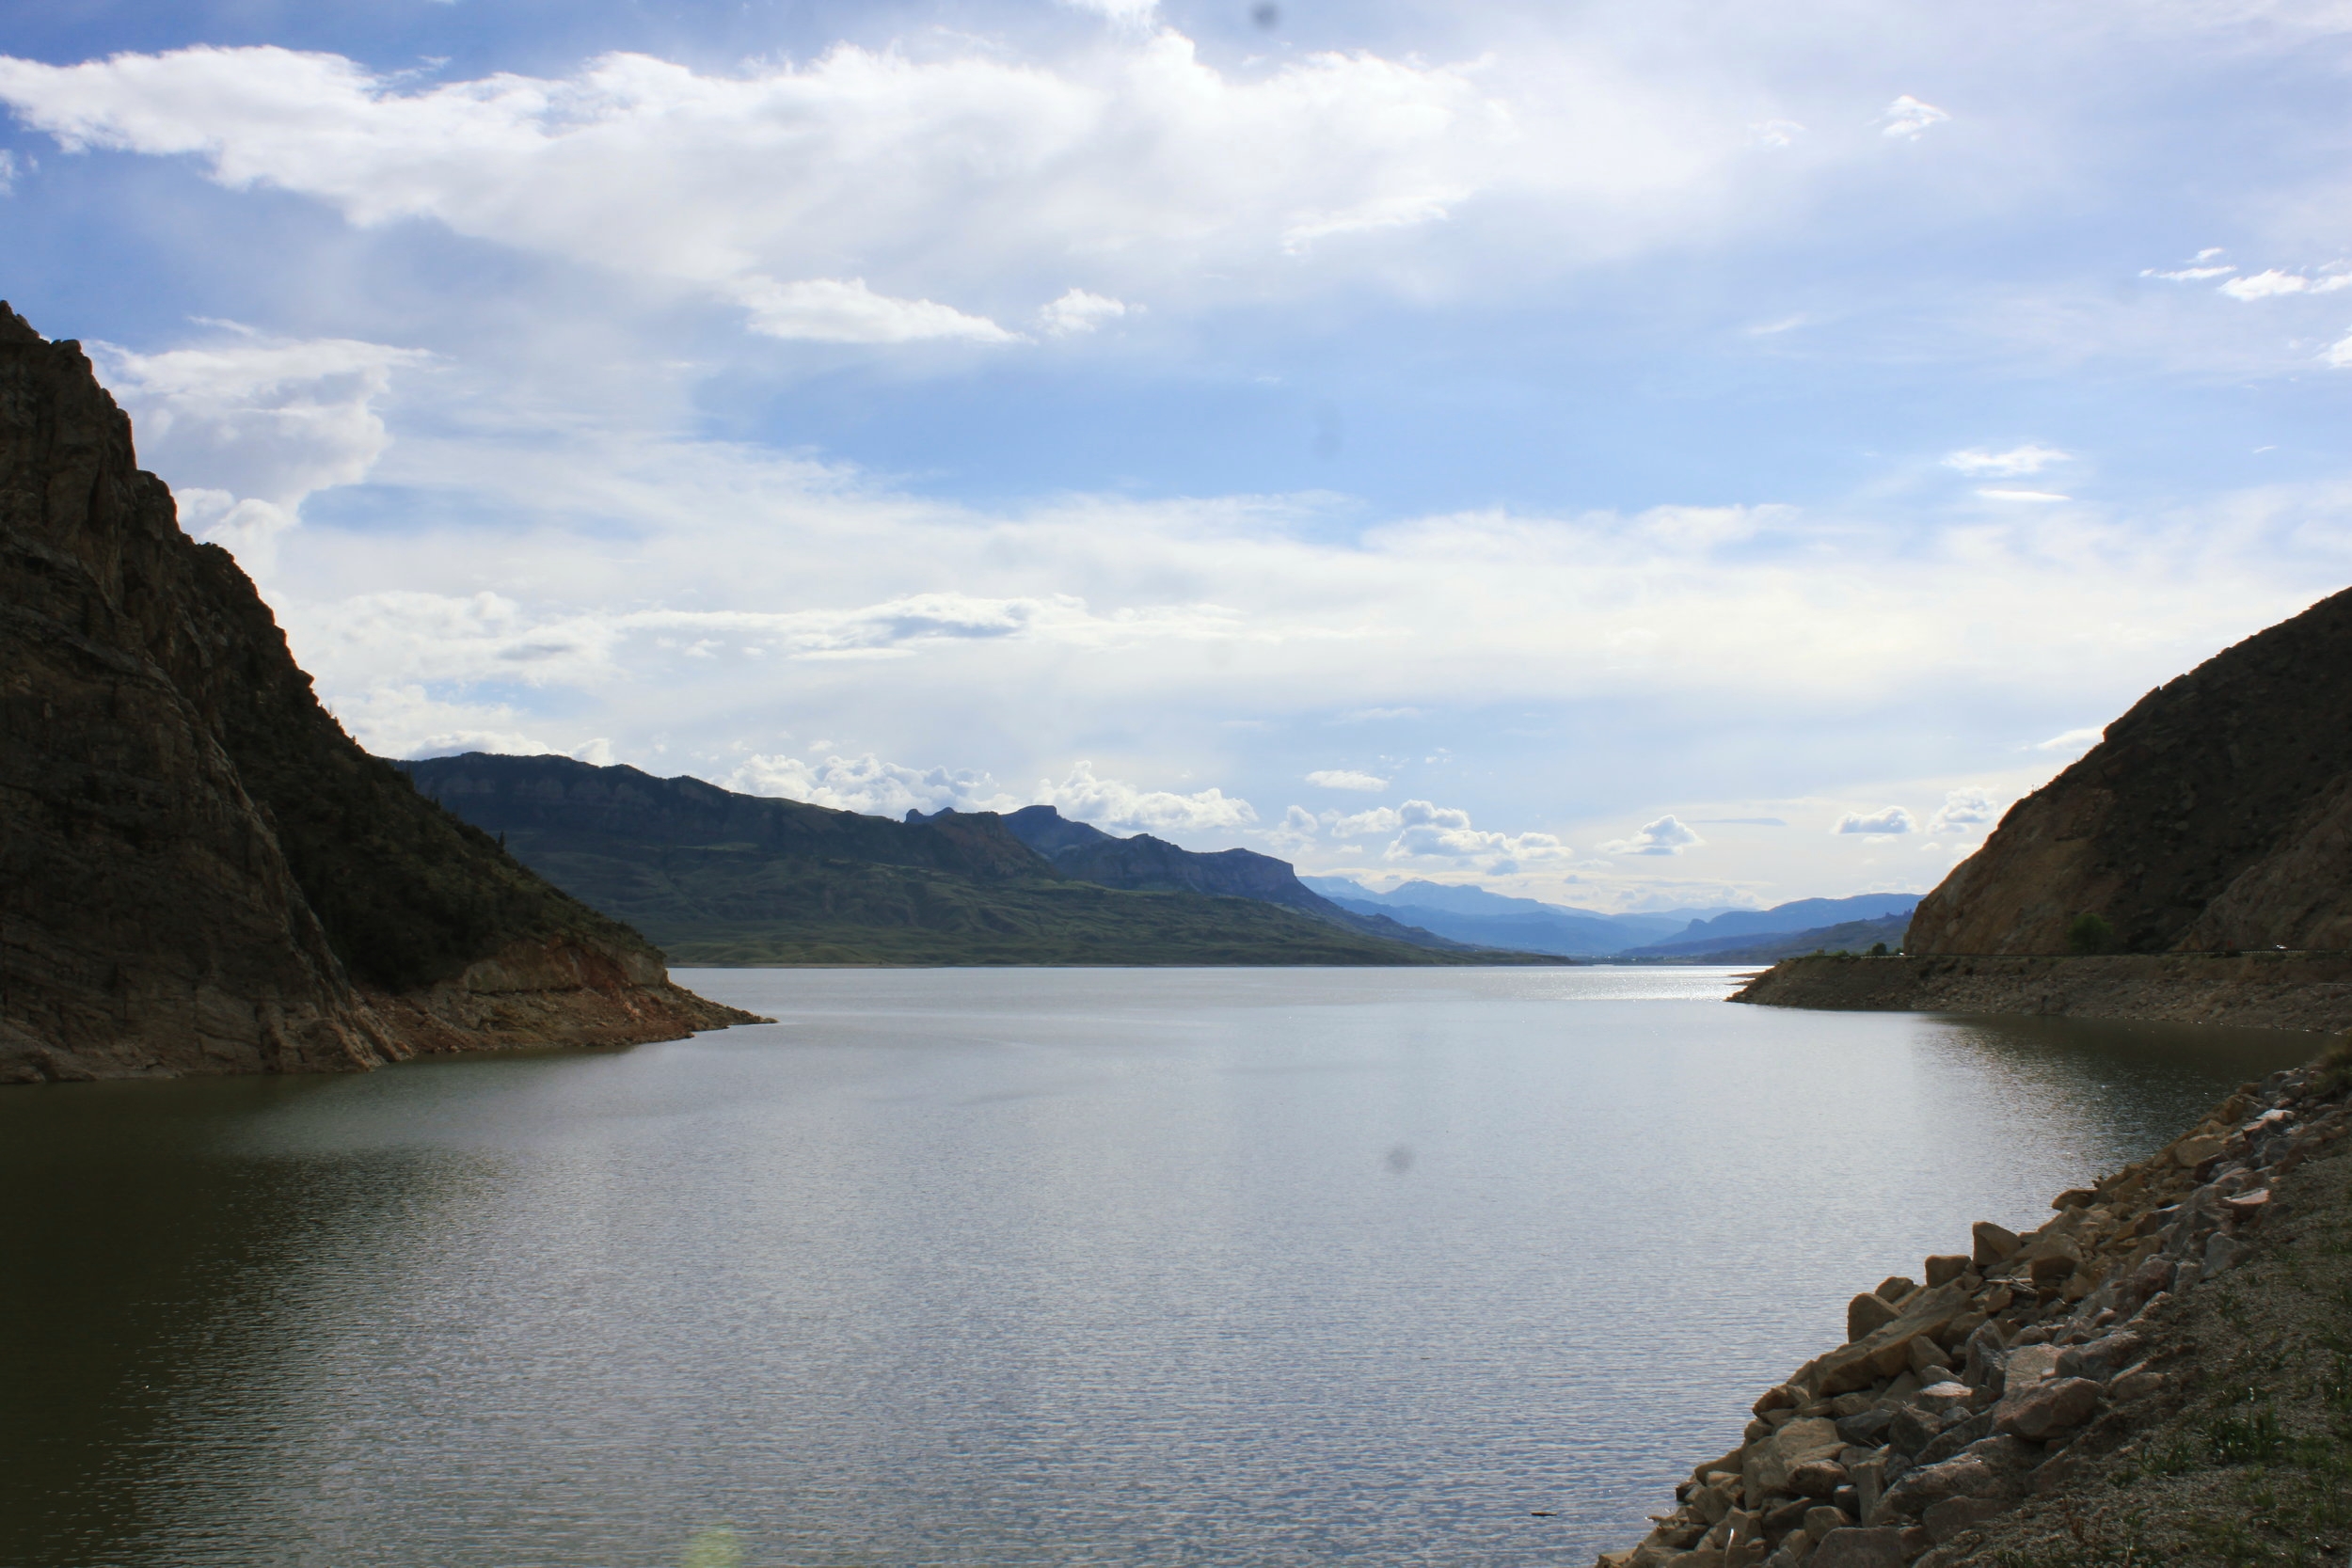
Please be aware of weather and what time of year you’re going somewhere. A route we wanted to take to get to the Big Horn Canyon was still closed in May, due to winter weather. So…. One thing I ALWAYS like to do, is call the Ranger Stations the day before we’re expected to travel somewhere. Call them and let them know what you are planning to see and route you want to take. THEY ARE EXPERTS and can tell you if something is closed. This will save you SO MUCH TIME and hassle!
S#@T is gonna go wrong with a camper. I mean… if you just go into this mentality when you buy one, it will be less painful when things break. (I noticed at a gas station in BFE South Dakota that our fresh water hookup was dangling off the back, hints why we had to stop at Menards.) Which reminds me… always do a walk-around on your trailer or car when traveling that far, at EVERY stop you make.
Ummm if you ever forget a spare tire, don’t go any further before you go buy another one. Let me tell you people…. $100-$150 is better duplicated in another extra tire, rather than the price of a tow or mobile repair in the middle of nowhere. Remember, you probably won’t have cell service anyway.
Ladies…. it’s SUPER important for you to know, practice and feel comfortable pulling a trailer! You will NEVER know when you need to drive.
If you’re vacationing with a trailer….. we like to pull the trailer to our house a couple days before and “get her ready”! This includes Doc checking all tires, bearings, hitch connections, propane levels and that water is running through the trailer correctly. (This is just a short list, if you want more info, email me.) Remember I mentioned camping at Cabela’s our first night out? Whenever we’re on a trip like this, we like to travel with water in our tank, because…. you just never know! A generator is also an essential tool. Having hot water and electricity can make a trip to Menards or the tire store, much better at the end of the day!
What are some INSIGHTS from this leg of the trip?:
One thing I didn’t realize until we got there…. You could spend a whole week exploring the Badlands/Rapid City/Black Hills National Forest/Custer State Park area. We were only passing through but there are SO MANY wonderful things to see! Several people we met along the way mentioned they were going to spend their whole vacation there, and now I know why!
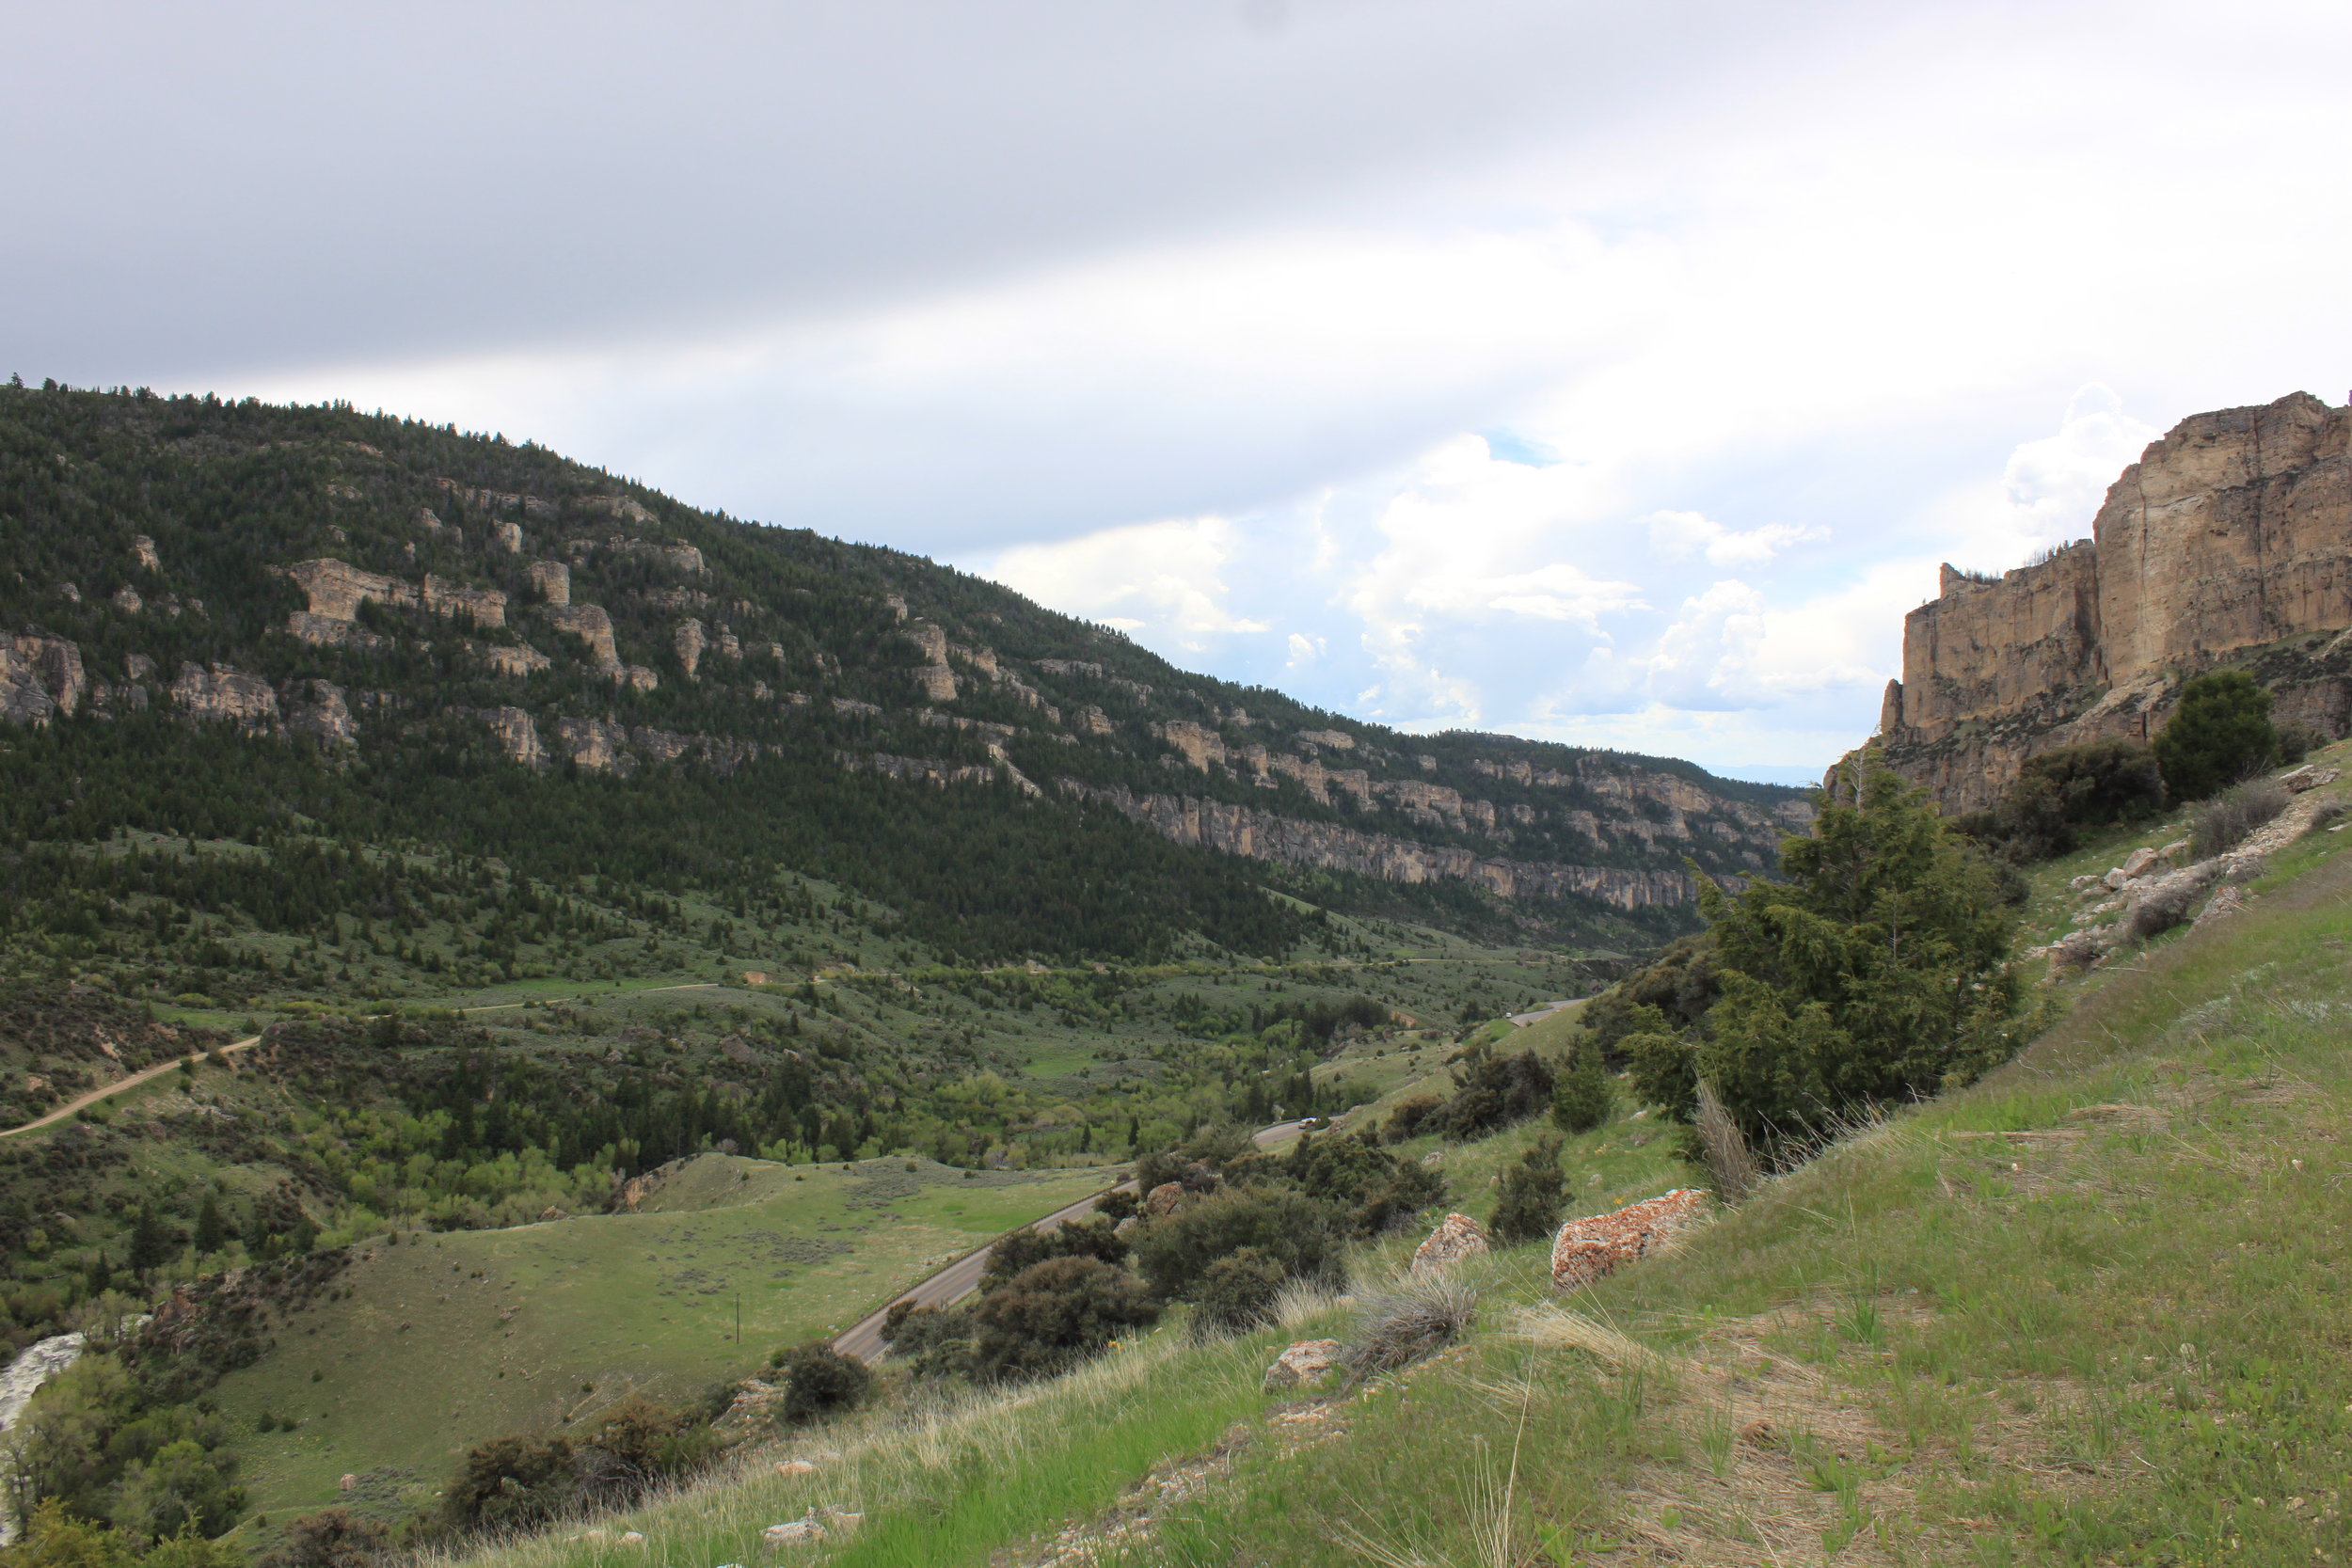
The route to get from Buffalo, SD to Cody, WY is SKETCHY!!! In terms of road conditions, there was a highway closure (yes, still in May) from snow on the road in the Bighorn Mountains (remember when I told you, you might not get to see all you wanted to).
The Bighorn Mountains were BEAUTIFUL, let me repeat… BEAUTIFUL. Not that I doubted they wouldn’t be amazing, but man…. These puppies in real life are something EVERYONE needs to see. Next time we head that way, we will spend more time in that area.
Stay tuned for the next blog post, including what all we did, and where we stayed in Yellowstone National Park and Grand Teton National Park!

